When I redecorate a room in my house, I often like to make decor myself because it’s hard to find exactly what I want. Or maybe I’m just inspired and want to create something complete unique! It’s easy to make custom wood wall art with just a few easy steps. All you need to do is set aside a few hours, find a paint brush, gather some re-purposed wood and get to work! I’m excited to share with you my homemade shabby chic wood wall art tutorial and show off my “You & Me, Forever & Always” completed wood wall art!
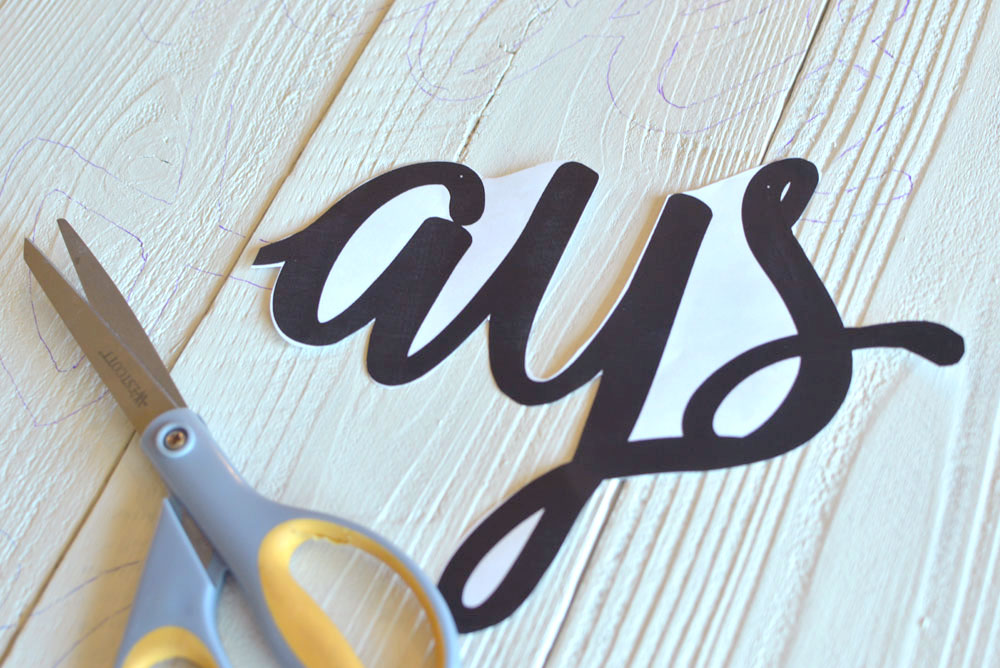
You can easily make custom painting “stencils” with your own printer. I designed my fonts on my computer and printed them off using several sheets of paper. I’ve found it’s easiest to create custom lettering by cutting out my letter stencils and tracing around them. I then fill in the outlines with paint; it’s much easier than using the traditional “stenciling” painting technique, and I’m left with much less touch up work.
Custom Wood Wall Art DIY Lettering
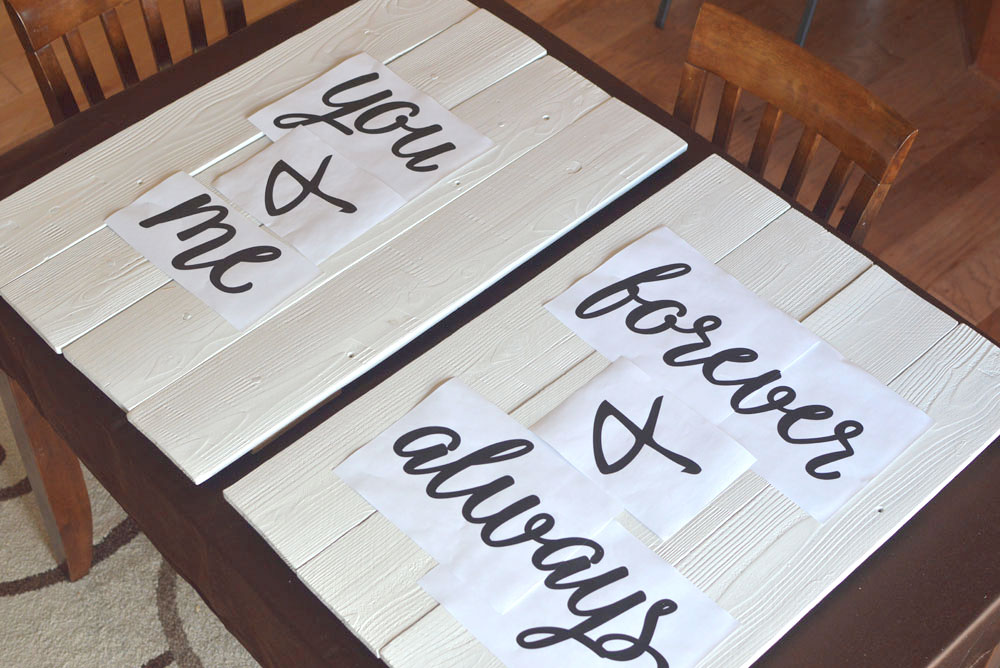
1. Arrange your fonts in a computer design program such as Photoshop and print them off.
2. Cut out your lettering and arrange them on your piece of wood. I nailed several boards together onto top and bottom horizontal cross pieces and painted them white.
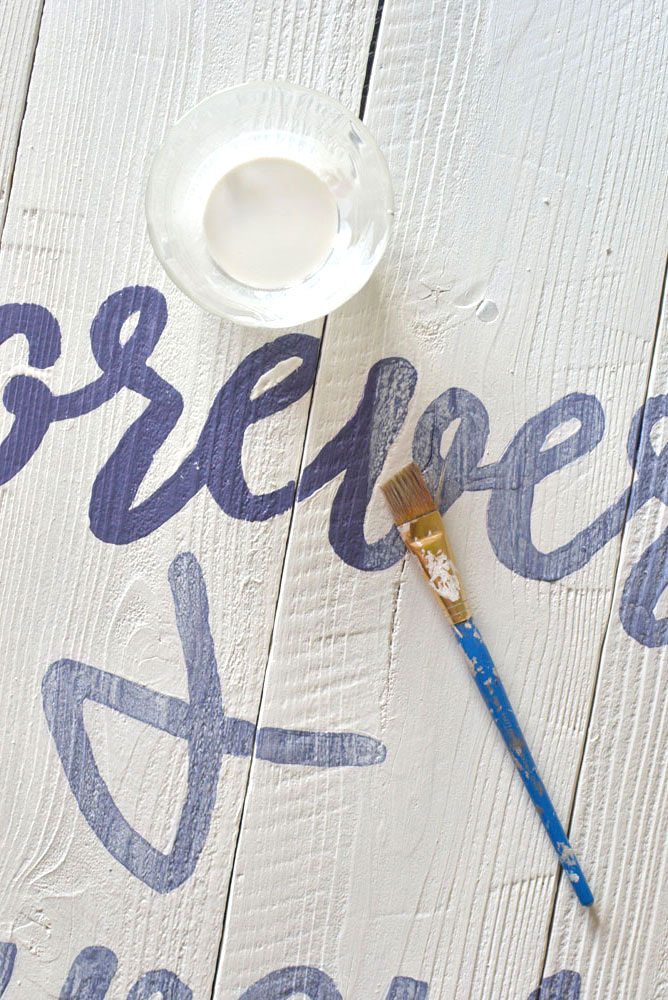
3. Draw around each letter with a pencil and fill in each letter with paint.
4. I distressed my lettering by allowing the words to fully dry and painting over them with watered down white paint.
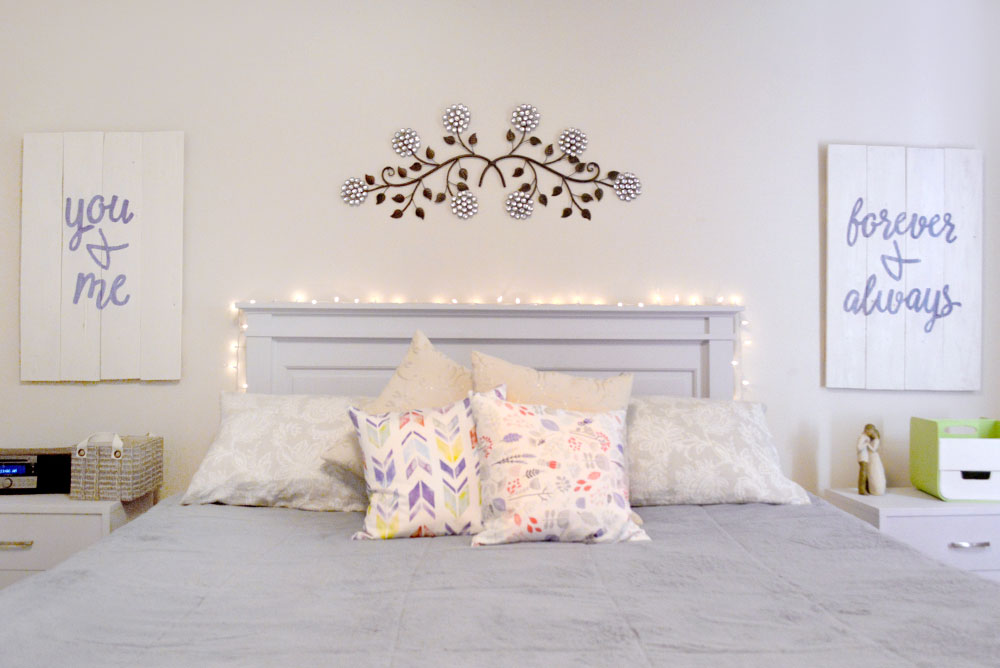
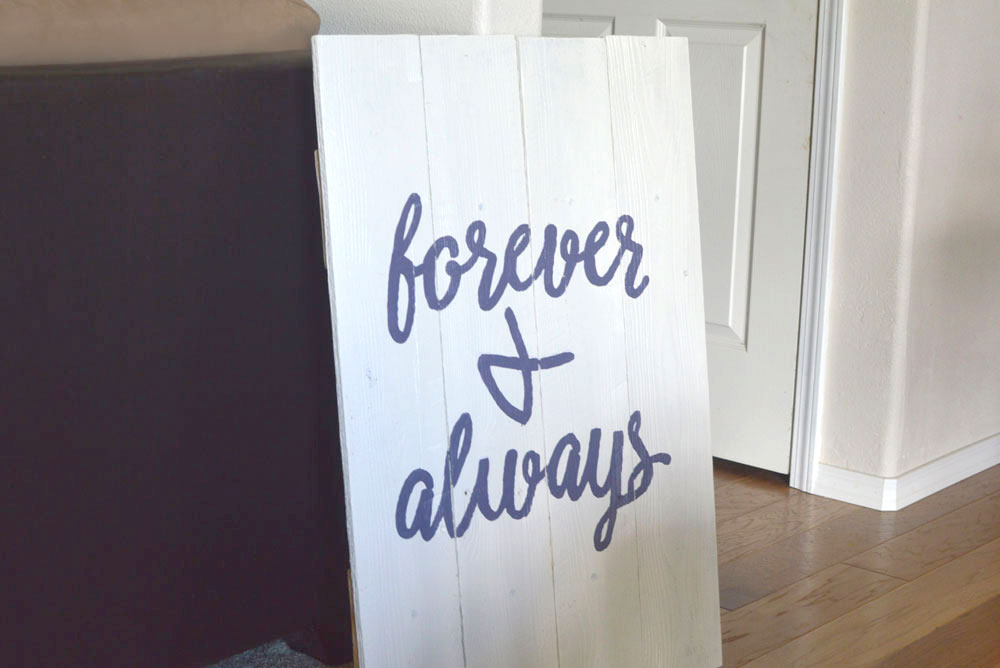
I love how my homemade wood wall art signs turned out! My homemade wall art decor is completely custom and perfect for my master bedroom! Check out my full master bedroom redesign reveal (coming soon). “You & Me, Forever & Always” ♥
Hi, I’m Katie! I live with my husband and 3 kids in Coeur d’Alene, Idaho. I love Jesus, coffee, creative projects, taking photos and traveling. I’ve previously worked as a web designer, journalist and barista. I hope you enjoy our creative projects and family adventures!


 Creative Projects, Kids Activities, & Party Ideas »
  Homeschool Tips & Ideas »
  Europe with Kids Video Episodes »