Our wedding day was colorful, casual, and full of people who knew us best. We were just 20, planning a wedding right out of college. We did it on a budget. I made my own flower bouquets. Friends did our hair, makeup, and photos. My dress came from a bridal shop liquidation sale. It was perfect for that stage of our life.
To celebrate our 10th anniversary (years ago), we wanted to do something creative. So we planned a Trash the Dress photoshoot. I love coming up with new angles for a creative project. And happily, my budget-friendly dress still fit after 4+ babies!
What Is Trash the Dress?
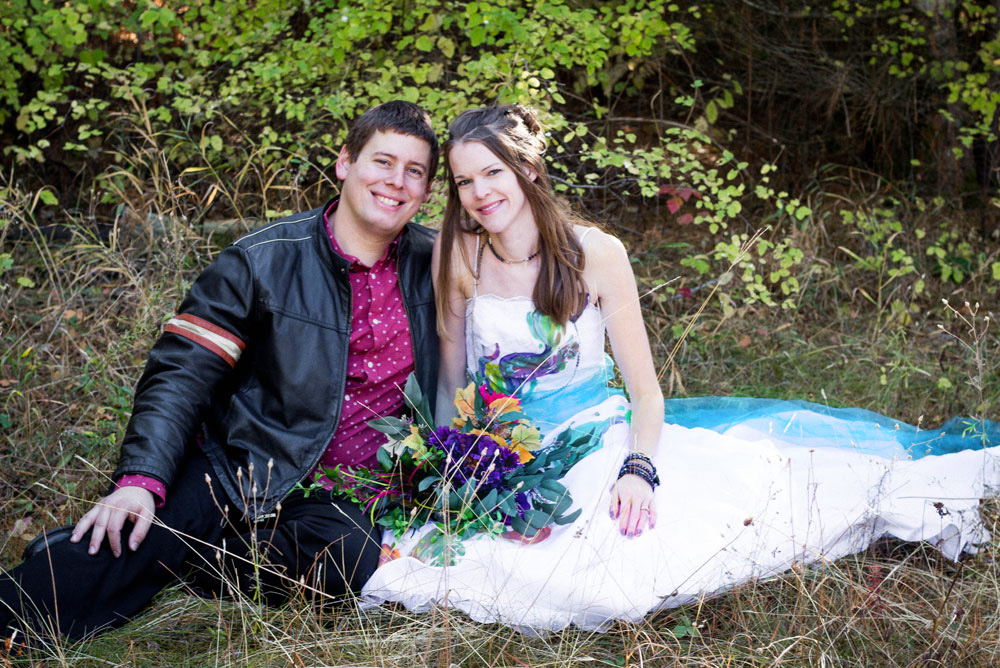
Trash the Dress is a creative style of photography. It features formal attire in an unexpected setting. Many brides splash their gowns with mud, water, or paint. But I did not want to actually ruin my wedding dress.
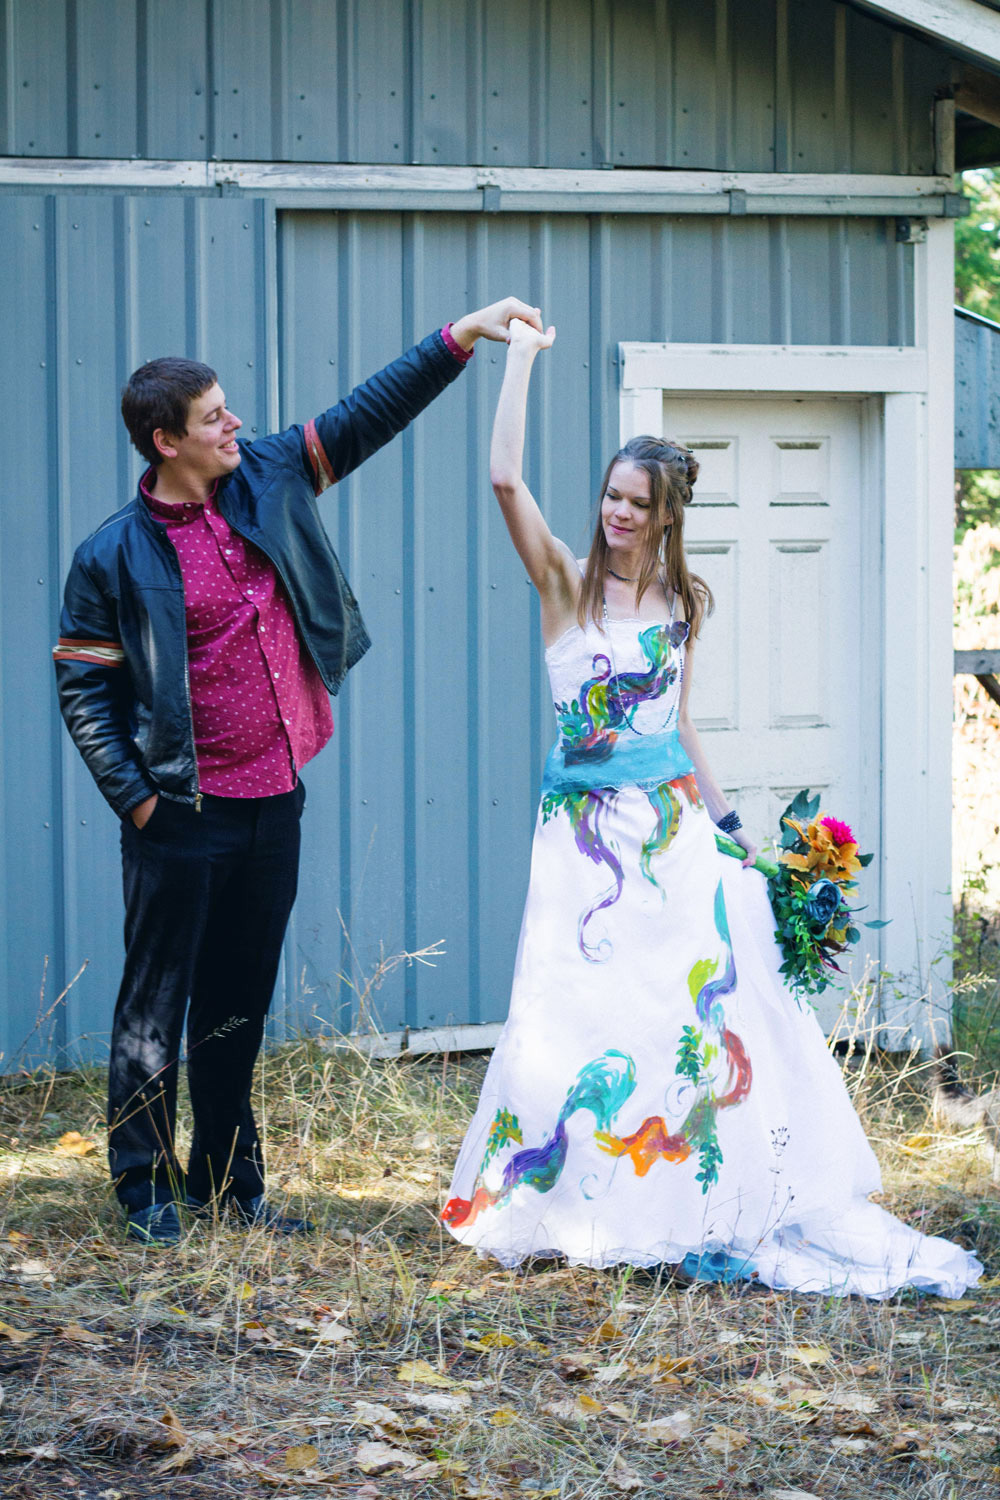
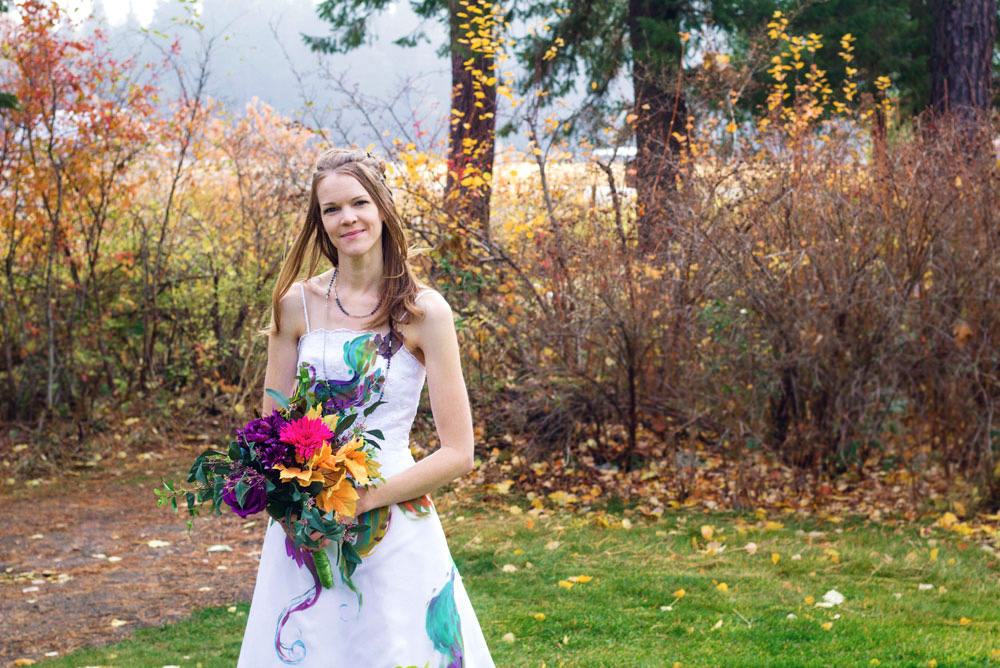
So I came up with a creative workaround. I used color to transform the look of my dress temporarily. The result was full of swirls, jewel tones, and peacock-inspired designs. Best of all, my dress stayed completely intact.
How I “Trashed” My Dress with Color
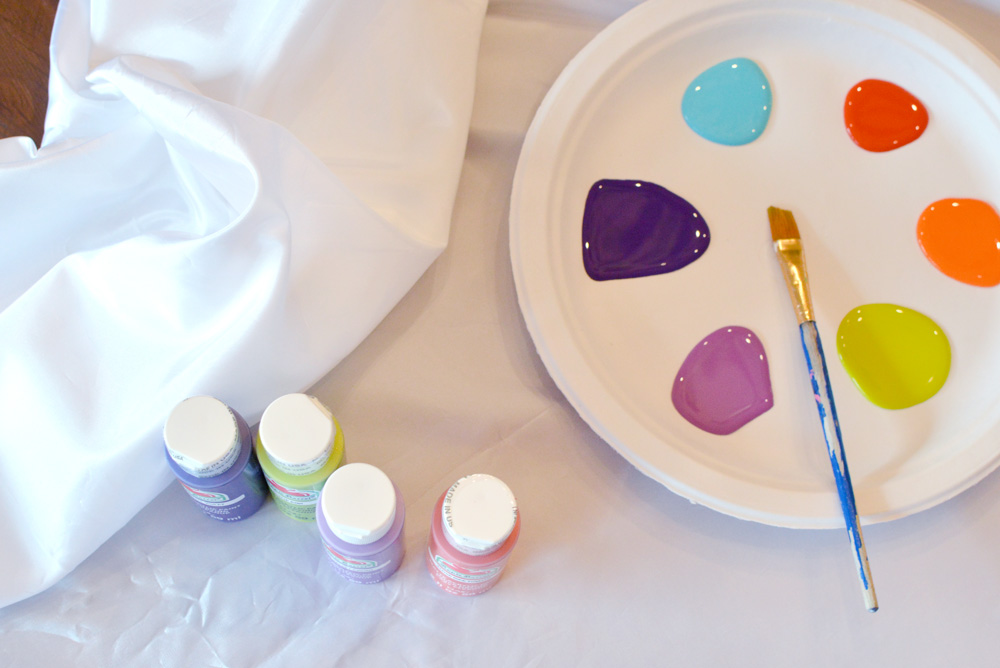
Here is the creative part. Instead of painting the dress itself, I painted on separate fabric. Then I pinned the colorful pieces onto my gown. This let me get the artistic look without any permanent damage. If you’d like to do this too, here are the steps I took for trashing my dress!
Choose Your Paint Colors
First, I picked out my paint. I chose rich fall hues and vibrant jewel tones. Think deep reds, warm oranges, contrasting blues, and rich purples. I found my craft paint and artificial flowers at a craft store.
Paint an Artsy Design
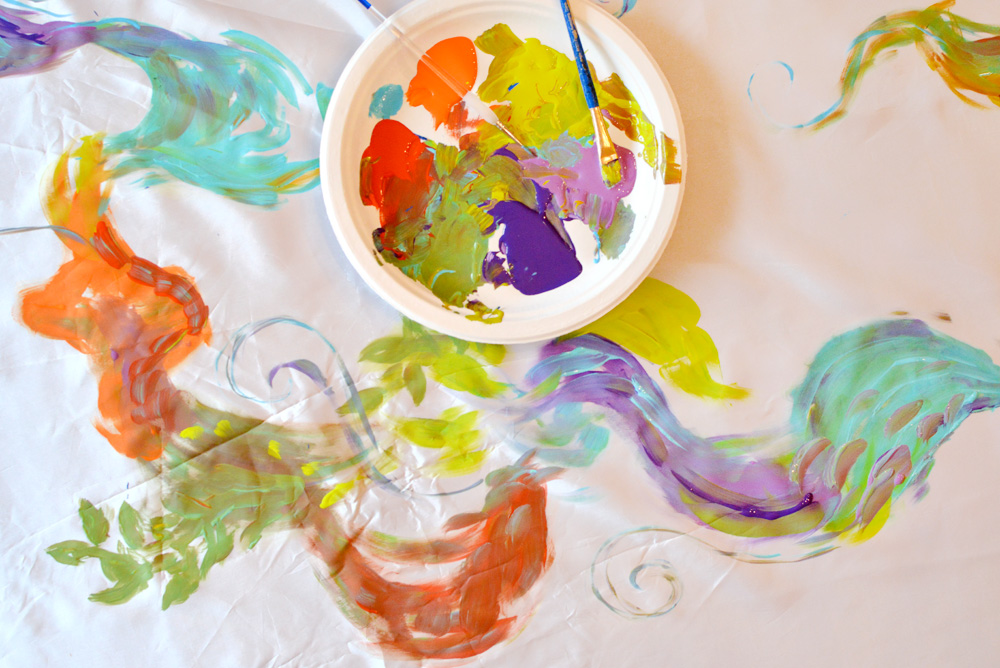
Next, I painted a swirly pattern onto a length of white fabric. I did not want it too perfect. I aimed for an impressionistic look, not a colorful mess. Part of the design reminded me of a peacock. So I leaned into that, adding peacock-inspired elements. I let the colors flow into each other like twisting ribbons.
The best part of painting is that it is forgiving. You can make the project your own. And you can always try again if you mess up!
Cut and Pin the Designs
Once the paint dried, I cut out sections of the fabric. I made several different sizes to work with. Then I pinned the colorful pieces onto my dress. In the photos, the pins and edges do not show. Only the bright, painted design stands out!
Add an Artificial Flower Bouquet
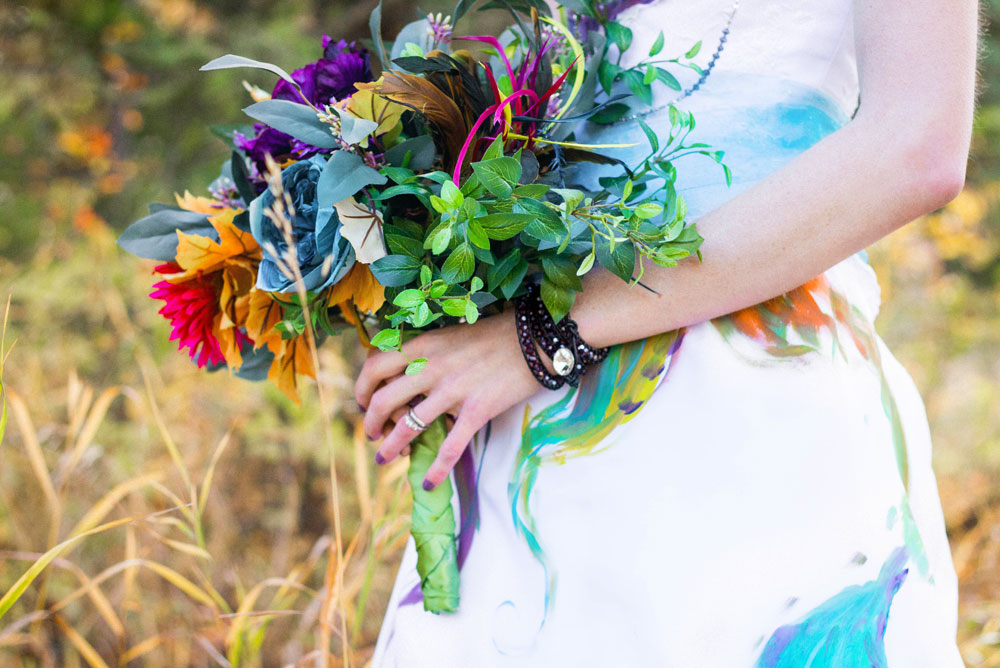
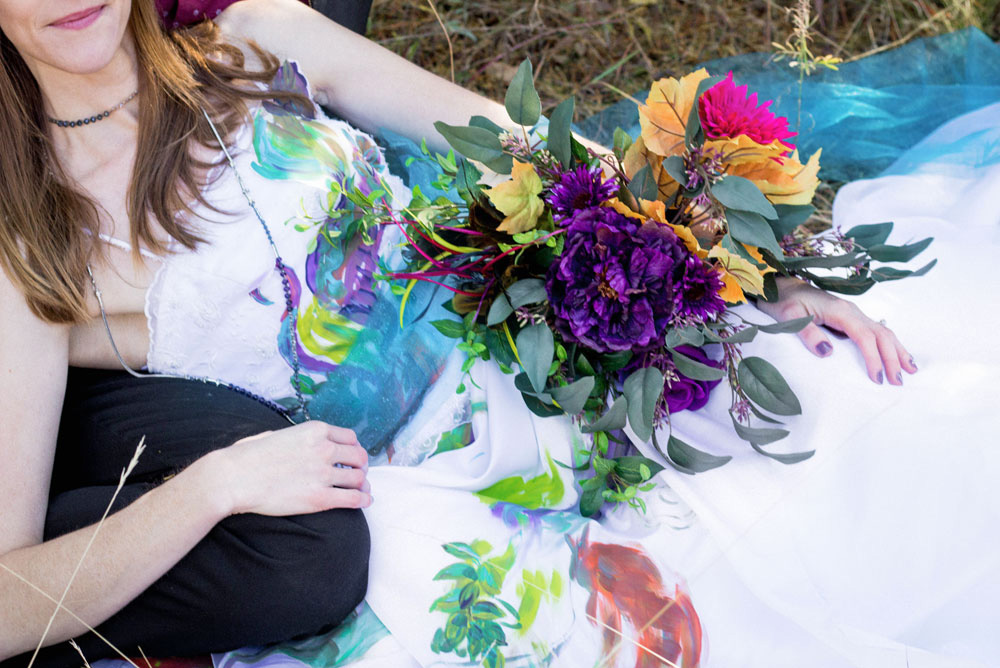
I also made a bouquet from artificial flowers. I chose colorful blooms accented with greenery and feathers. Artificial bouquets are popular with brides now, and I love the idea. Real flowers are expensive and wilt easily.
In fact, it hit 90 degrees on our real wedding day. Our fresh bouquets wilted fast! An artificial bouquet can be made ahead of time. You can even add feathers, rhinestones, and other pretty details.
The Photoshoot
Then came the fun part, the photoshoot. I worked with my friend Heather to capture the fall-inspired photos. The jewel tones popped against the autumn colors around our home. And any excuse to take photos with my husband is a good one!
Ten Years of Marriage
More than the photos, this project was about celebrating ten years. Our wedding was pretty. But our marriage and family life have been even more meaningful.
In ten years, we have moved through several career changes. We have lived in different states. We have welcomed our children and grown together. Life offers so many different paths. Everyone gets their own mix of joys, challenges, and memories. I am simply thankful for mine.
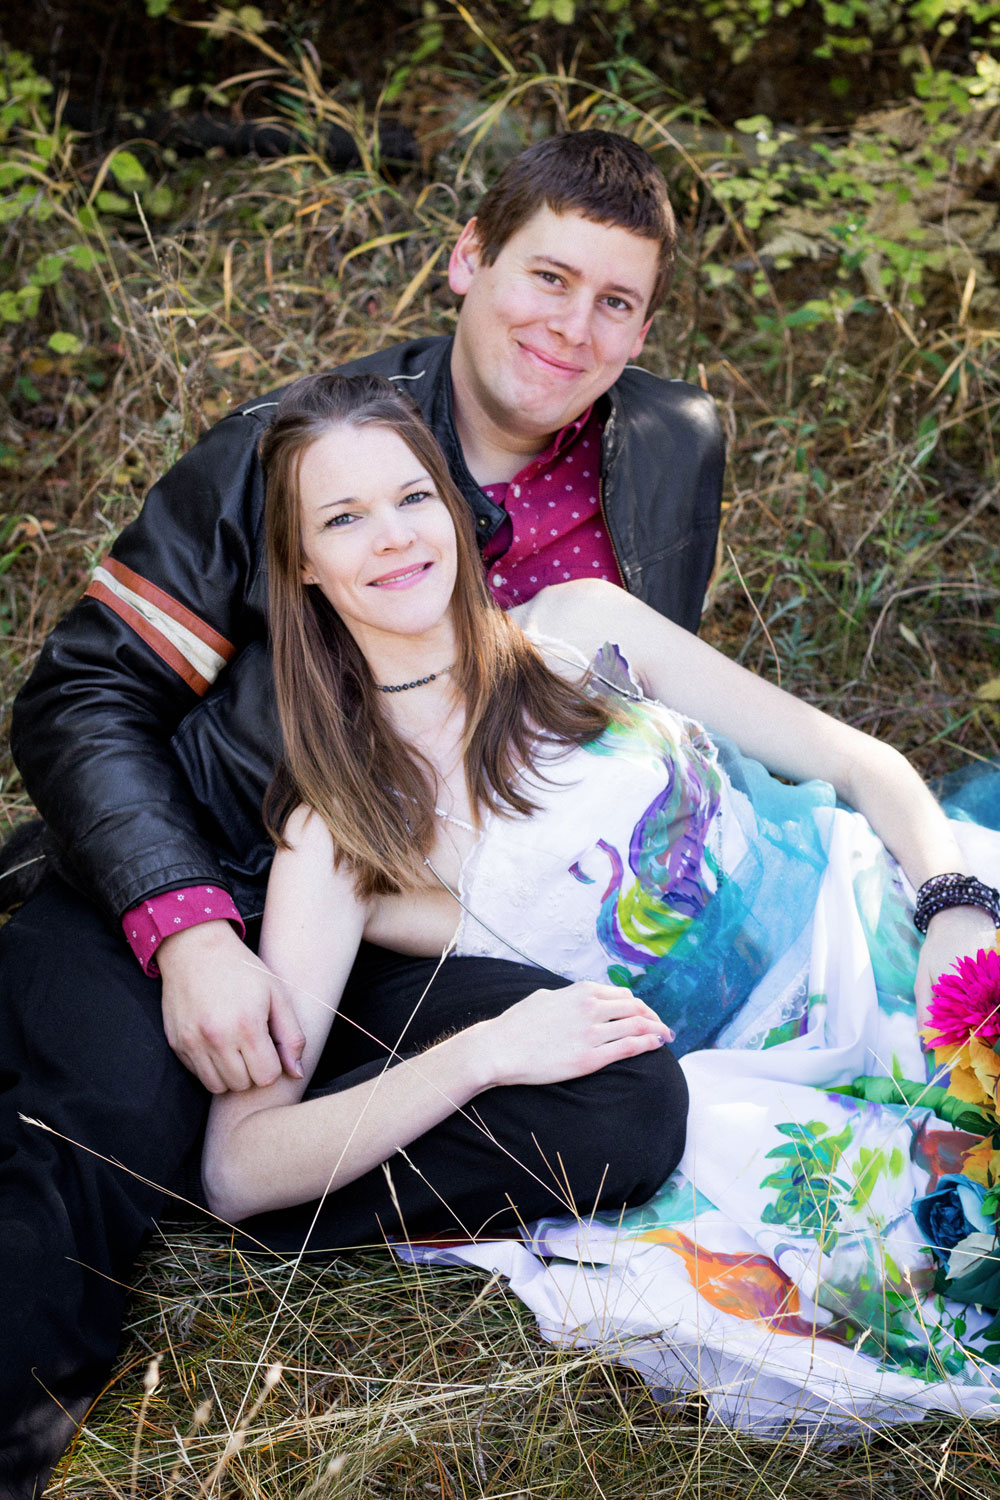
Our trash the dress photos made such a fun memory. And “trashing” my dress turned out to be surprisingly easy. You could customize this idea with any colors you love. I hope it inspires your own creative celebration!
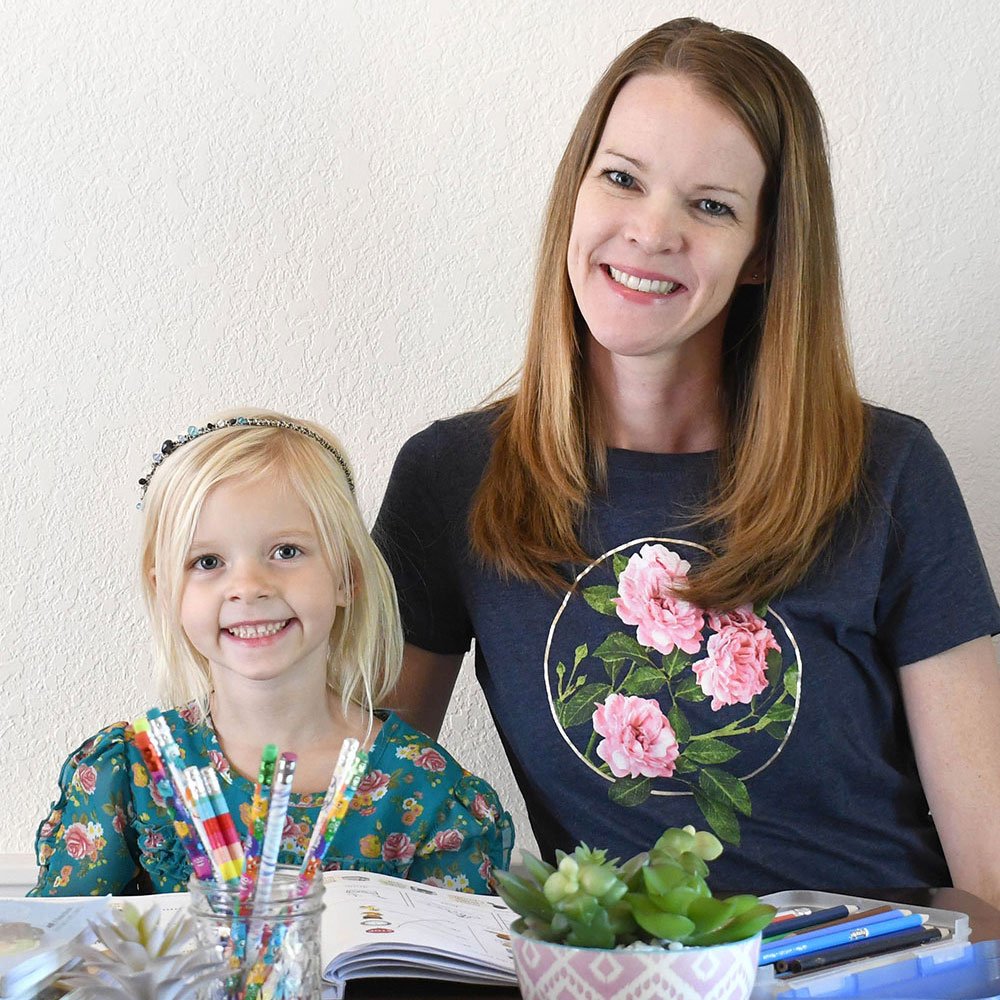
Hi, I’m Katie! I’m a homeschool mom who’s traveling the world with my husband and 4 kids. We raised our family in North Idaho and currently live in Mérida, Mexico. I love Jesus, coffee, creative projects, photography, and traveling. I hope you enjoy our creative ideas and family adventures!