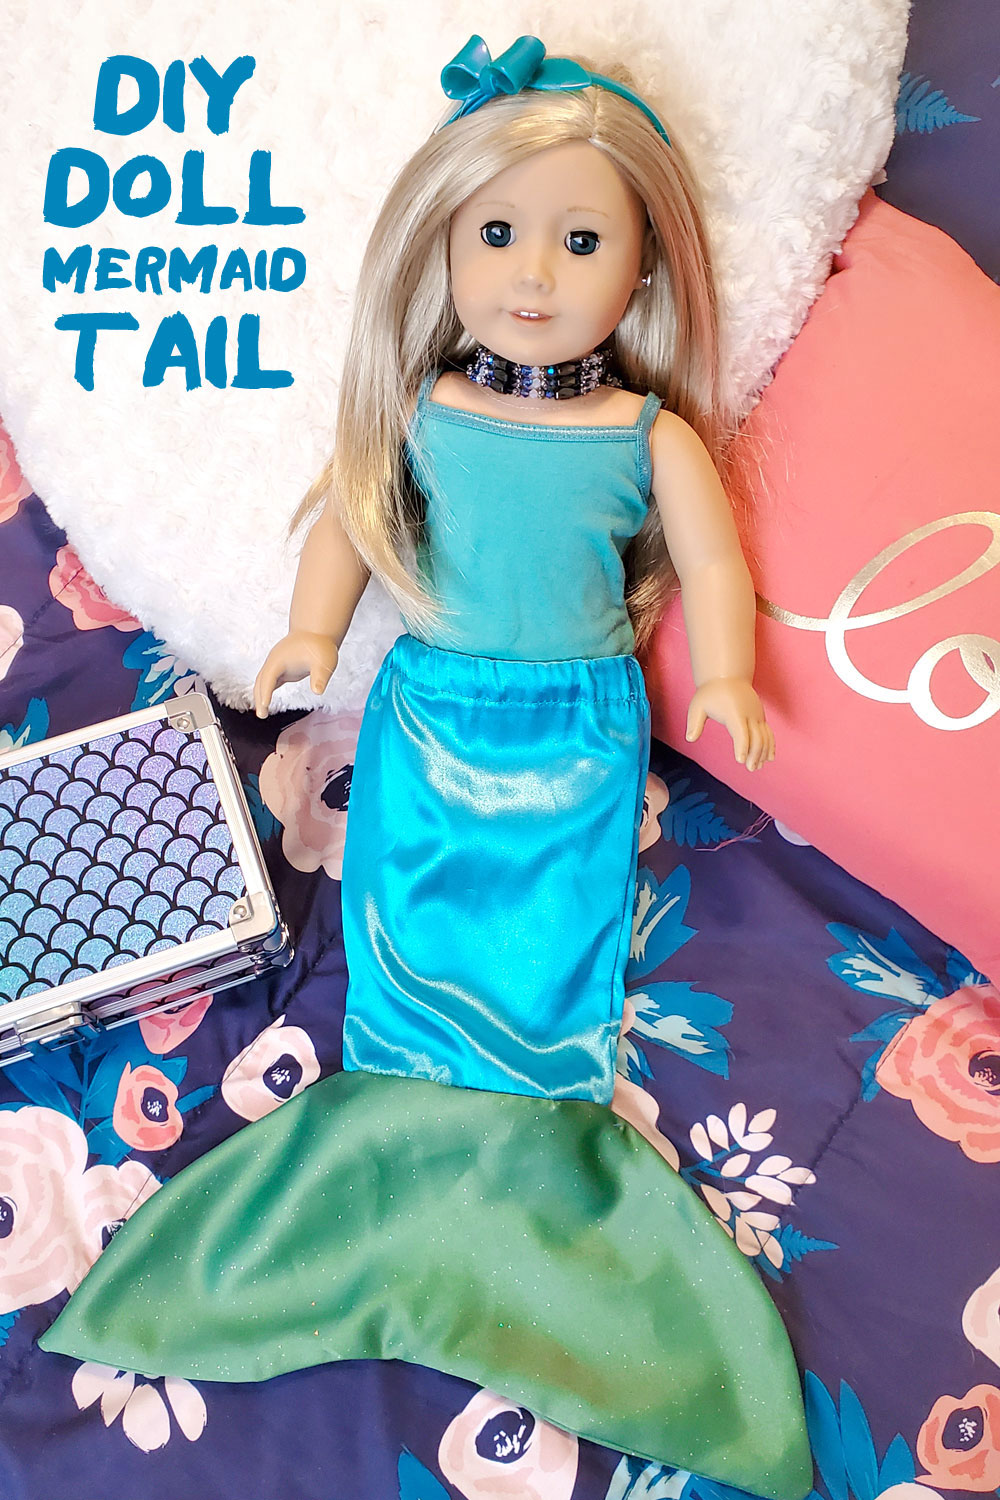
Many little girls love dressing up their dolls. At our house, princess dresses and mermaid tails are my girls’ top doll outfits of choice. Custom doll accessories make dress-up even more fun! I’ve been making DIY doll clothes since I was a little girl. I designed a few Barbie outfits with my grandma and she taught me how to sew them. Now I can inspire my own daughters by teaching them some basic sewing and design skills. I made coordinating mermaid tails for my girls 14″ WellieWishers dolls and 18″ American Girl dolls. Doll mermaid tails are quick to sew because of their small size and short seams. You can use these tips to create mermaid tails for a doll of any size!
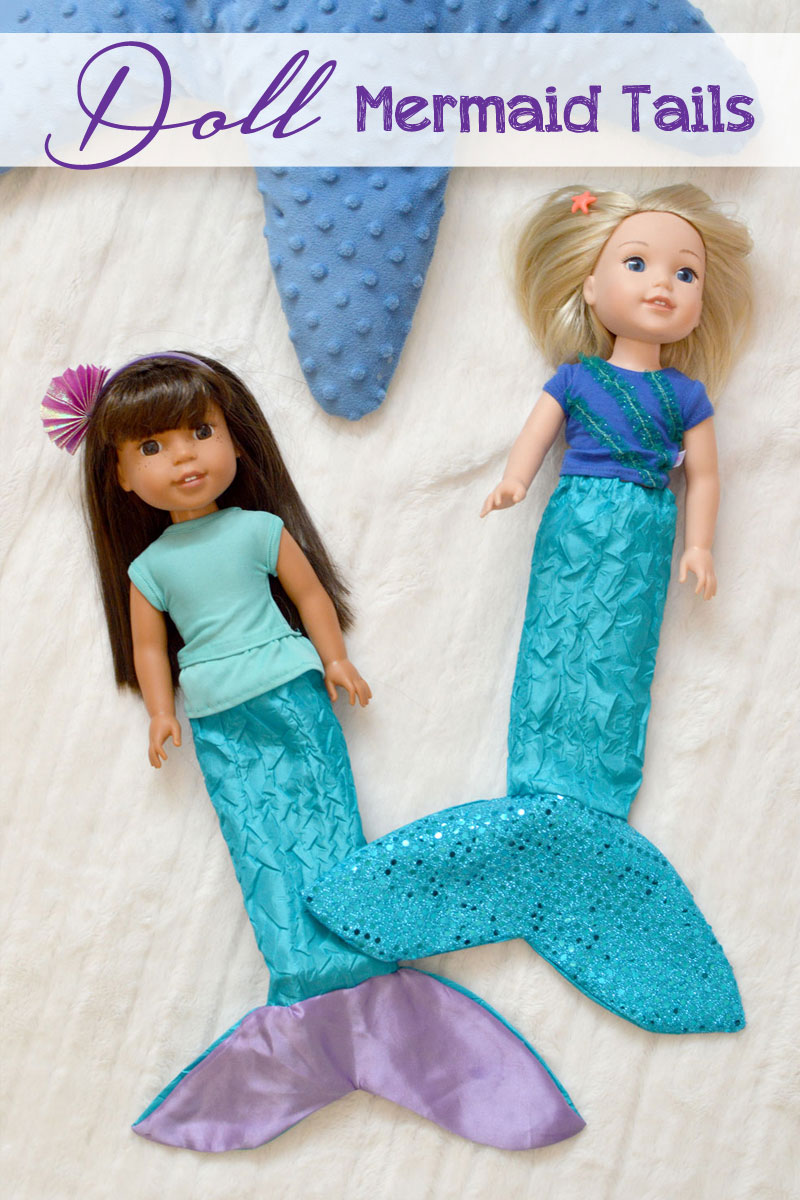
DIY 14″ and 18″ Doll Mermaid Tails
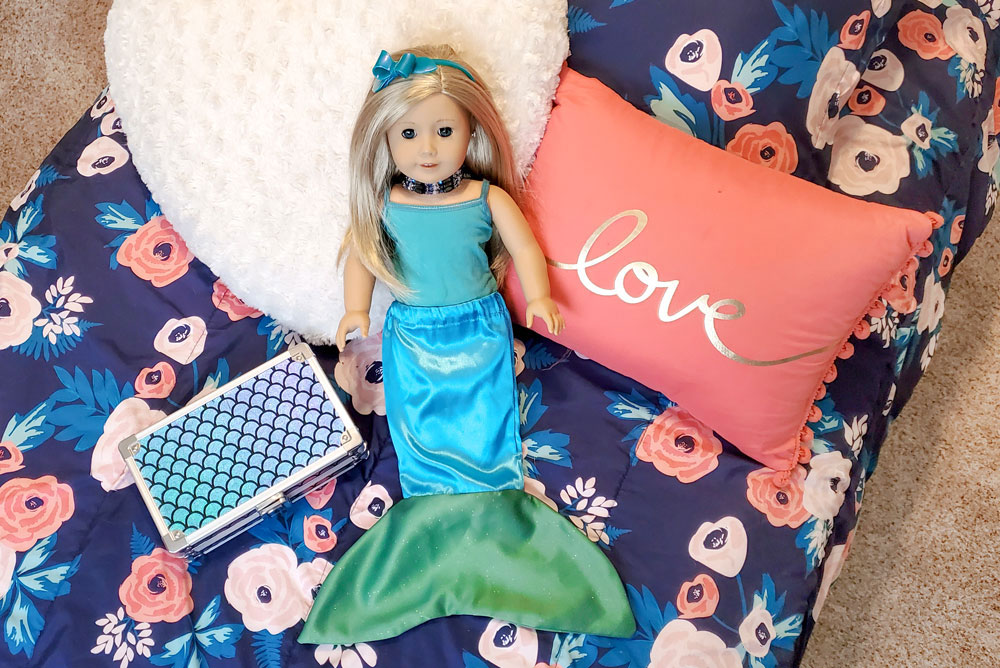
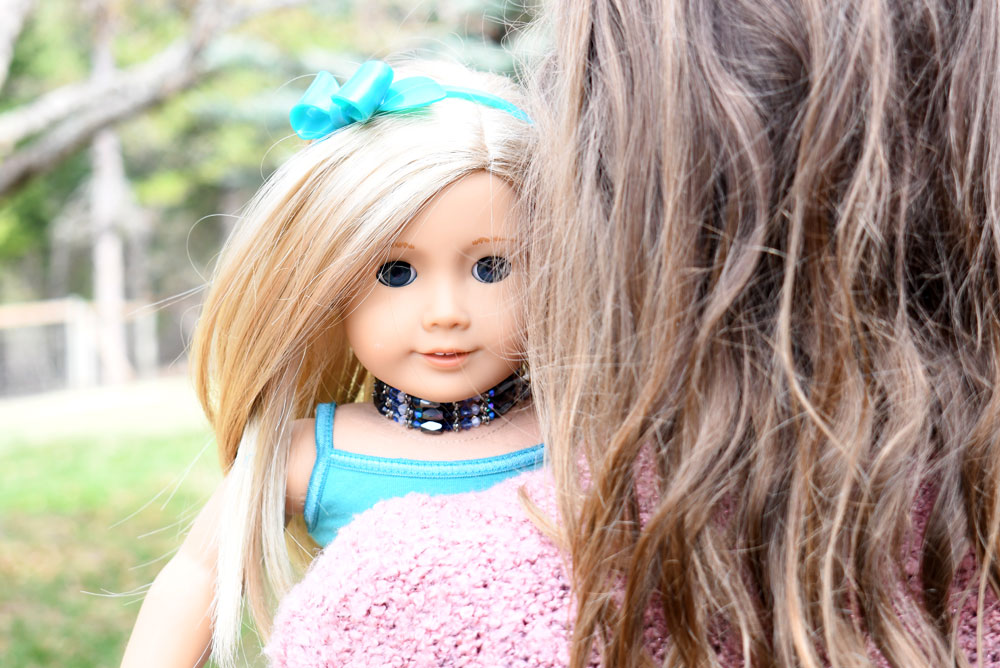
I made doll mermaid tails for the 14″ WellieWisher dolls Ashlyn and Camille and my daughter’s 18″ Truly Me American Girl doll. You can find my free printable pattern below for mermaid tails for 14″ dolls and 18″ dolls. Follow these steps to make your own doll mermaid tail!
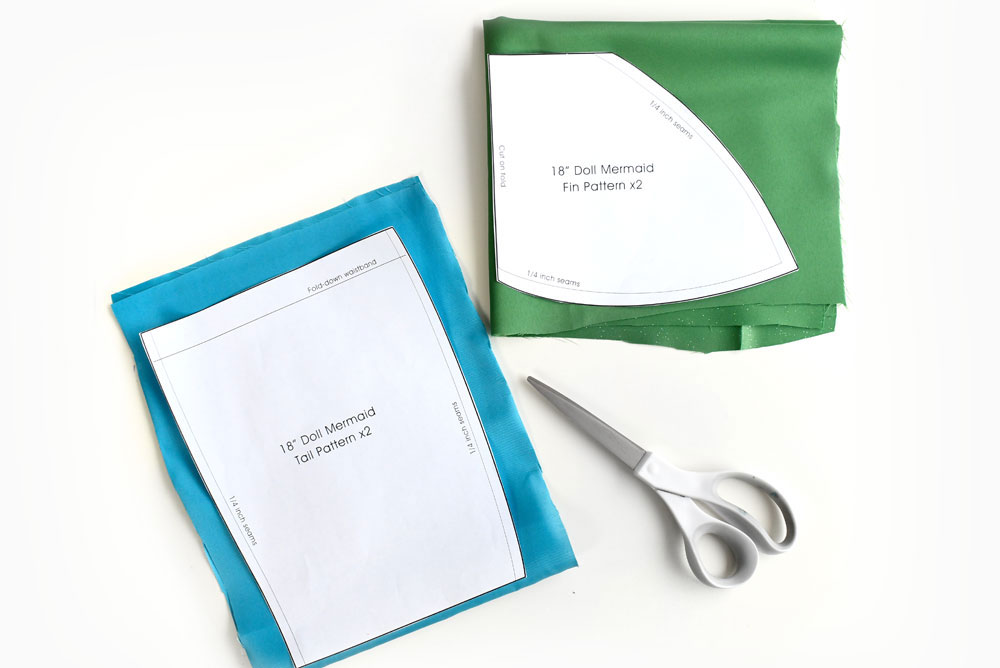
First, download our printable pattern or measure how large the tail and fin should be using your doll. This sewing project tutorial requires some basic knowledge of sewing techniques such as how to use a sewing machine and how to make seams. You’ll also need to know how to use both the straight stitch and zig-zag stitch on your sewing machine.
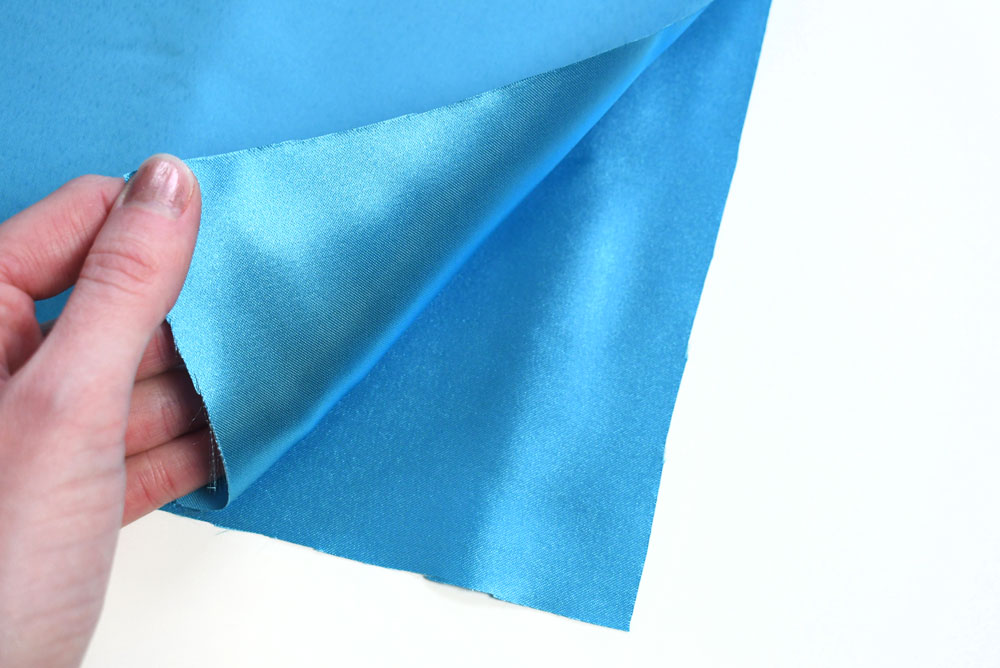
Lay your fabric “right-sides-together”. This means that you fold the fabric over into 2 layers so the right (front) sides of the fabric are touching each other on the inside. The back sides of the fabric will be showing on the outside.
Cut the fabric
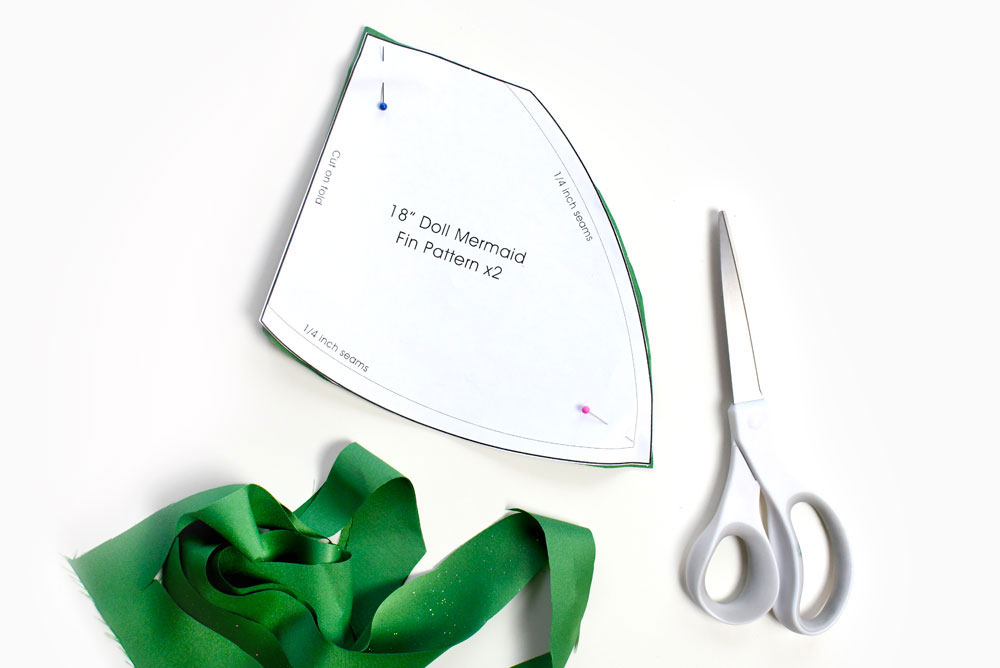
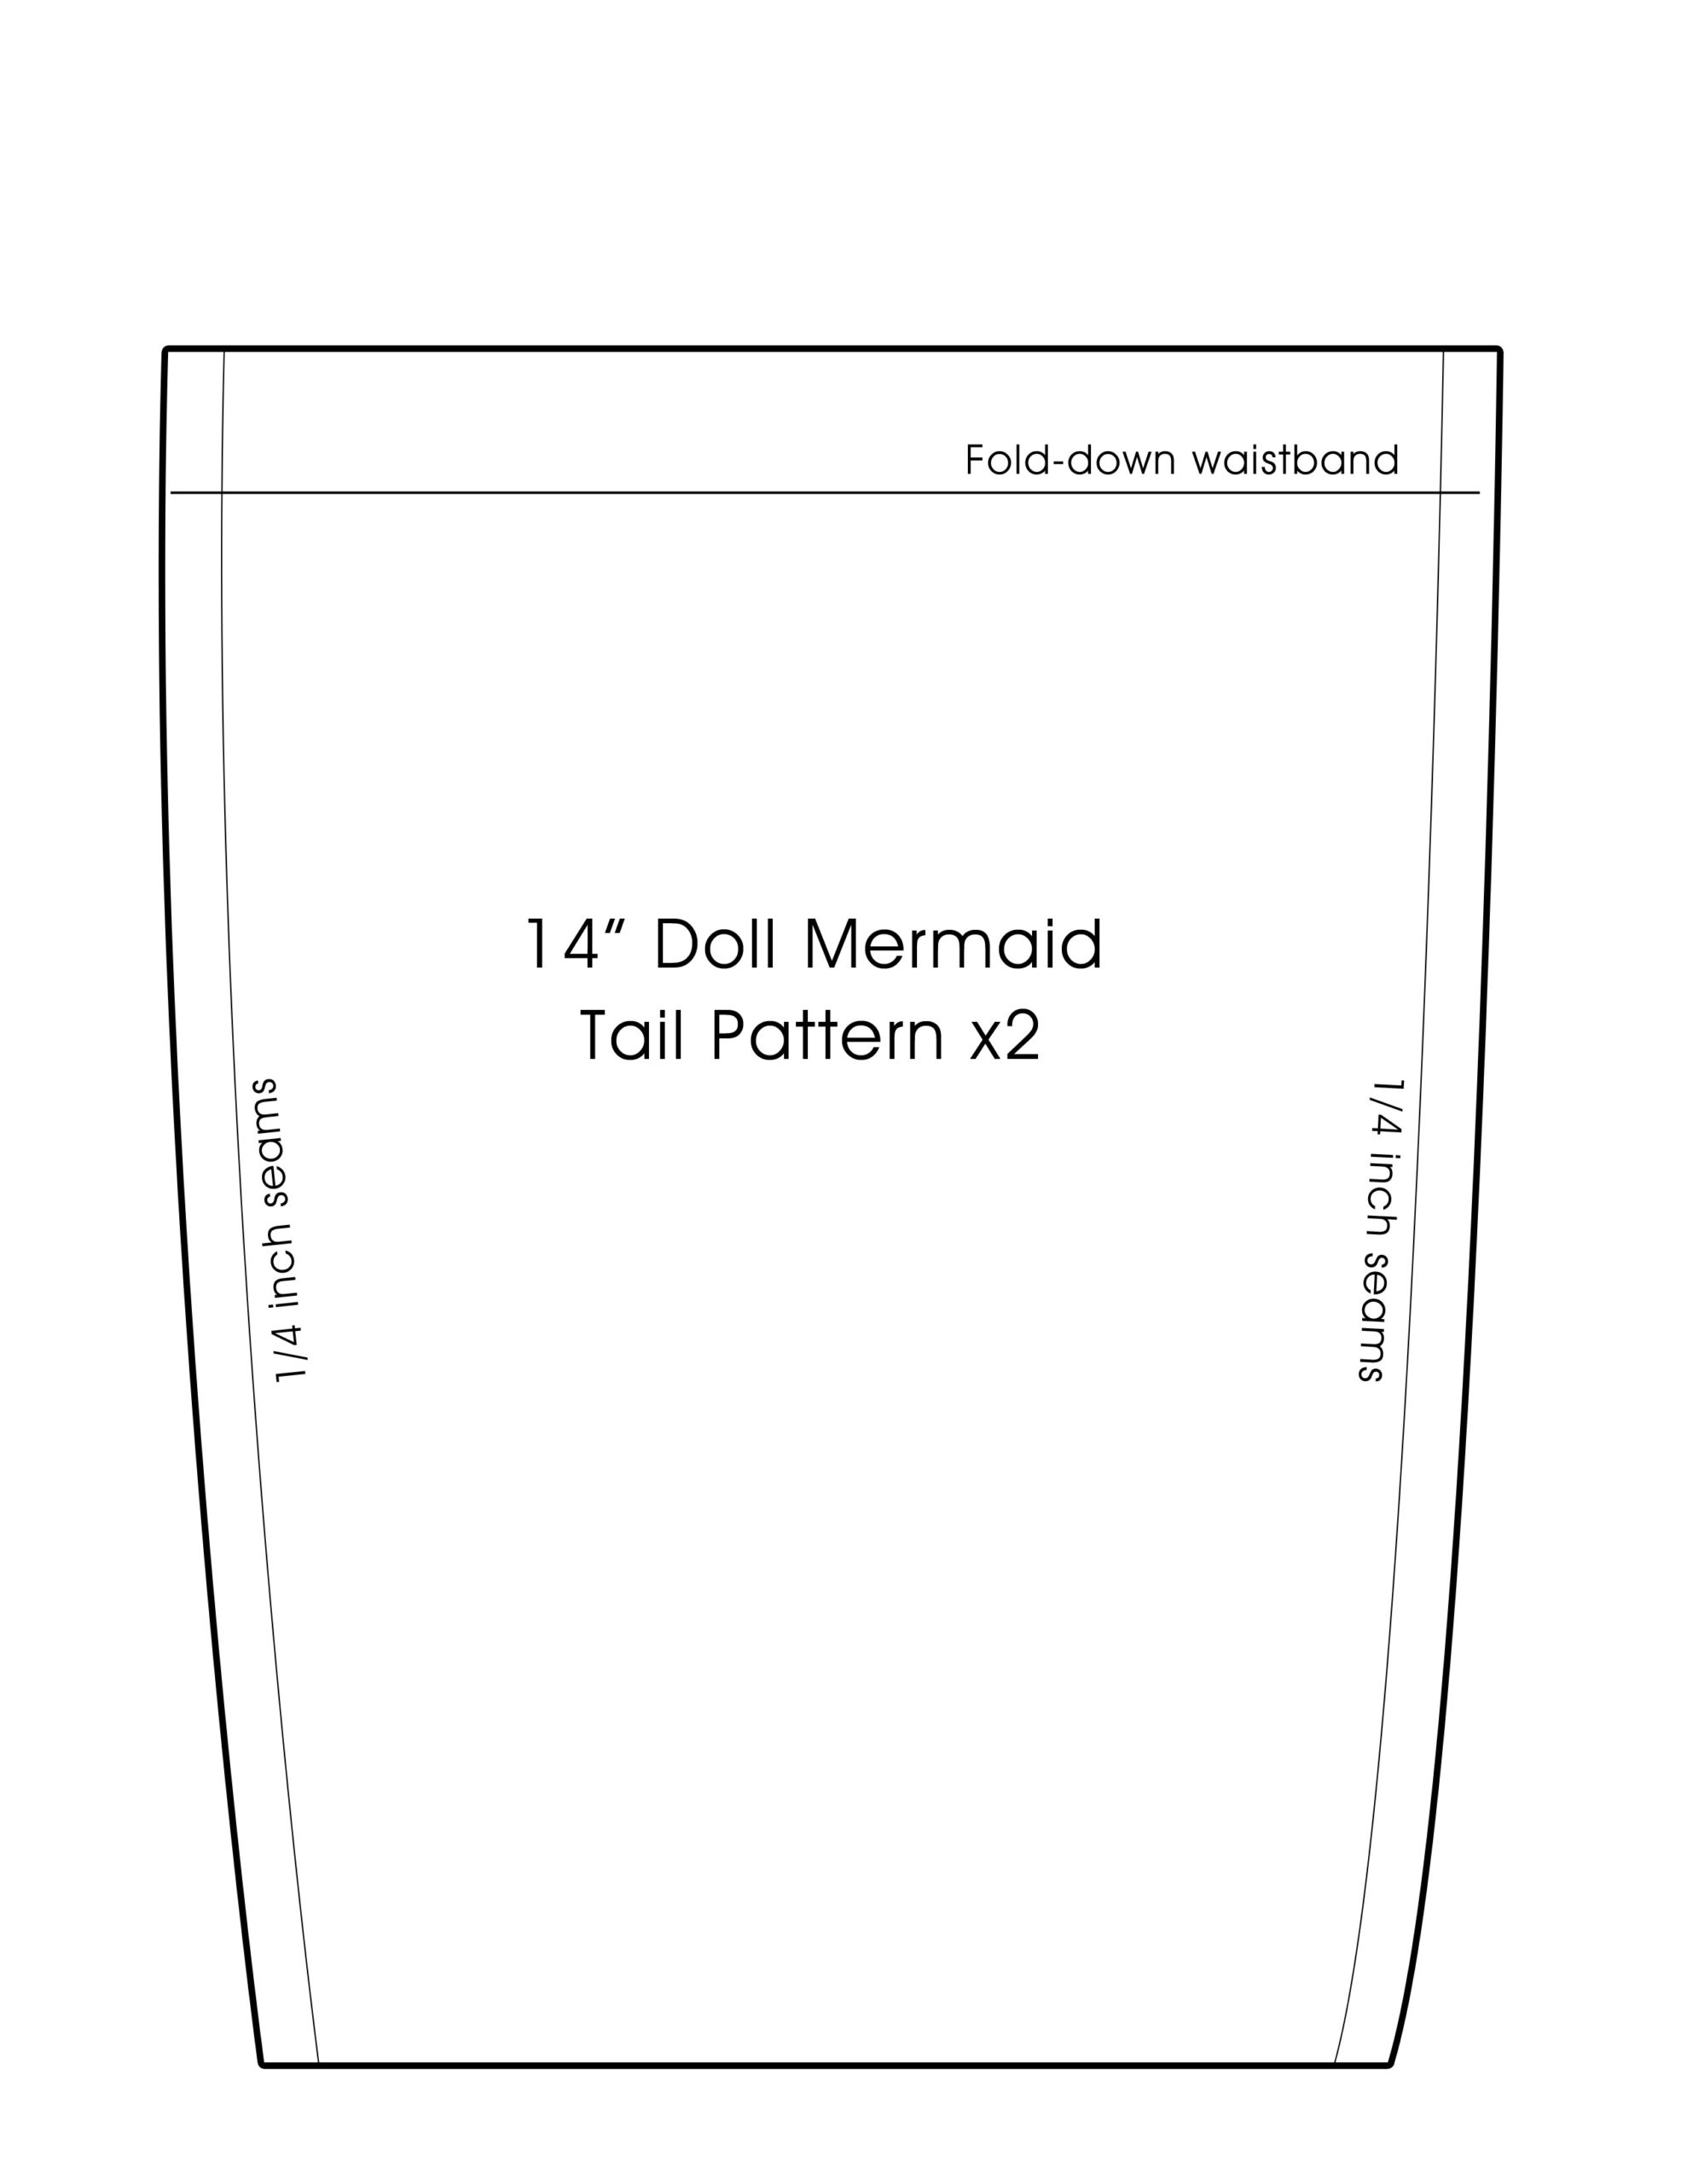
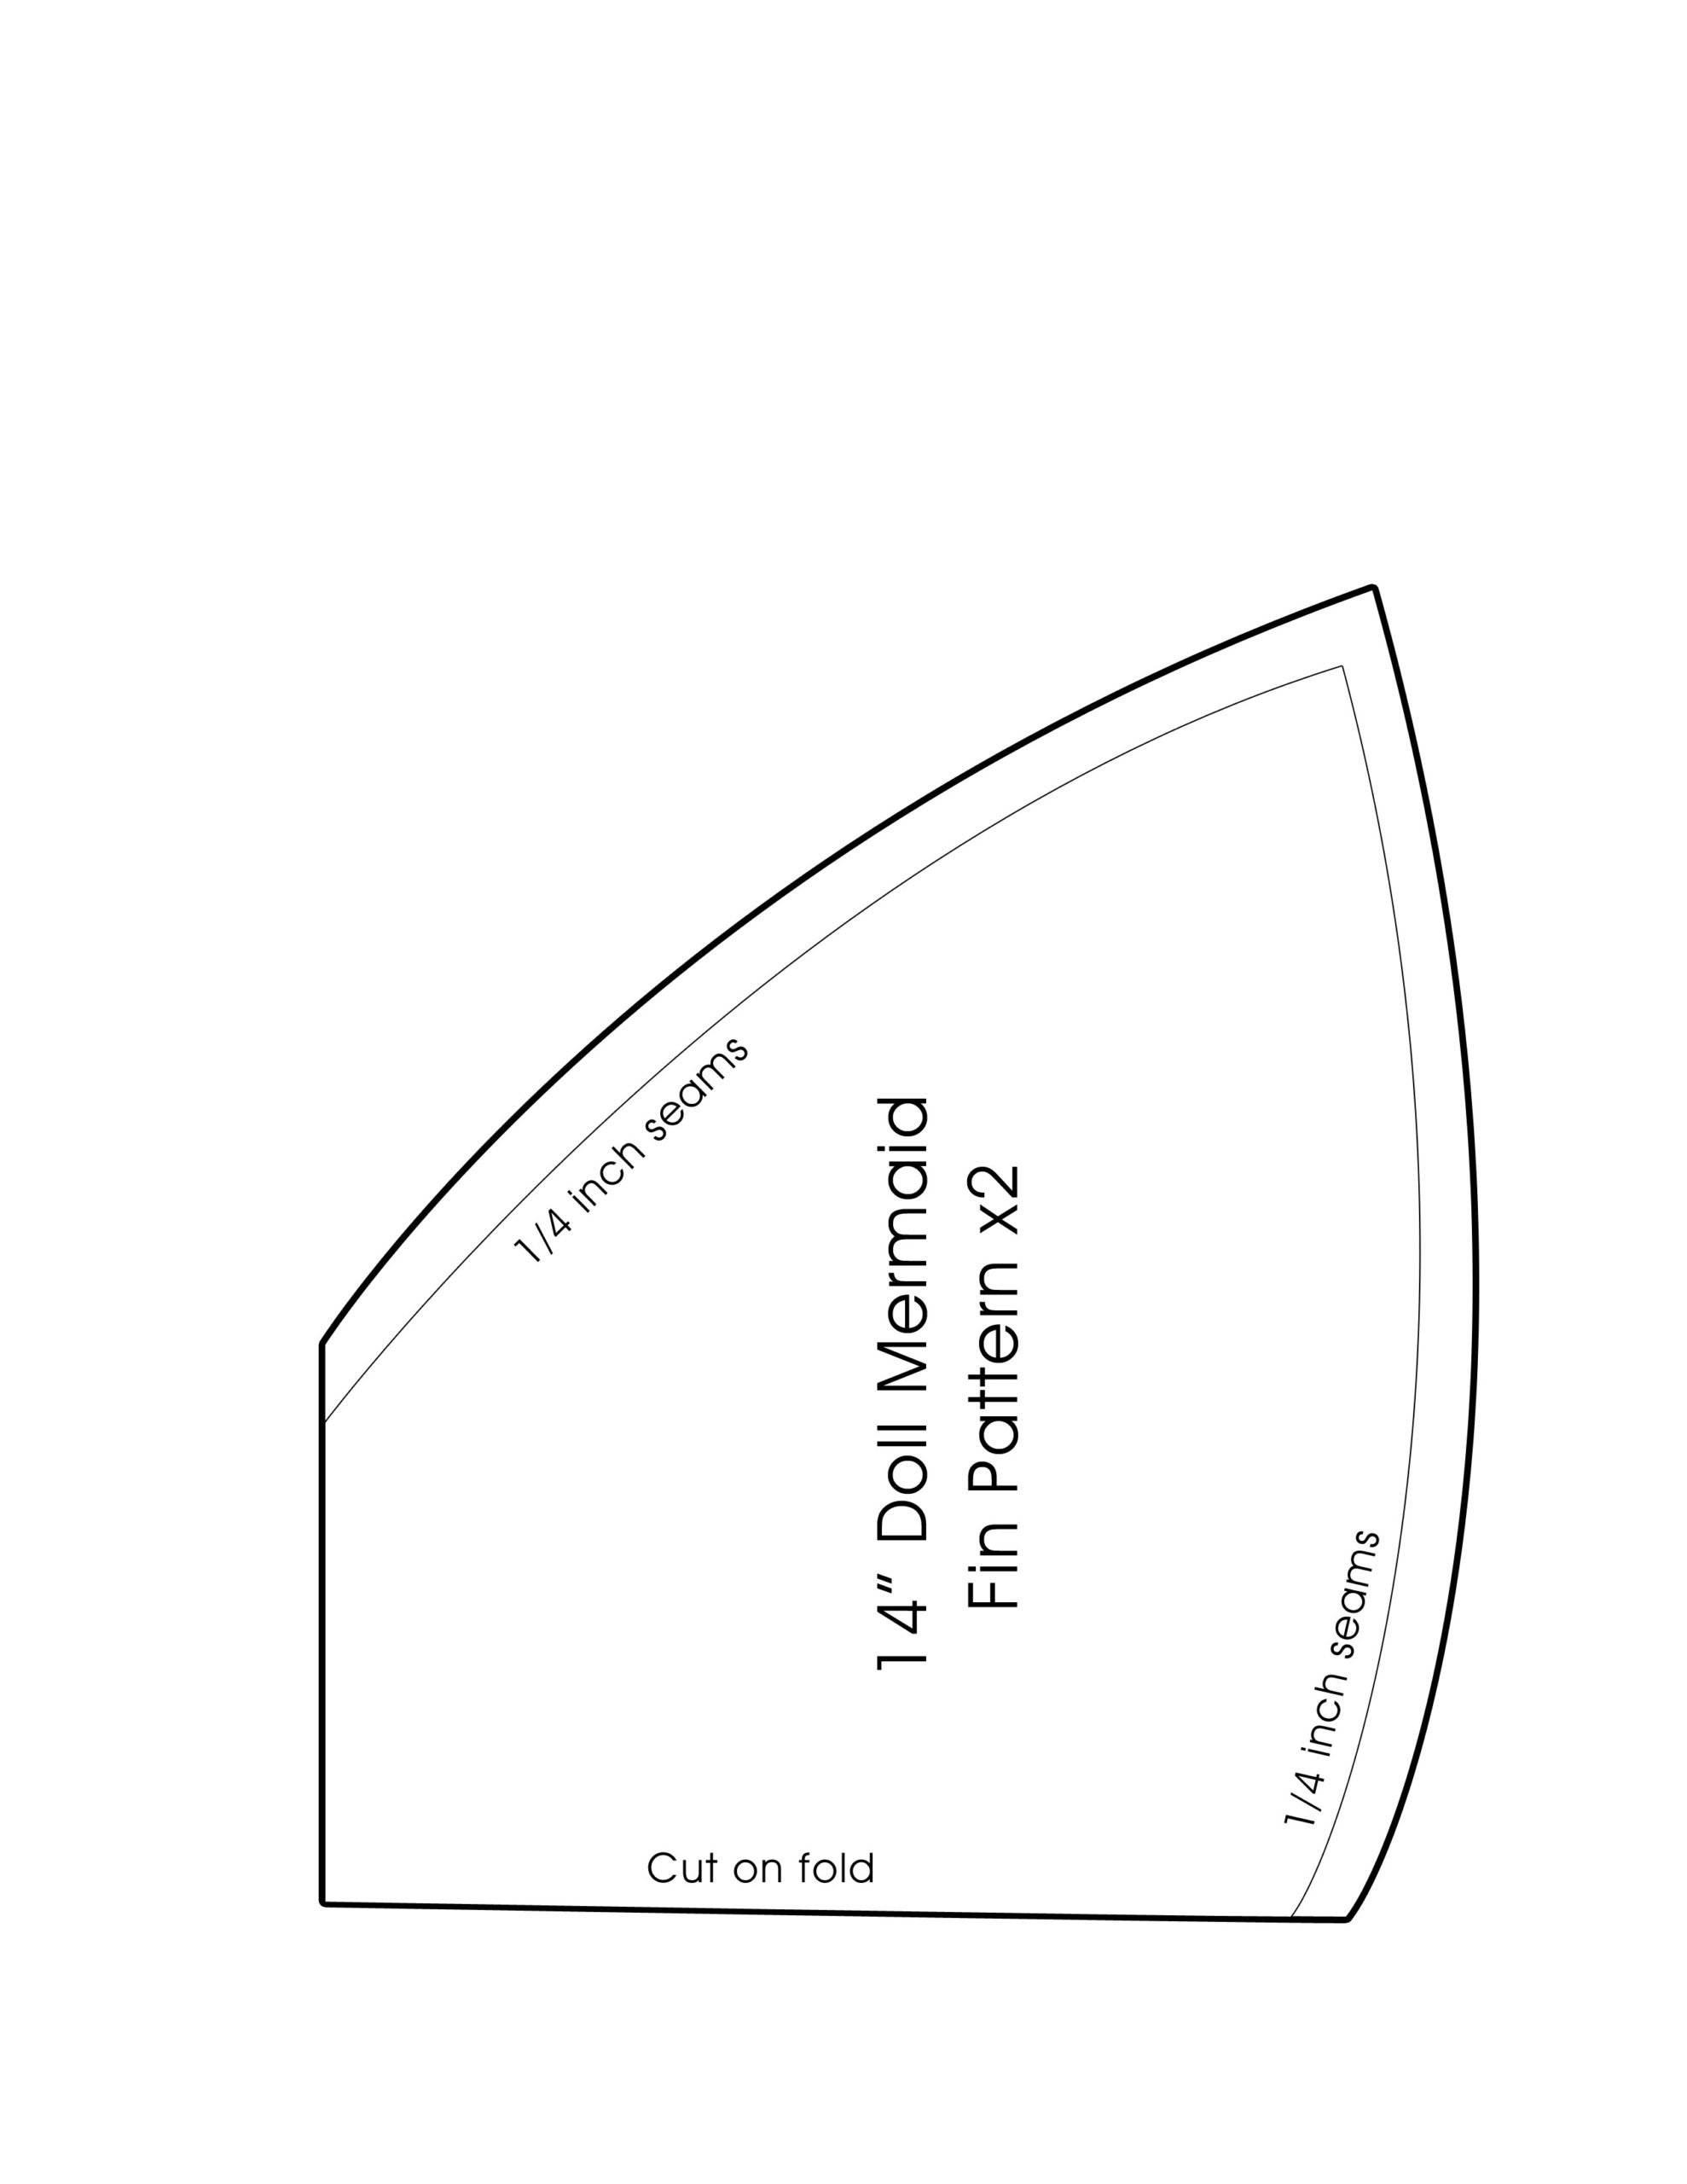
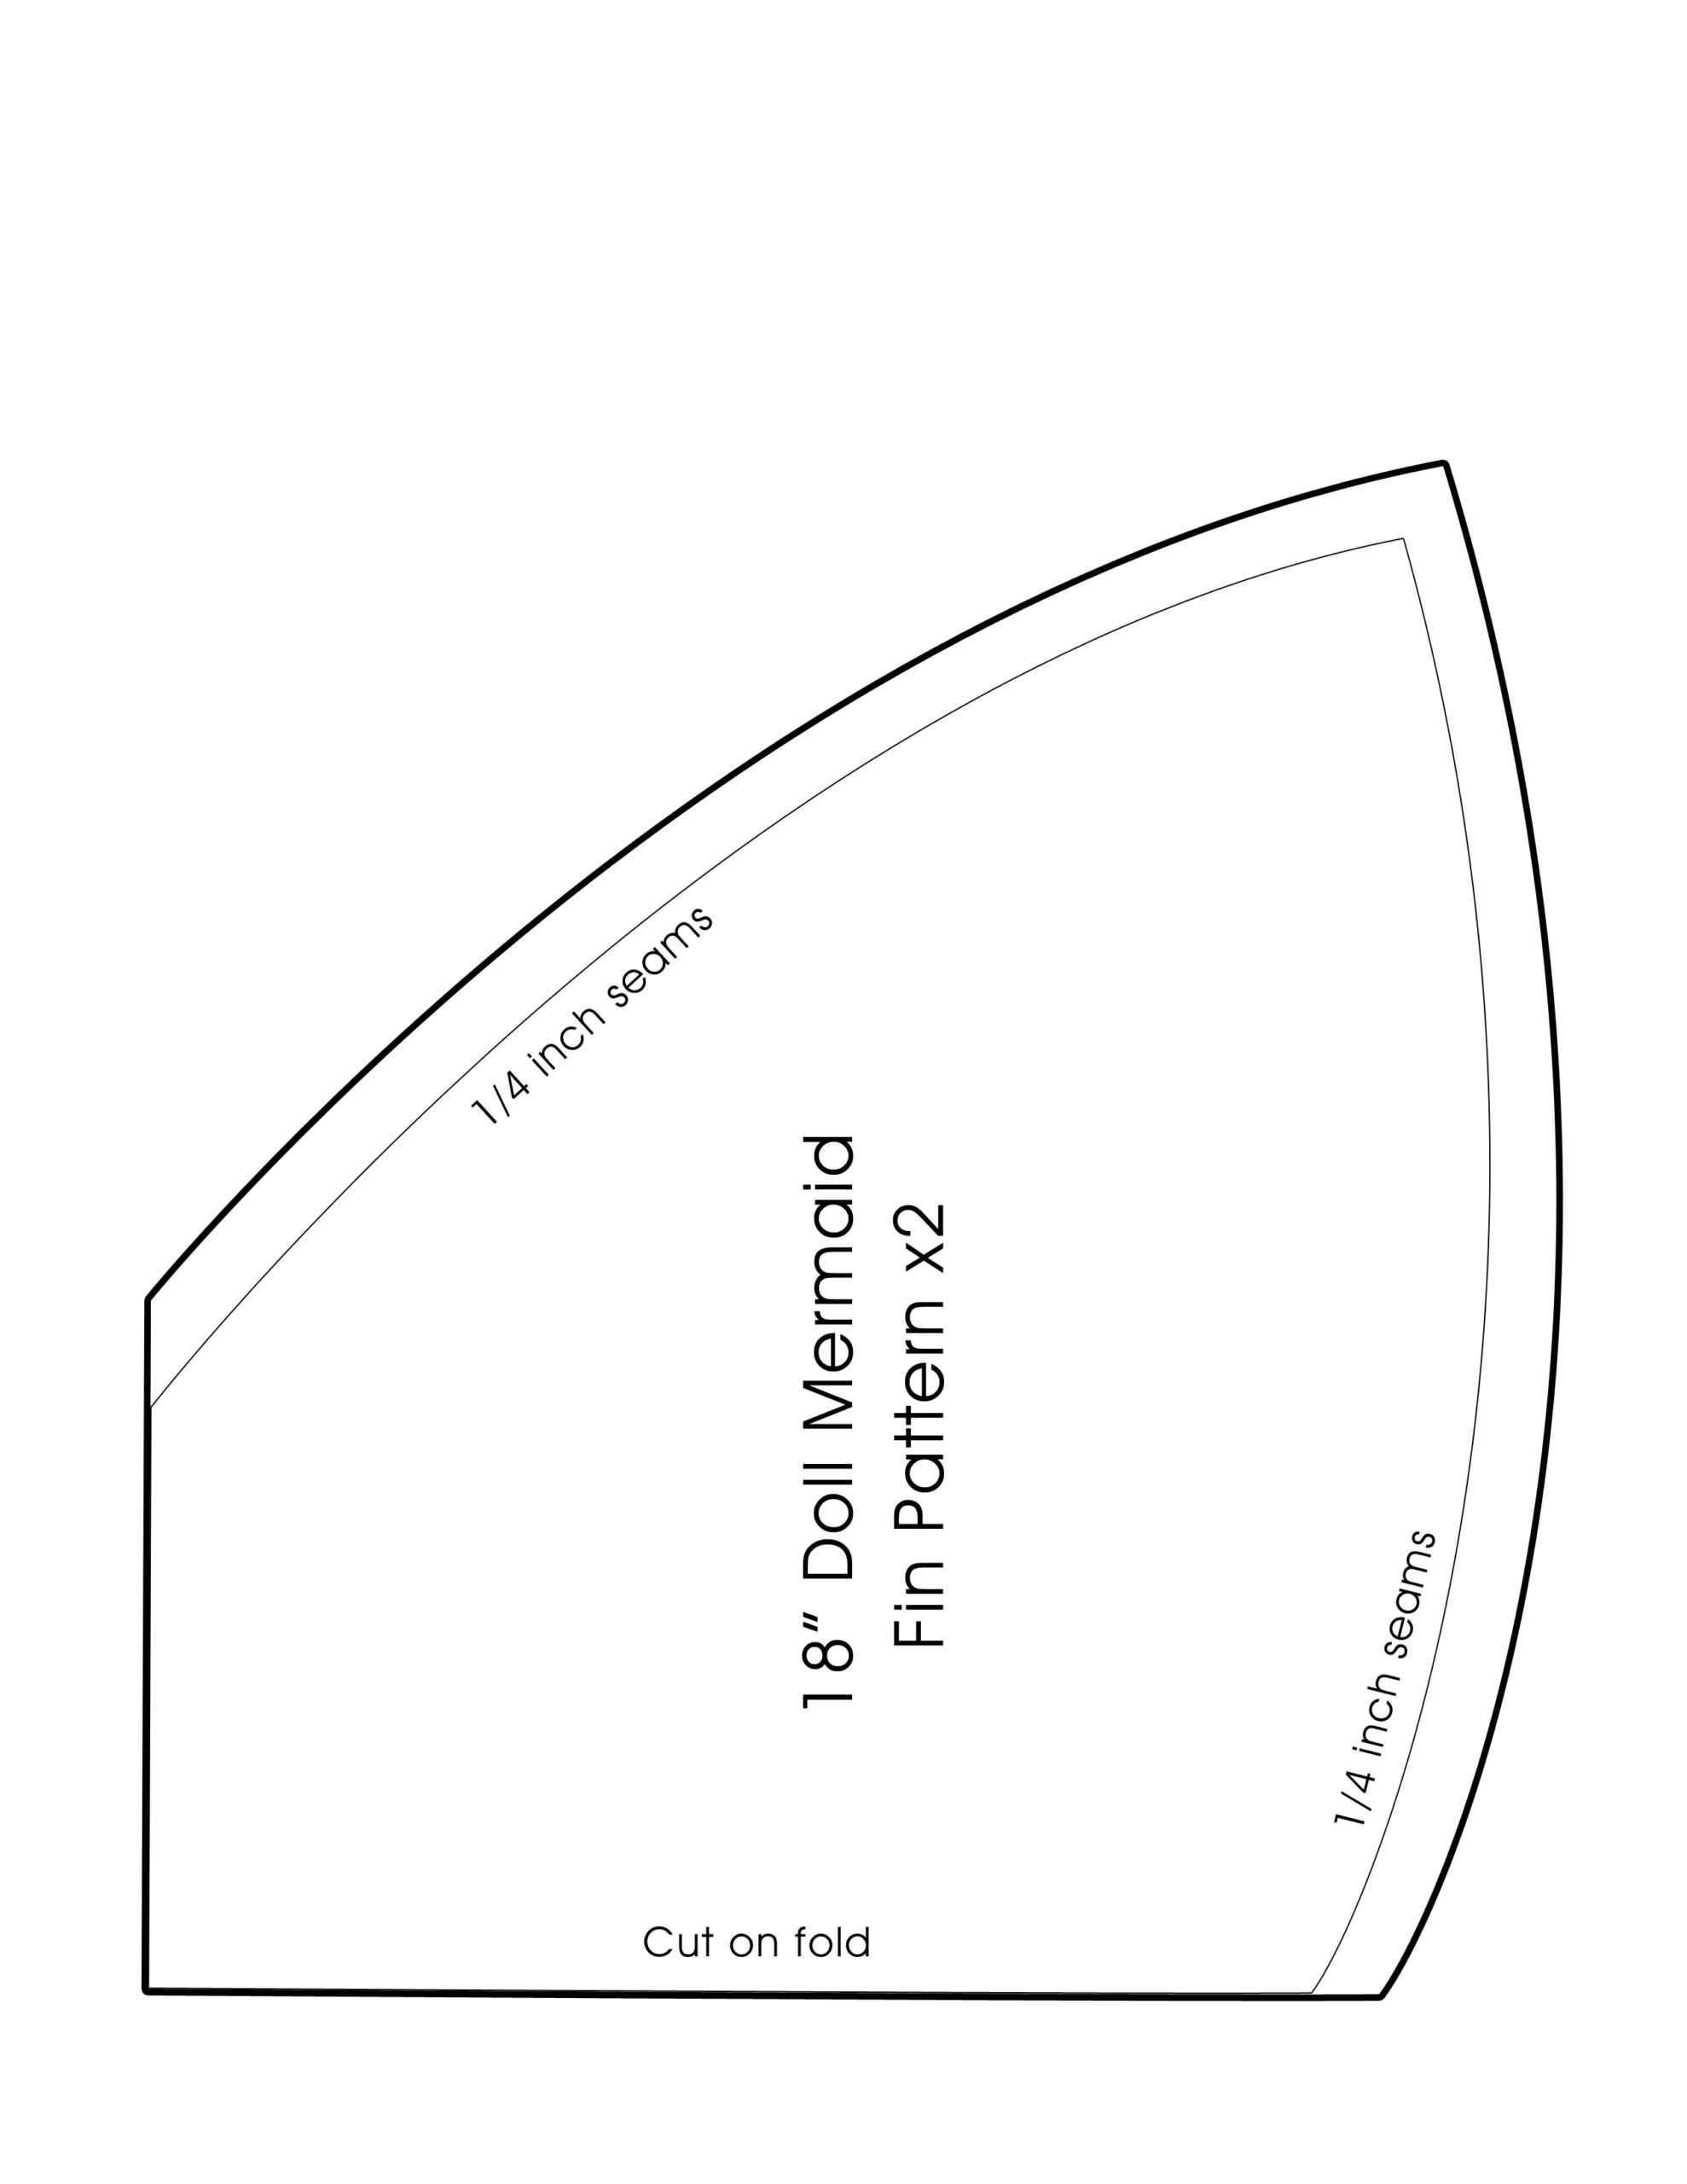
Cut out two pieces of fabric for the tail (doll tail pattern) and two pieces of fabric for the fin (doll fin pattern). The patterns include room for 1/4 inch seams. Use a few pins to hold the patterns in place while you cut.
Sew the inner seams
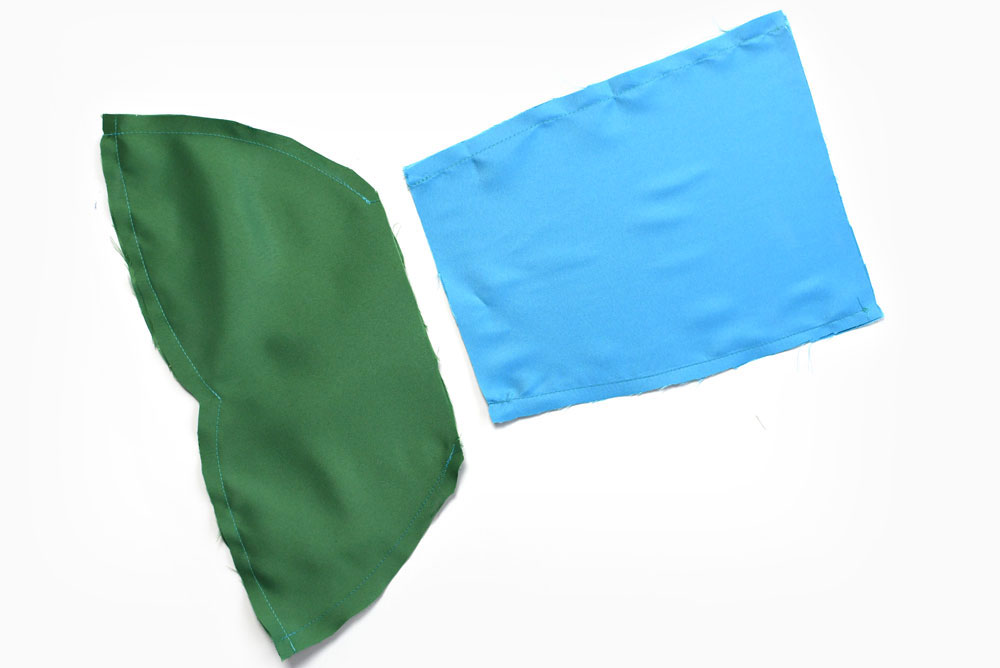
Set your sewing machine to a standard straight stitch. Sew along the sides of the two pieces of tail fabric (right-sides together) about 1/4″ from the edge. This will create a tube of fabric.
Sew around the edges of the two pieces of fin fabric (right sides together) about 1/4″ from the edge. Leave the opening at the top of the fin to connect it to the tail.
Attach the fin to the tail
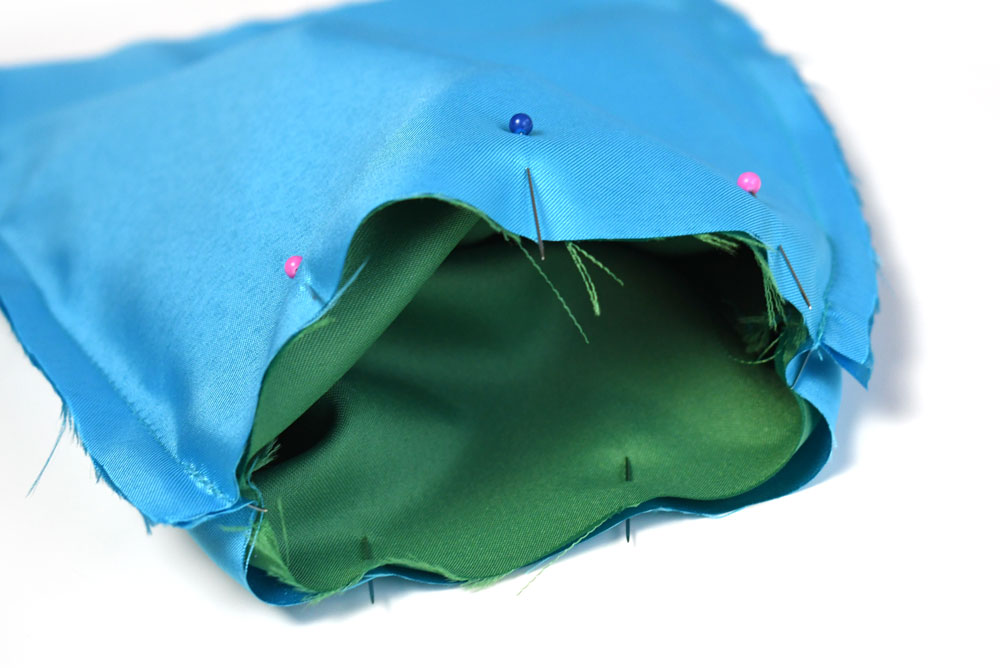
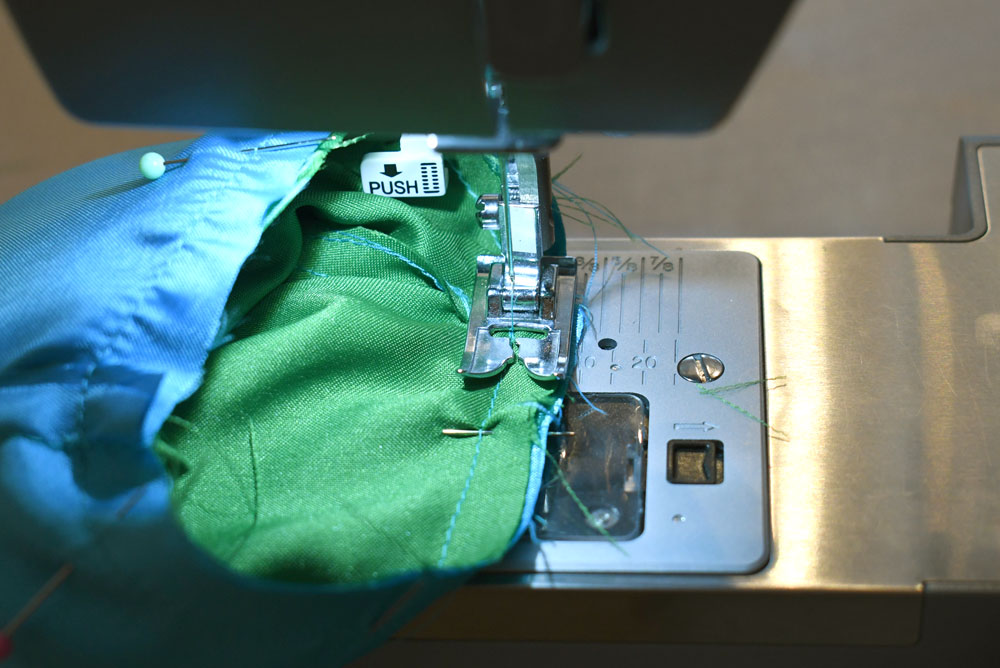
Turn the fin right-sides-out. Slip the fin inside the tail tube upside down and sew the edges of the tail and fin together, creating a circle (see pictures below). Make sure to not sew the fin closed so the doll’s feet can fit through.
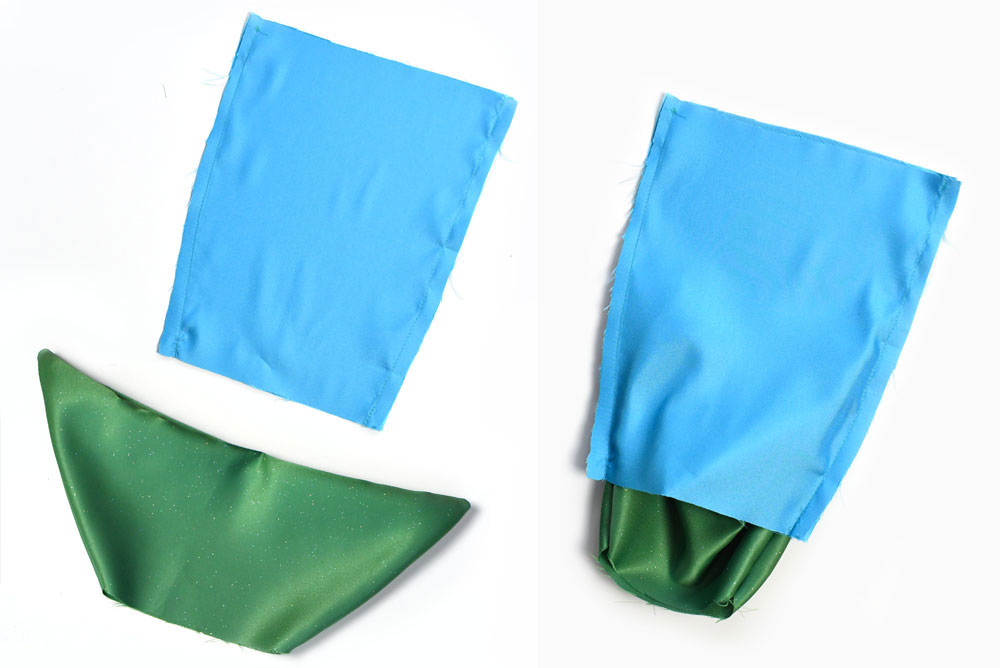
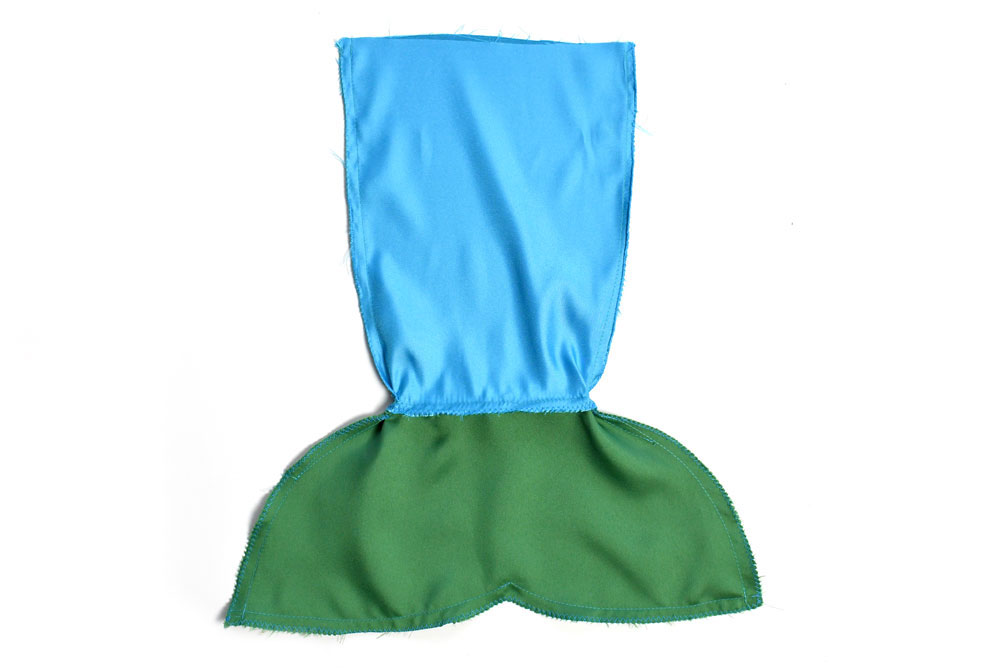
Once you’ve sewn the fin on, pull the fin out of the tail and iron the fabric to smooth out wrinkles. To finish the seams, use the zig-zag stitch to reinforce each side of the mermaid tail and around the fin. This will also help keep the silky fabric from fraying.
Make the waistband
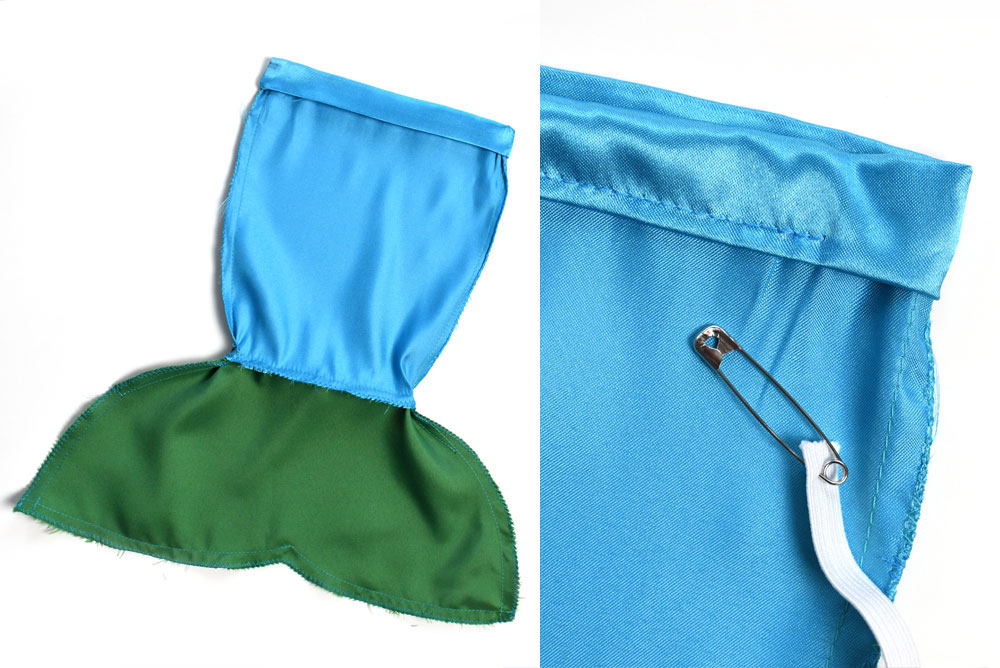
Fold down the top of the mermaid tail twice to create a waistband. Iron the waistband to keep it in place and sew about 1/8 inch along the edge, being careful to not sew the mermaid tail closed. Leave an opening in the waistband stitching to slide elastic through. Attach a safety pin to the end of a piece of elastic and slide it through the opening you left in the waistband. Feed the elastic around the entire waistband, until you reach the opening again. Sew the two ends of the elastic together, and then sew the hole in the waistband stitching closed.
Trim and iron
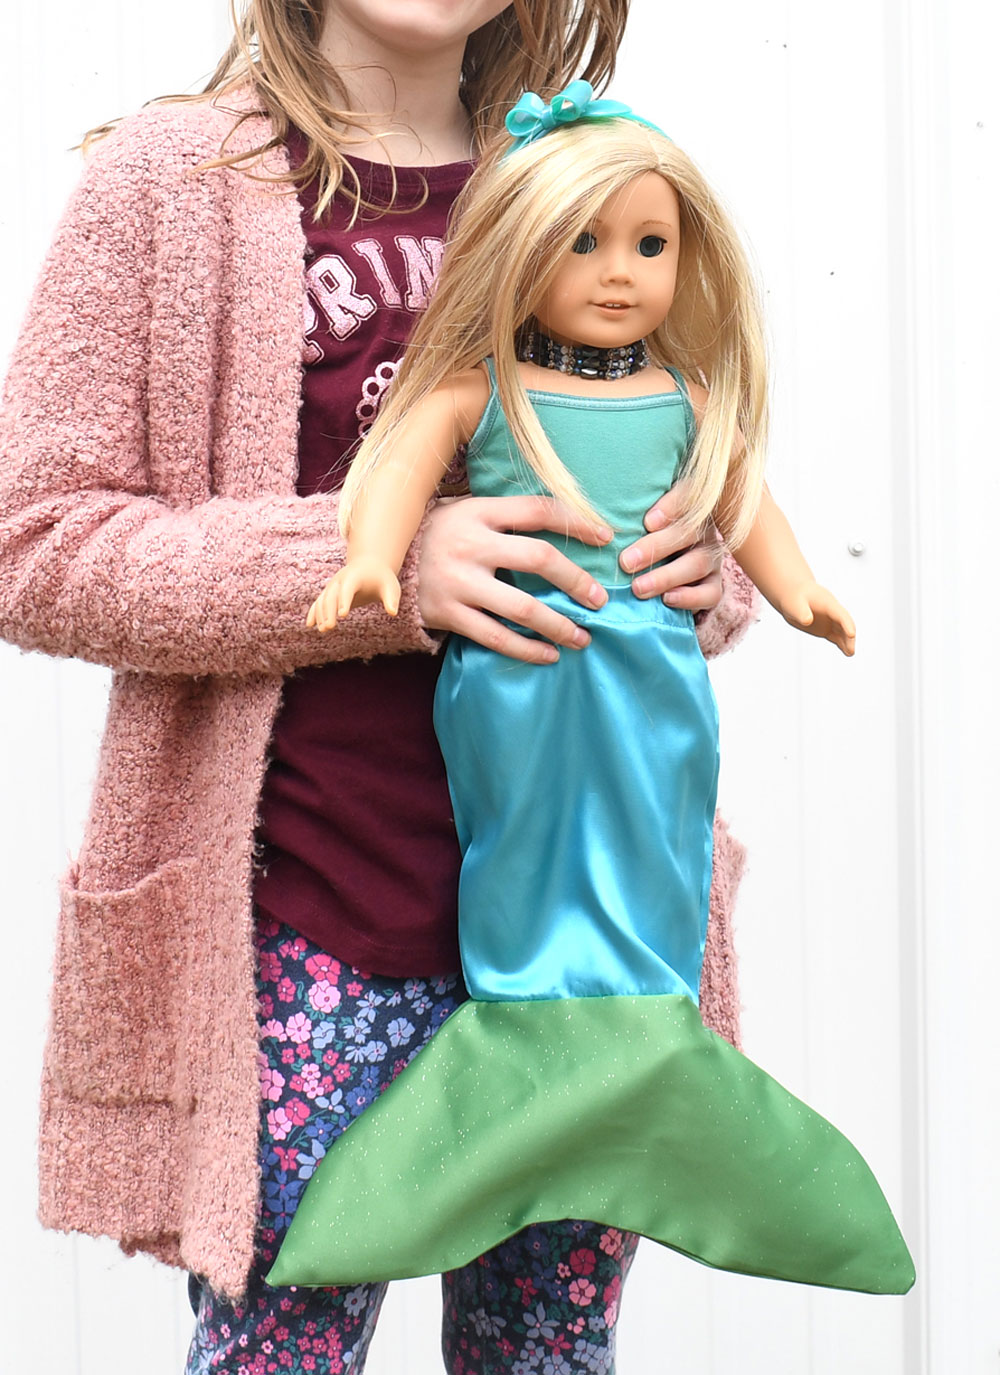
Trim your threads and turn your DIY doll mermaid tail right-sides-out. You can iron the doll mermaid tail to smooth out any wrinkles. Don’t forget to admire your work!
Making a doll mermaid tail is a fun project to practice on if you are learning how to sew. Especially if you already know some basic sewing techniques, this is an easy afternoon project!
Pin this to Pinterest
Doll Mermaid Tail Templates for 14″ and 18″ dolls.
To download templates, right click each picture and “save as”.

This is a quick sewing project! Anyone with a little sewing experience can make these DIY mermaid doll tails.
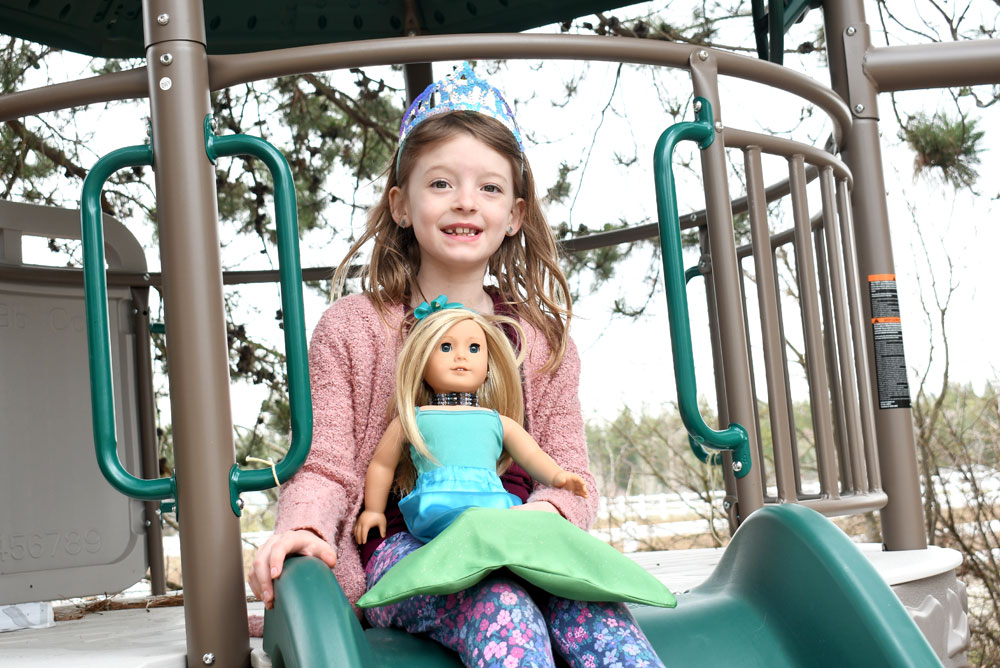
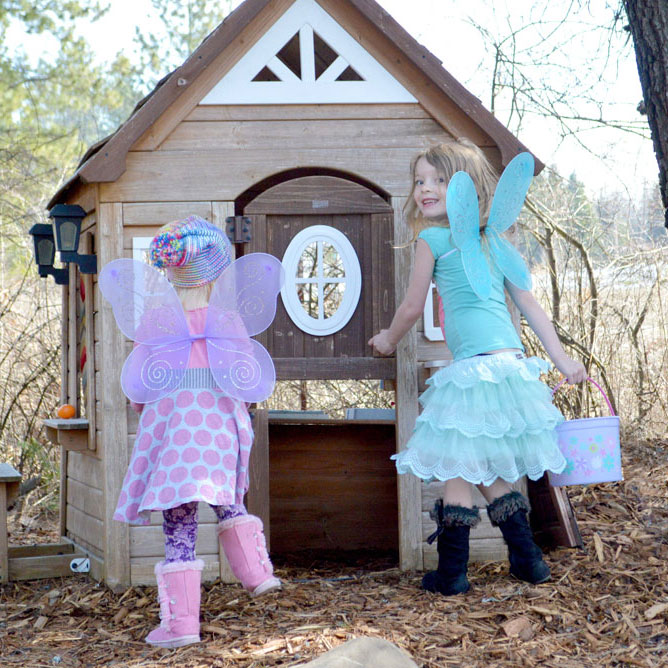
My girls love playing with all things mermaid. Mermaids inspire girls to pretend, dress up and imagine they have glittery tails and can twirl through the ocean. I hope your girls enjoy dressing up their dolls as shimmery mermaids!
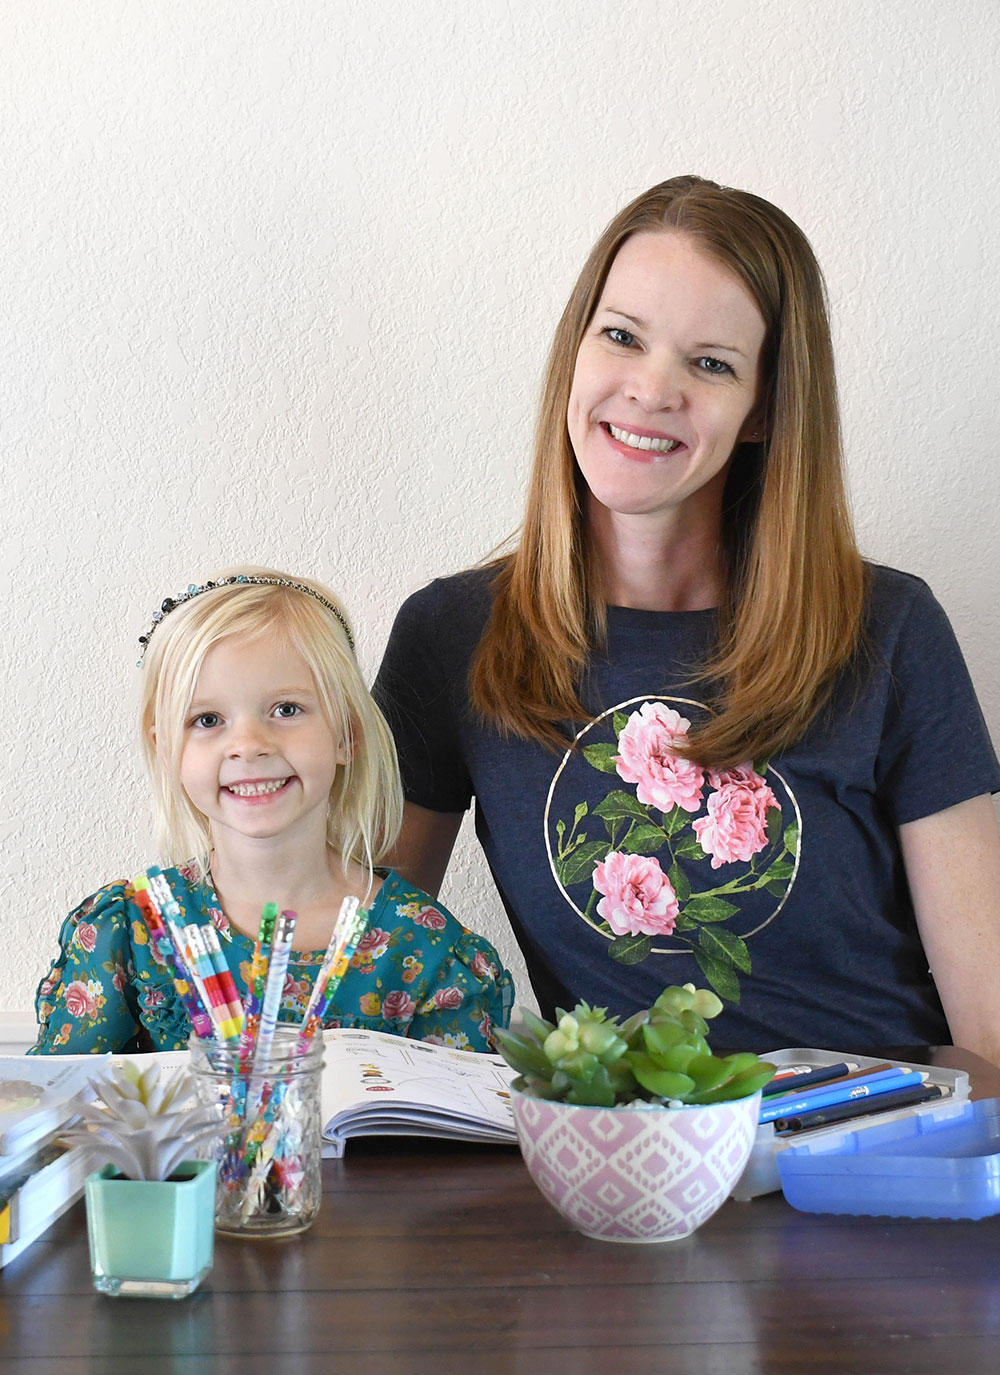
Hi, I’m Katie! I live with my husband and 4 kids in Coeur d’Alene, Idaho. I love Jesus, coffee, creative projects, photography, and traveling. I’ve previously worked as a web designer, journalist, and barista. I hope you enjoy our creative projects and family adventures!

 See our creative projects, kids activities, & party ideas »
 Homeschool Tips & Ideas »
 @createplaytravel on YouTube »
 Europe with Kids Video Episodes »

what size elastic?
Worked great! Thanks for sharing. My 14 year old daughter made a mermaid tail for a doll she crocheted for her 4 year old sister.
Not sure what I did wrong but it didn’t fit at all. It was too short. I didn’t have enough fabric to sew the elastic and the opening for the tail was larger than the opening for the tube. I wound up with a bunch of puckers.
Bummer! Did you make the seams the same width all the way around? (About 1/4 inch). I tried to provide photos so you could eyeball what I did to make this. The doll’s feet on my tail stick through the tail part way, so the feet are inside the fins.… Read more »
Also, did you use both the tail and the fin pattern in the same size? I provided an 18″ and 14″ doll pattern.