
Creating your own art can be a great way to personalize your home. This DIY tape painting art is fun to make and the finished masterpiece adds a pop of color to any wall! I did this creative art project with my kids and each of our paintings turned out differently. You can easily transform a blank canvas with colorful acrylic paint to create any pattern and color scheme you want! Adults and kids of all ages can learn how to make creative tape painting art in a few easy steps.
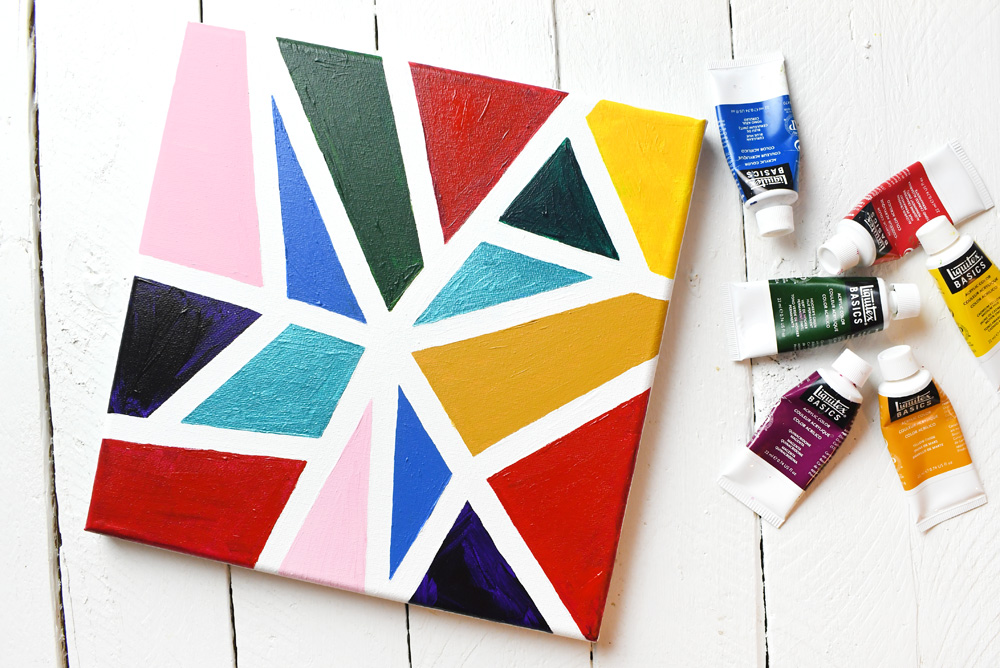
To make your own tape painting art, gather a few simple supplies.
- blank canvas
- narrow blue painter’s tape
- paint brushes
- acrylic paint or craft paint
- paper plate or paint palette
- cup of water
Create the Tape Painting Art Base Layer
Before you start making your tape painting art (also called tape resist painting), you’ll need to plan out the design. Everywhere you place the painter’s tape will create blank lines within your art. First, you will need to create the art’s base color. To make white lines in your tape painting art, cover the whole canvas with a layer of white acrylic paint, or white gesso primer. Allow this base layer of paint to fully dry.
To create colored lines within your tape painting art, cover the whole canvas with a single color of acrylic paint or craft paint. Allow the paint to fully dry. If you use green acrylic paint, your art will have green lines in between the geometric shapes.
Add the Painter’s Tape
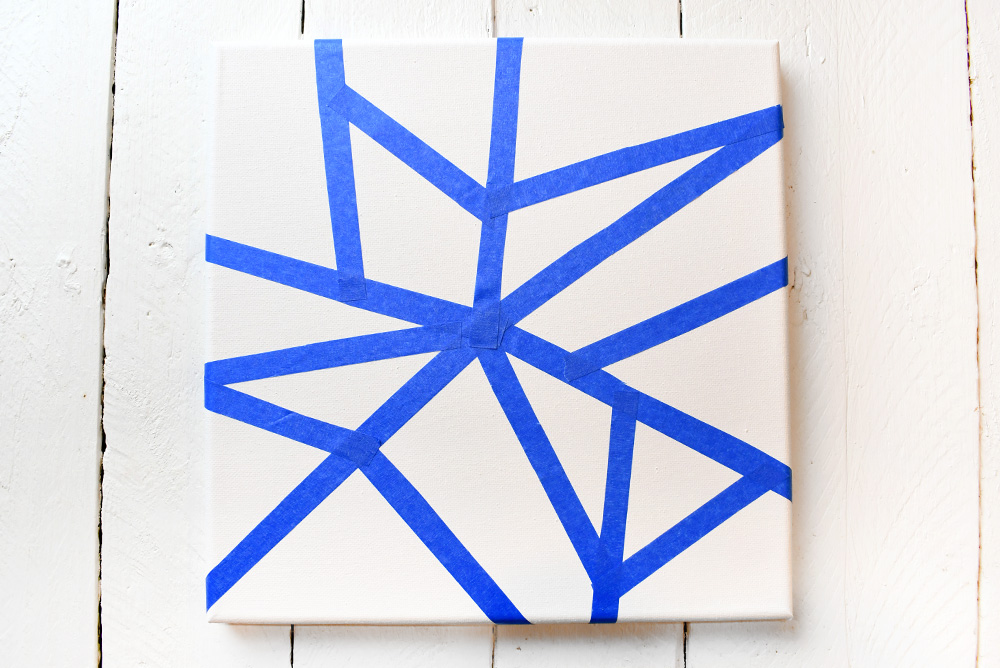
Once the base layer of paint on the canvas is fully dry (preferably overnight), it’s time to add the lines of painter’s tape. You can also use masking tape, but painter’s tape more effectively prevents the paint from bleeding under the edges. Arrange long pieces of thin blue painter’s tape on the canvas from edge to edge. You can create all sorts of geometric shapes, angles and patterns. You can make a faceted diamond design, create wavy lines, or make triangles. Everywhere you place a piece of painter’s tape will create a blank space in the art, which will show the paint color beneath. Make sure to fully press down the edges of the painter’s tape onto the canvas, to create clean lines within your tape painting art.
Fill in the Shapes with Acrylic Paint
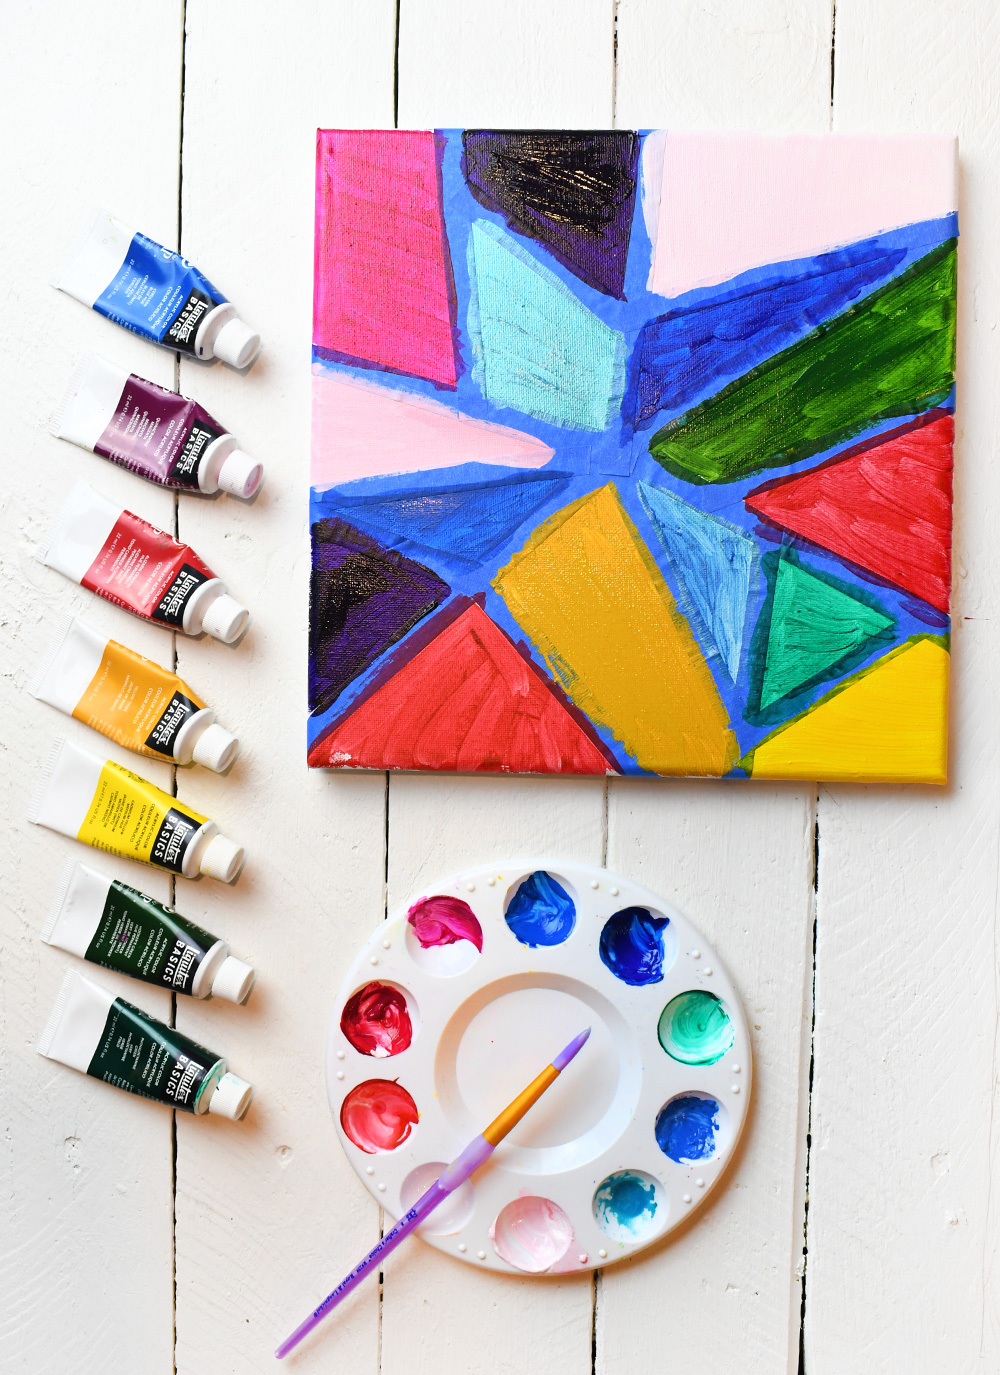
Next, use acrylic paint to fill in the shapes you created in between the painter’s tape. You can make each section a different color, design a pattern, or alternate between 2 colors. You can be as creative as you’d like with this tape resist painting technique! Once you’ve completely filled in each shape with craft paint, allow it to fully dry.
Remove the Tape
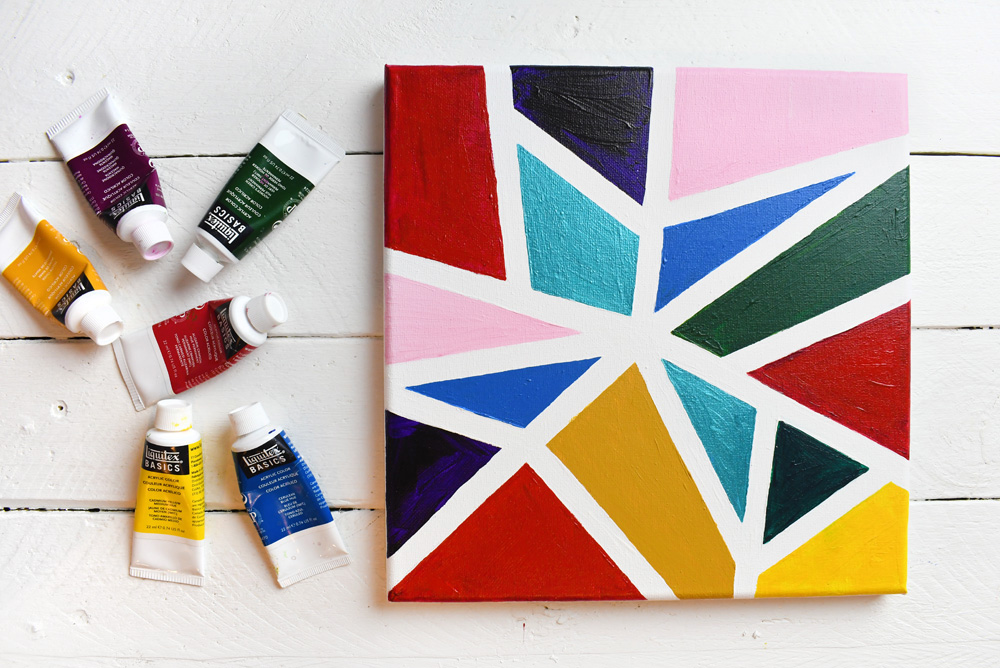
When your tape painting art is fully dry, carefully remove the pieces of painter’s tape. Gently peel off each length of tape, revealing the base color paint underneath. If there are spots where some paint from the shapes bled under the tape, you can touch these up using the base color paint and a small paint brush.
You can create all sorts of tape painting art designs using this creative painter’s tape technique. Designing geometric acrylic art is great afternoon homeschool project and kids art activity!
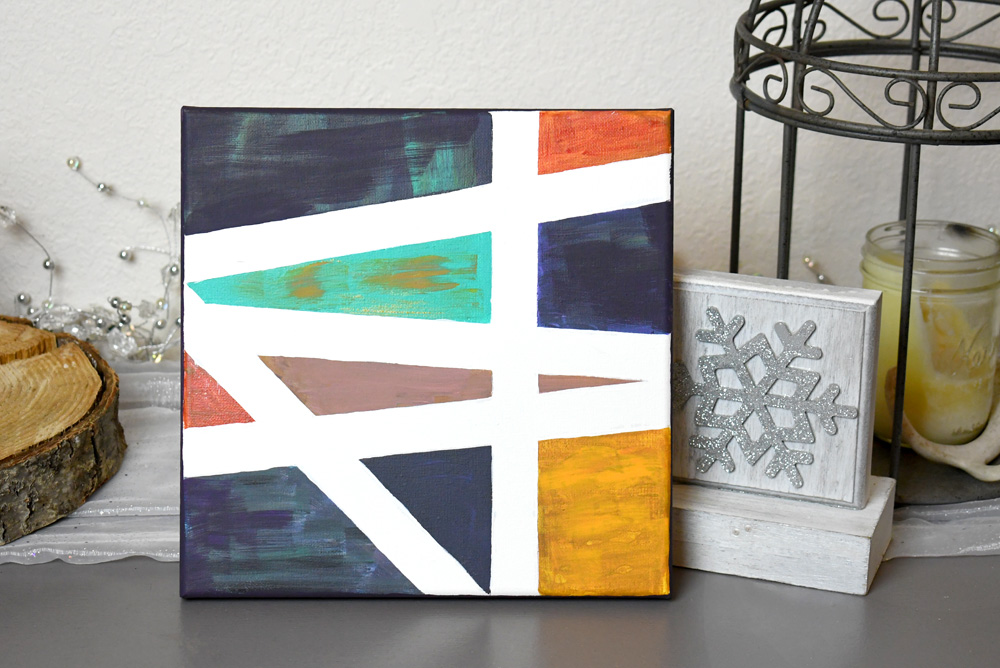
Tape painting is inexpensive because you can use supplies you probably already have at home. It’s also a simple creative project for parents and kids to do together. Which colors would you use for your tape painting art?
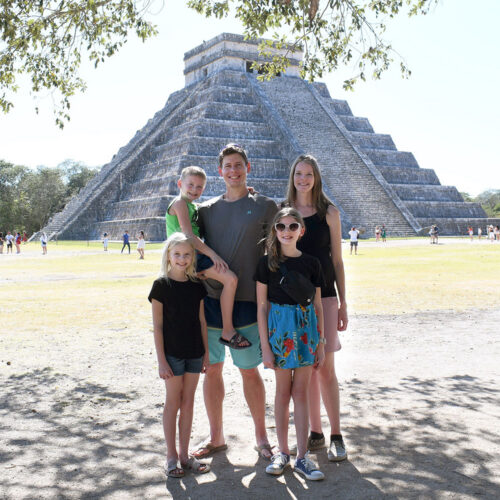
Hi, I’m Katie! I’m a homeschool mom who’s traveling the world with my husband and 4 kids. We raised our family in North Idaho and currently live in Mérida, Mexico. I love Jesus, coffee, creative projects, photography, and traveling. I hope you enjoy our creative ideas and family adventures!







This art idea is super cool! So customizable too!