
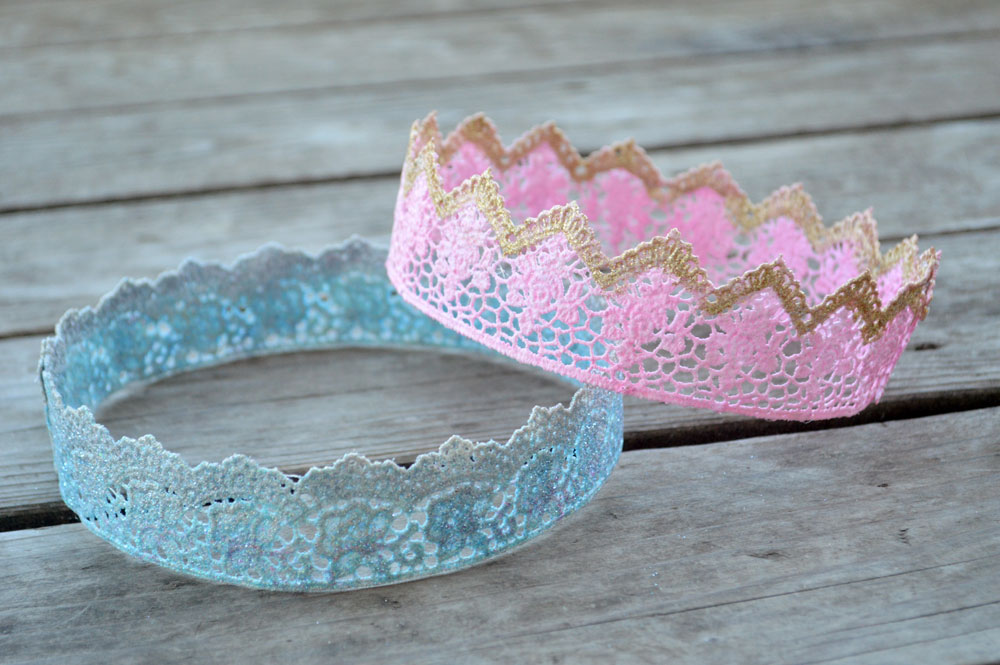
Do you have a little princess in your home? These DIY lace crowns are made from stiffened lace. Homemade crowns are so fun to design and pretty easy to make! I made a few for my daughter’s birthday party. They also work as a sweet photography accessory. I expected them to be tricky, but they were not. All you need to make crowns are a few materials and a warm, sunny afternoon to dry them.
The best part is how customizable DIY lace crowns are. You can use wide or thin lace. You can pick vintage or modern designs, and pointed or rounded edges. Some people add silk roses, rhinestones, or feathers. For my project, I kept it simple with a little color and a lot of glitter.
Lace Crown Supplies
You only need a few simple supplies to make these crowns.
- a length of lace
- liquid fabric stiffener
- Mod Podge
- acrylic paint
- fine glitter
- clear matte spray paint
- any embellishments you want to add
Choosing Your Lace
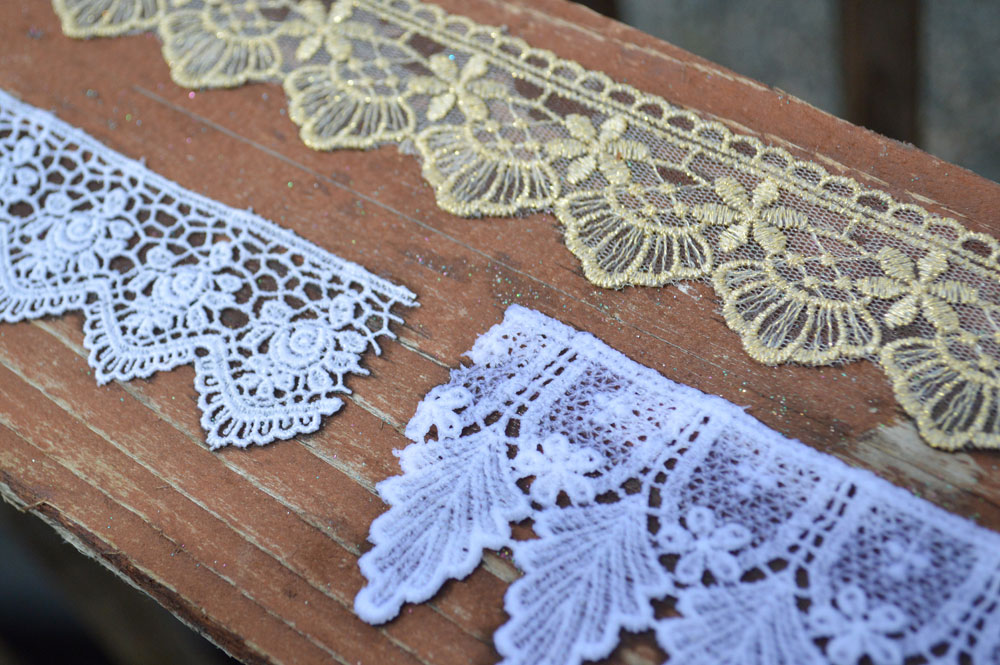
The lace you pick shapes the whole crown. I used a few styles in different widths and lengths. A shorter piece makes a smaller crown. A longer piece makes a bigger one. My daughter wanted a crown that sits on top of her head, not the small kind you pin on.
For glitter, finer is better. I also tried spray-paint glitter, which worked just as well. My colored glitter came in tubes. I used silver spray glitter for a light, even dusting.
For embellishments, almost anything works. Try rhinestones, feathers, sequins, tulle, or bedazzled trim.
How to Stiffen the Lace
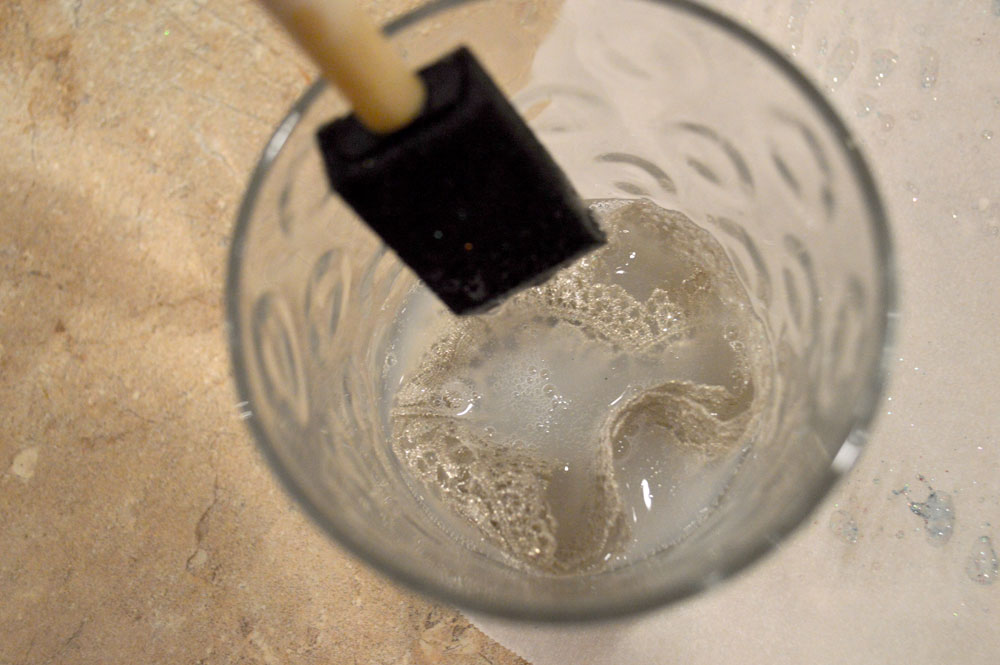
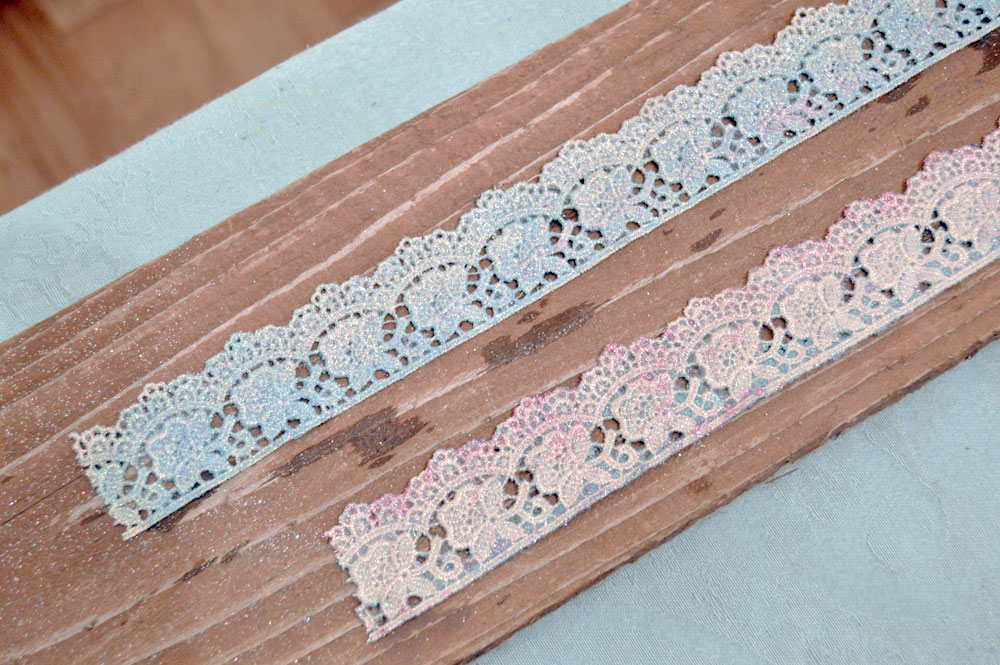
First, soak a length of lace in liquid fabric stiffener. Swish it around and run it through your fingers. You want the lace fully saturated.
Next, lay the lace flat on a board or parchment paper to dry. I set mine outside on a warm afternoon. It dried within an hour or two.
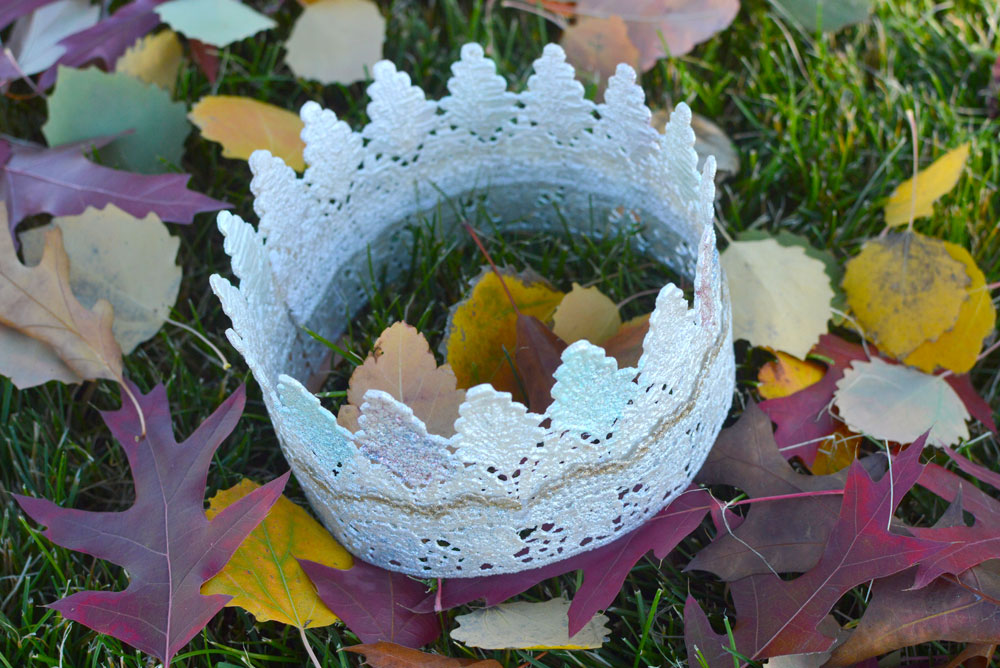
Move the lace or flip it over a few times as it dries. This keeps the stiffener from forming globs. If your lace has delicate details, make sure they lie flat and do not curl. My wider, leafy lace needed extra help, so I flattened it under a stack of books overnight. My thinner lace was fine on its own.
Once dry, the lace will feel much stiffer. Want it even stiffer? Brush on another coat of fabric stiffener and let it dry again. The stiffener will not make the lace hard. It just gives the design stability.
Add Color
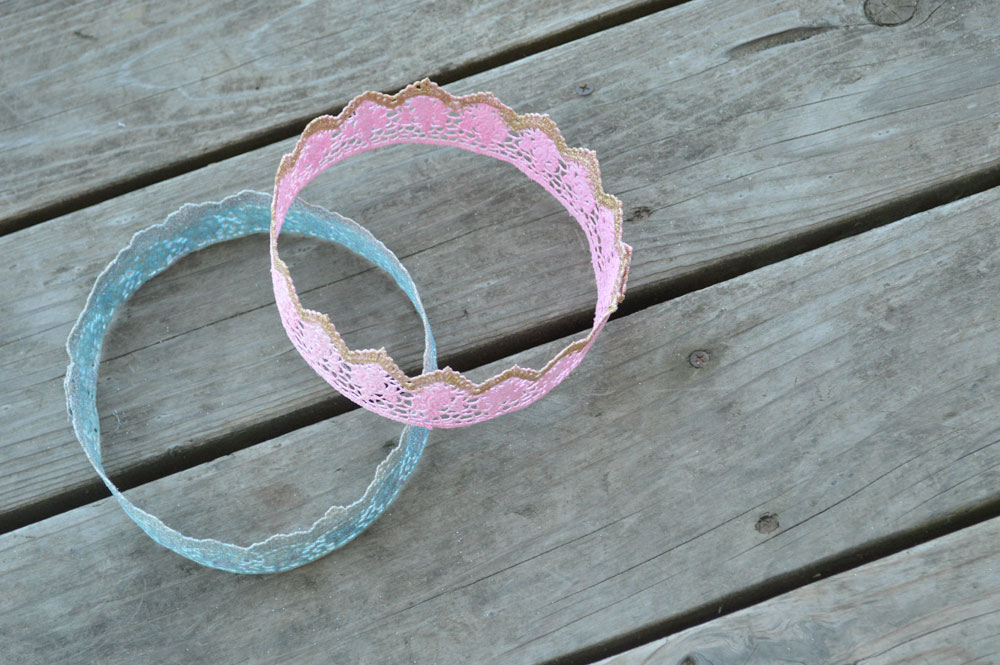
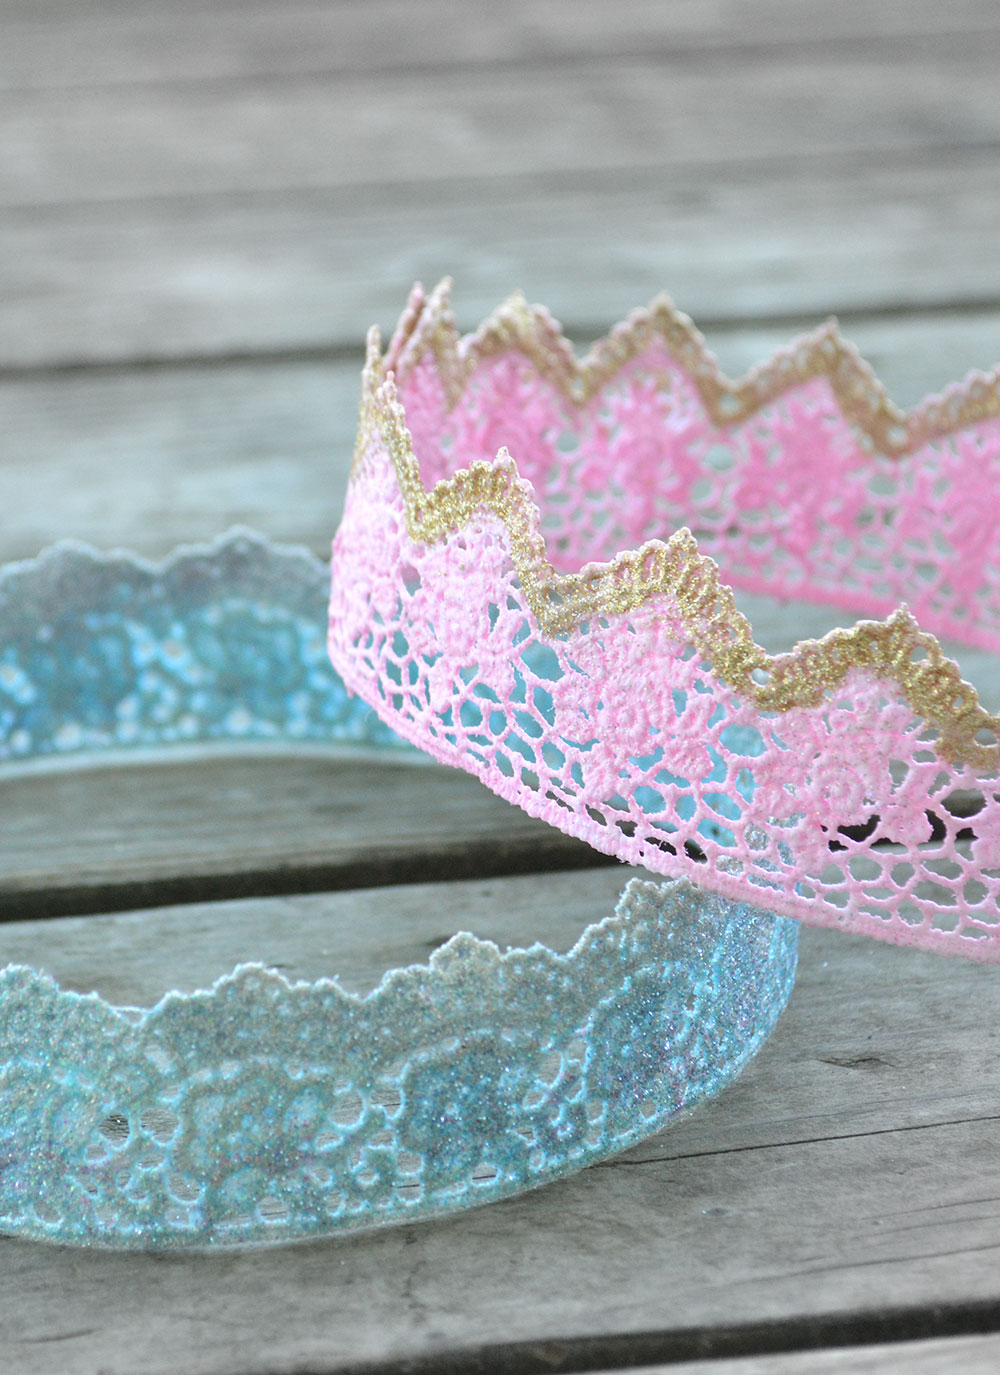
Now for the fun part. Paint your stiffened lace with a thin layer of acrylic paint. You can do a solid color, an ombre fade, or just tip the edges with a contrasting shade. I made one ombre crown in aqua fading to silver. I made another in pink tipped with gold. You can also layer pieces of lace to make a taller crown!
Add Mod Podge and Glitter
Next comes the glitter. Lay the lace on parchment paper. Dab on a light layer of Mod Podge with a foam brush. Be careful not to fill in the little holes of the lace. While the Mod Podge is still wet, sprinkle on your glitter. Then lift the lace and set it on a clean surface to dry. Once one side dries, flip it over and repeat on the back.
Add Extra Glitter and Detailing
Want a heavier glitter look? Add a step. Use fabric glue to hold on extra glitter. You still need the Mod Podge, because it gives the crown its structure. The fabric glue just helps the denser glitter stick.
As a final step, I sprayed each crown with clear matte spray paint to seal everything in place. Then hot glue the two ends together to form a circle. Set the crown around a jar or bowl of the same size and let it dry overnight. Store your crown in a box so it keeps its round shape. Flattening it could leave permanent creases.
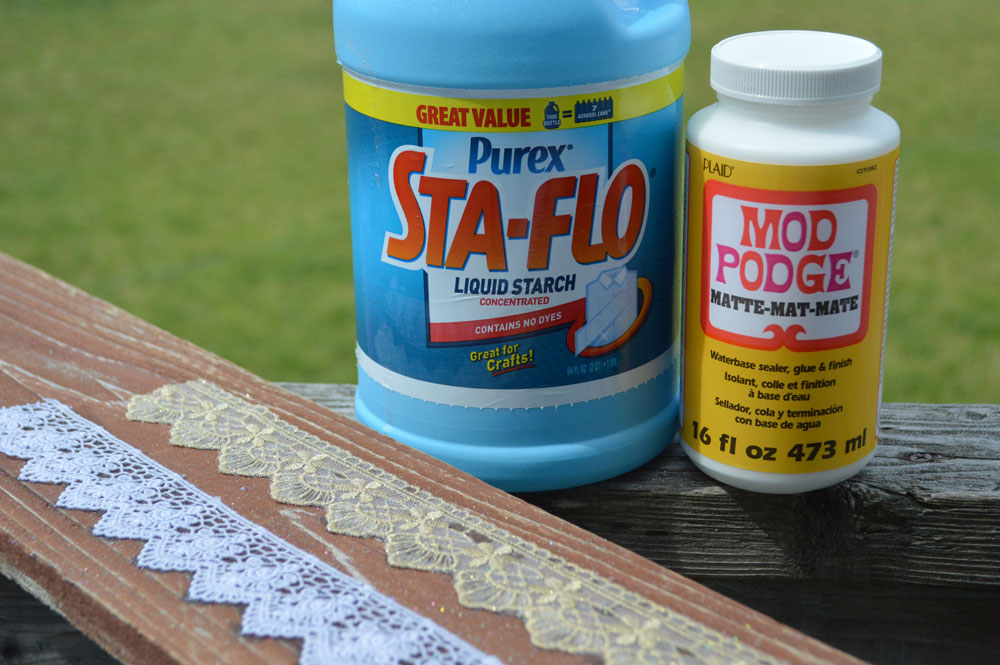
DIY lace crowns are easy to make with lace, acrylic paint, Mod Podge, glitter, and a few pretty accents.
I love how ours turned out! These homemade crowns are whimsical and sweet, with all that delicate detail coming straight from the lace. I hope you try making your own!
Give it a try! Experiment with the different methods to make lace princess crowns and discover what works best for you.
Hi, I’m Katie! I’m a homeschool mom who’s traveling the world with my husband and 4 kids. We raised our family in North Idaho and currently live in Mérida, Mexico. I love Jesus, coffee, creative projects, photography, and traveling. I hope you enjoy our creative ideas and family adventures!









Thank you Katie. These are so cute!
My daughters would love to have one of these!