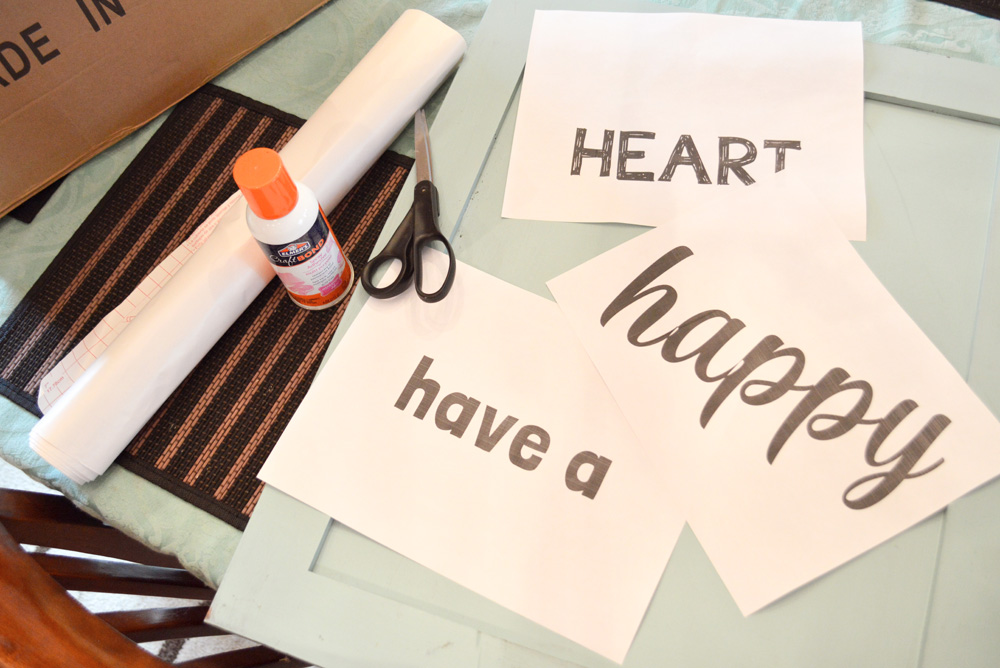
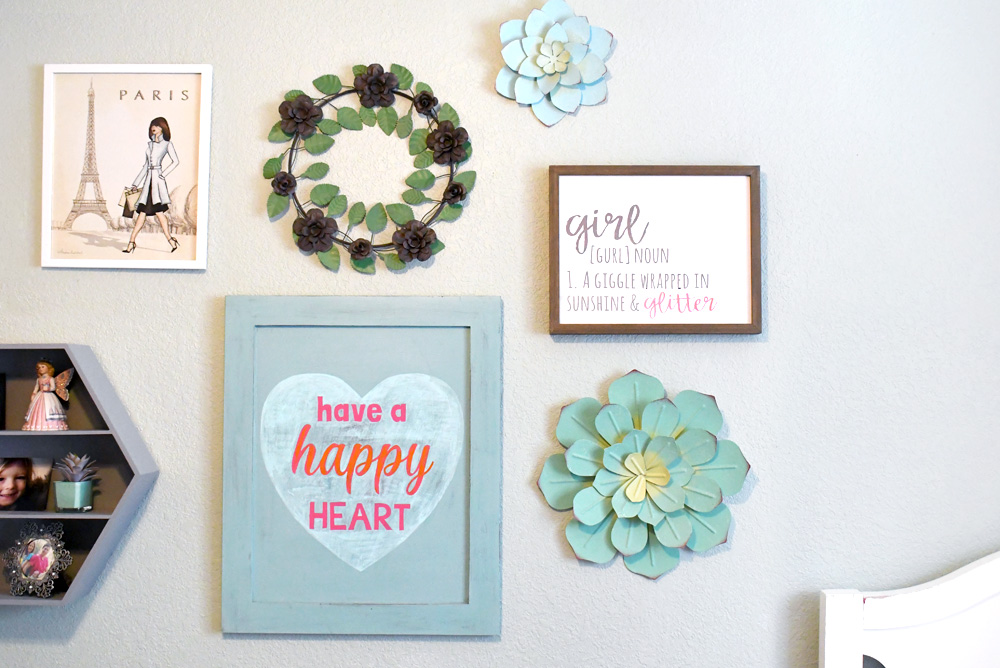
I love personalizing my home with creative projects. I made this “have a happy heart” painted sign by repurposing an old cabinet door. With a coat of paint and homemade lettering stencils, I created this cute kids wood wall art in just a few hours! I’m happy to share how I made this project, using supplies I already had at home.
I’ve considered buying a Cricut cutter several times. However, I don’t make enough custom wall art to justify the investment. For this project, I set out to find a way to make homemade lettering stencils without a vinyl cutter. I made these stencils for painted wood projects using printer paper, spray adhesive, and contact paper. In the end, cutting out my lettering stencils was pretty easy, with a little attention to detail.

Design Homemade Lettering Stencils
To make DIY lettering stencils, first choose your fonts on a computer. If you know how to use a design program such as Photoshop, it’s very easy to mock-up a design for your sign. However, you can also format the fonts in a text editor such as Microsoft Word. You will need to print off the words for your wall art design in the font and size of your choosing.
Arrange the fonts onto 8.5″ x 11″ paper using a text editing program. If you create a mock-up of your design, you can make sure the fonts and layout fit together well. For my kids wood wall art, I chose the phrase “have a happy heart.” I combined this cheerful message with a whimsical paint color scheme.
Make Your Own Lettering Stencils
Supplies
- printer paper
- contact paper
- spray adhesive
- craft paint
- small scissors
- wood to paint on
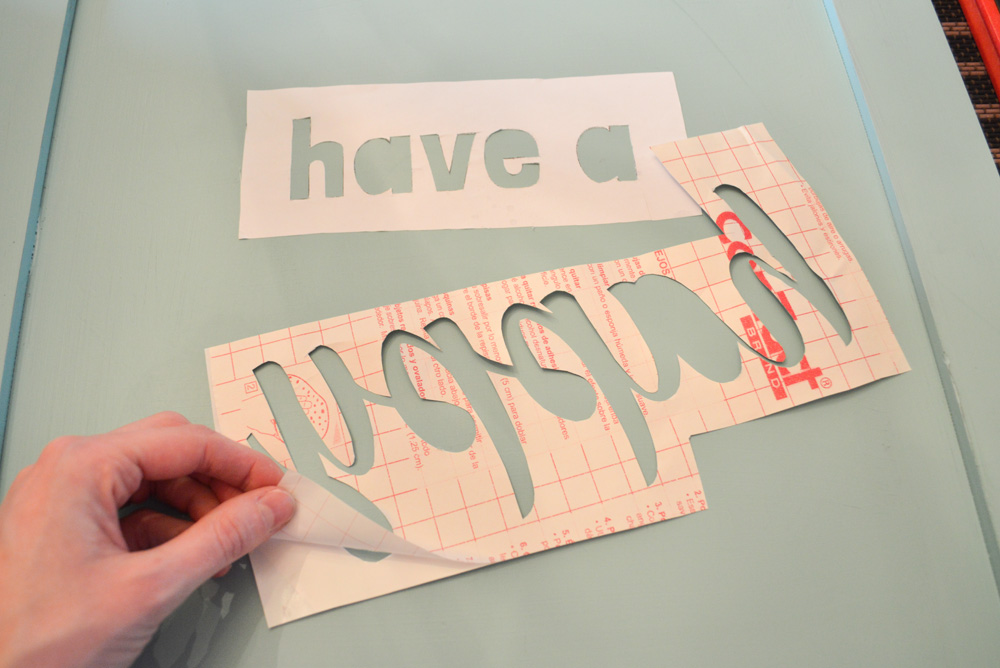
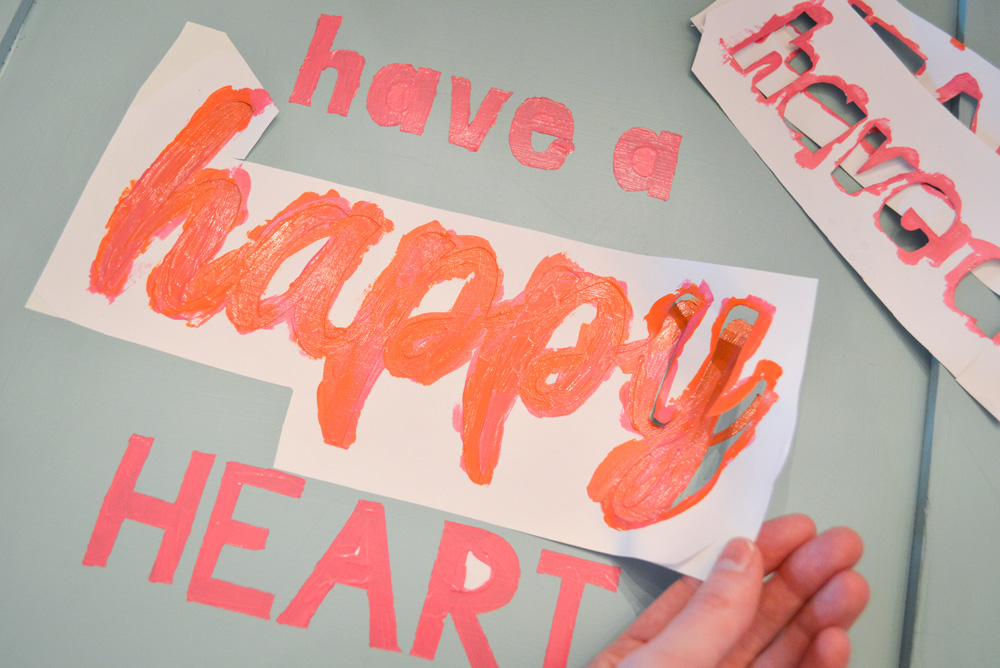
Once you’ve designed your custom lettering stencils, next print them off on standard paper. Now it’s time to turn the words into DIY stencils! Cut the excess paper off each section of words and spray the back of each piece with a thin layer of spray adhesive. Attach each word to a piece of contact paper, sticky side out. Keep the contact paper backing in place for now. Use small scissors to cut out the inside of the lettering. This is the detailed part! The more carefully you cut out the stencils, the cleaner the lettering will look.

Traced & Transferred Lettering Stencils
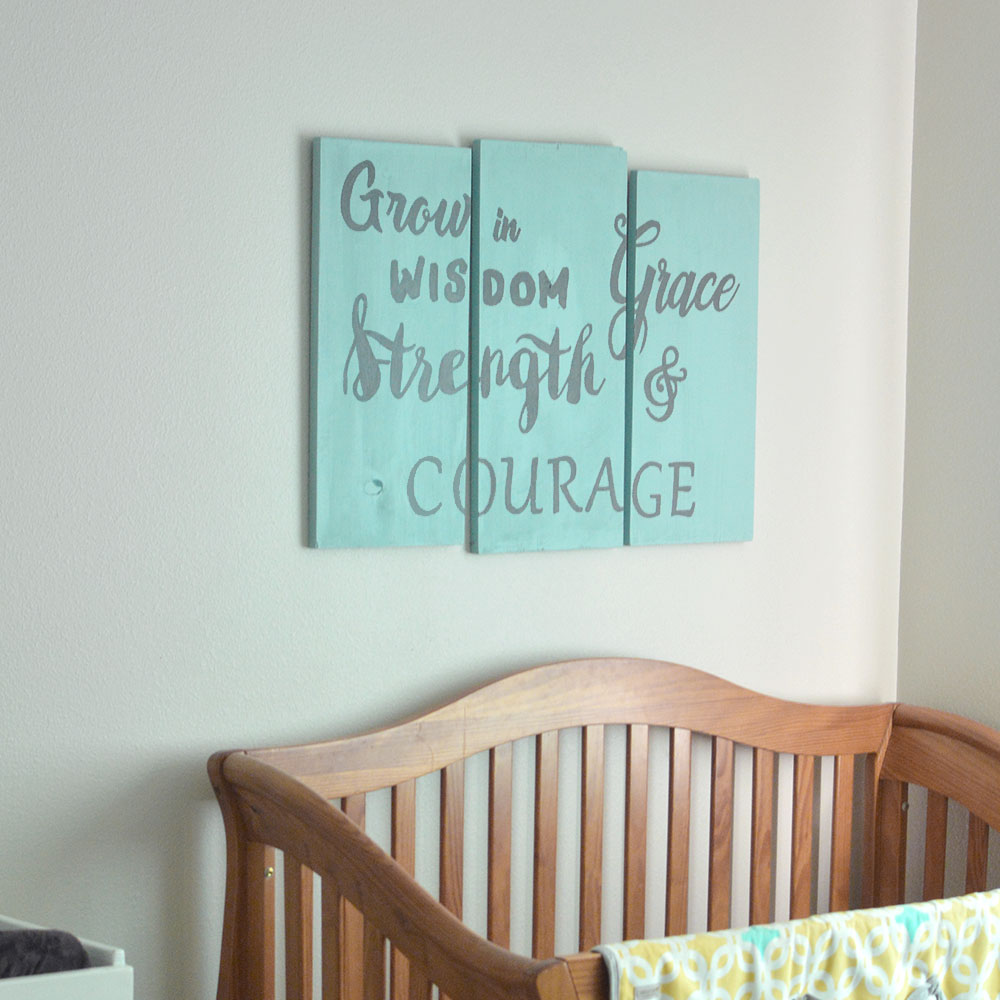
Another DIY stencil technique is to make traced lettering stencils. First, print off lettering backwards and trace around each letter with a pencil, leaving behind a generous amount of graphite. Flip the paper pencil-line down against the wood and rub the graphite off onto the wood. This technique will leave graphite letter outlines behind, which you can fill in with paint.
For this technique, important to print the words backwards to get the appropriate left-to-right word arrangement once flipped over.
Traced & Cut Lettering Stencils
Additionally, you can make traced lettering stencils another way. Follow these steps to make traced and cut lettering stencils.
- Print off your lettering the size you want on standard paper.
- Cut each word out carefully with scissors.
- Arrange the lettering on your wood piece.
- Trace around the lettering with a pencil to create outlines on the wood.
- Carefully fill in the lettering outlines with paint, using a small brush.
I used this homemade stencil technique when creating my boys wood wall art for my son’s nursery.
How to Apply DIY Lettering Stencils
Once you’ve cut out your custom stick-on stencils, arrange the lettering on your sign. You can use a small ruler to make sure everything is straight and aligned. Peel off the contact paper backing. Smooth the lettering stencils into place. Apply pressure to make sure all the edges and corners are firmly attached to the wood.
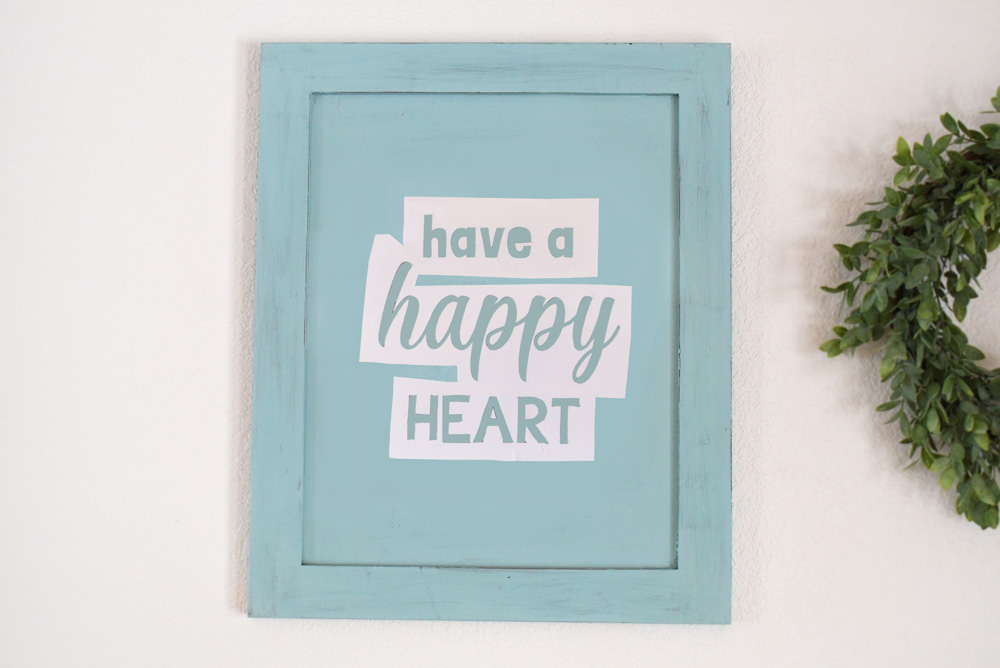
How to Paint Custom Lettering
Now it’s time to paint! I filled in each letter with colored craft paint using my custom lettering stencils as an outline. I recommend brushing the paint on lightly over the letter edges and corners. This is so excess paint doesn’t leak under the stencil and make the lettering look blemished.
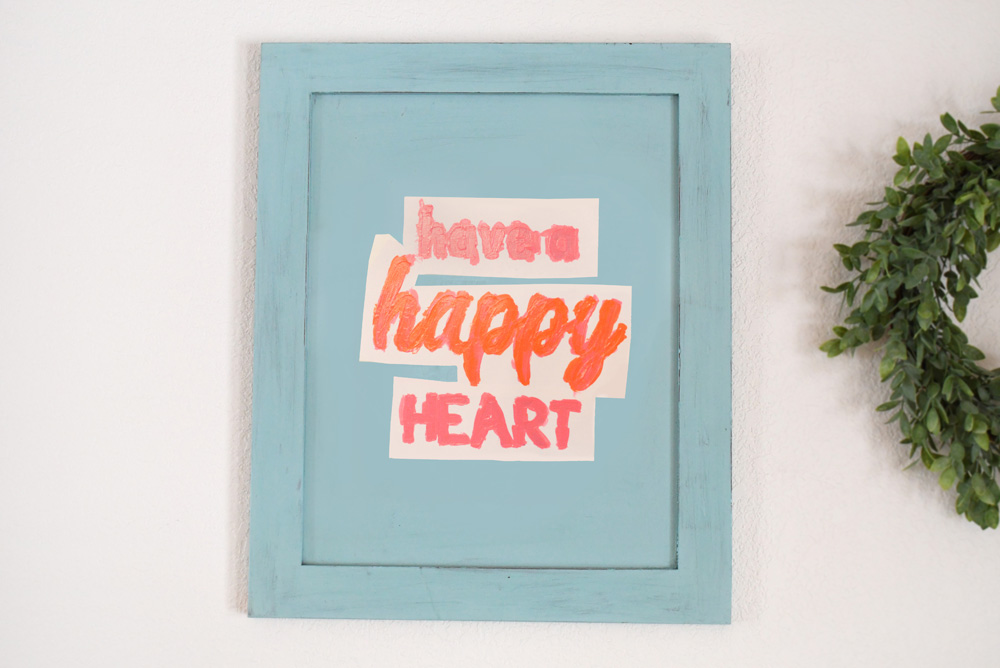
For the word “happy” I used an orange and pink gradient style. The cheerful colors make this lettering the focal point of my homemade wood sign.
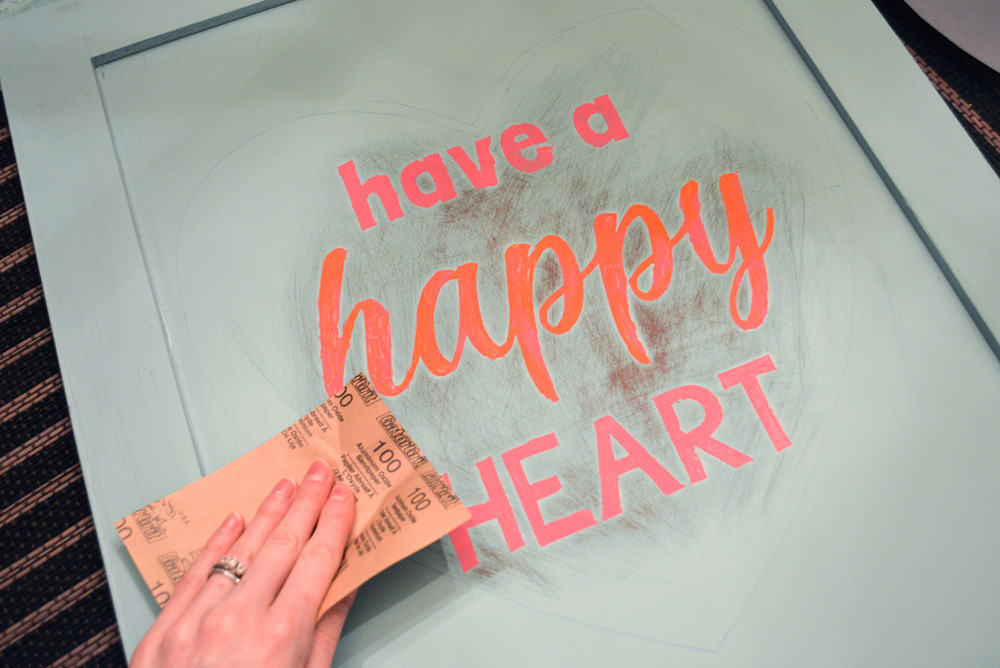
Let the paint fully dry overnight before carefully peeling off your homemade lettering stencils. If some of the letters aren’t perfect, you can touch them up by using extra background paint and a tiny paint brush. Finally, you can distress your wood sign by running a fine sanding block over the words and sign edges.
Distressed Kids Wood Wall Art
To finish my kids wood wall art, I used a sheet of sand paper and manually distressed the front of my sign. This allowed me to control how much to distress the paint. Sanding also removed any paint edges from my lettering and smoothed out the entire look of my homemade wood “have a happy heart” sign.
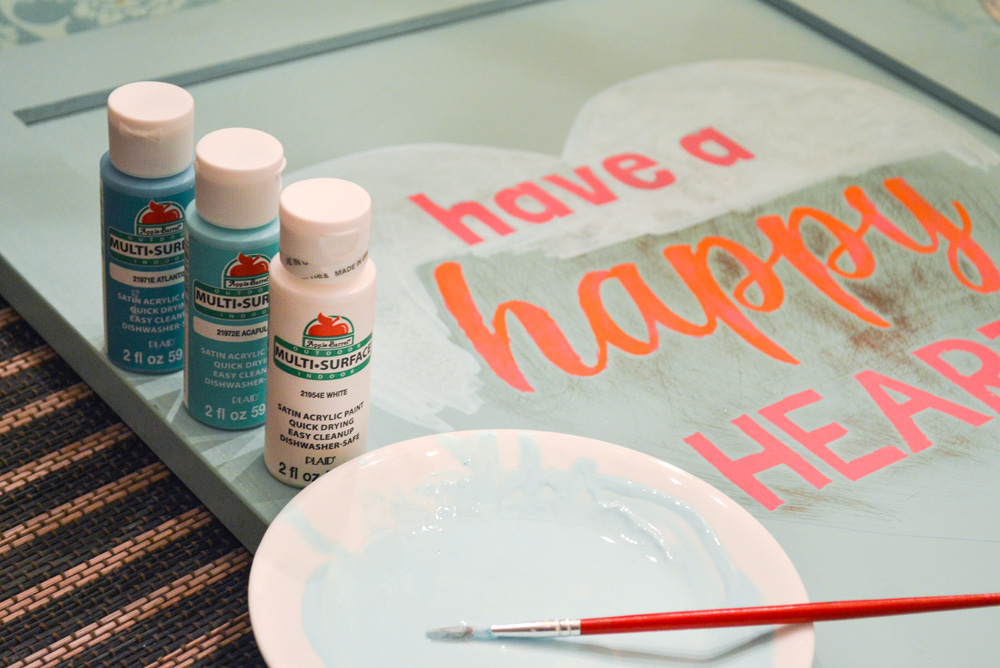
Finally, I decided to paint a heart around the letters. I could have done this before painting the letters but my heart border ended up being a last-minute embellishment. Regardless, I painted around the lettering using a watered-down light blue paint. Additionally, I allowed some of the wood distressing to show through.
Colorful Kids Wood Wall Art
Overall, I am very happy with my homemade kids wood wall art. I’ll enjoy using this wall art for many years to come, to decorate a kids bedroom or playroom. I used dusty aqua paint, because it’s one of my decorating accent colors. In contrast, the pink and orange painted lettering really stands out with a pop of color.
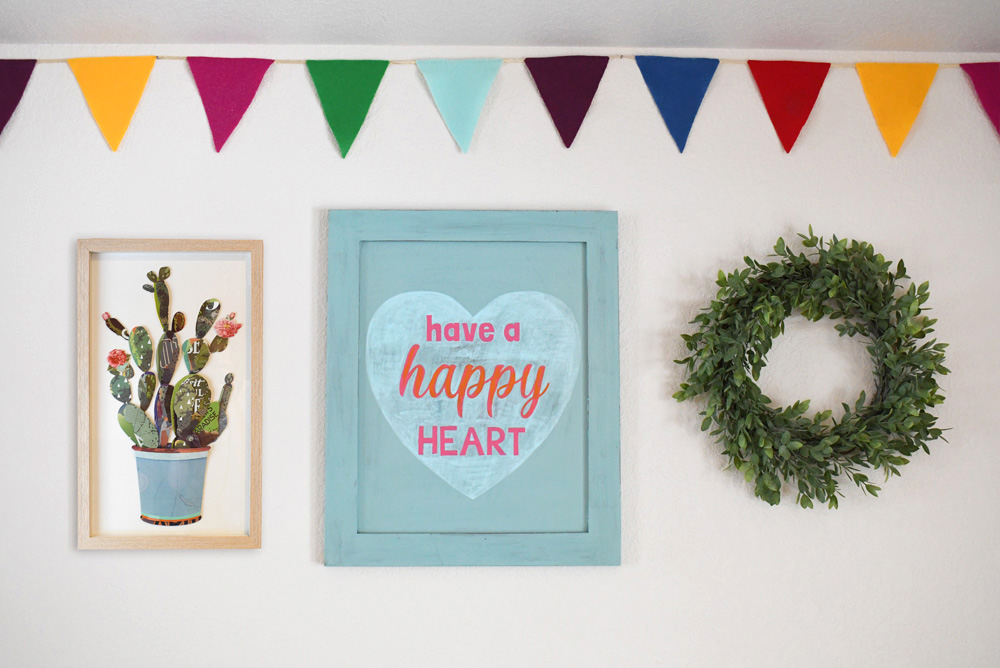
This painted happy heart wall art is a cute decoration for a child’s bedroom or a kids playroom.
Hi, I’m Katie! I live with my husband and 4 kids in Coeur d’Alene, Idaho. I love Jesus, coffee, creative projects, photography, and traveling. I’ve previously worked as a web designer, journalist, and barista. I hope you enjoy our creative projects and family adventures!


 See our creative projects, kids activities, & party ideas »
 Homeschool Tips & Ideas »
 @createplaytravel on YouTube »
 Europe with Kids Video Episodes »

I love making homemade wood signs for the holidays.
I love this… If only I could make it look this nice!