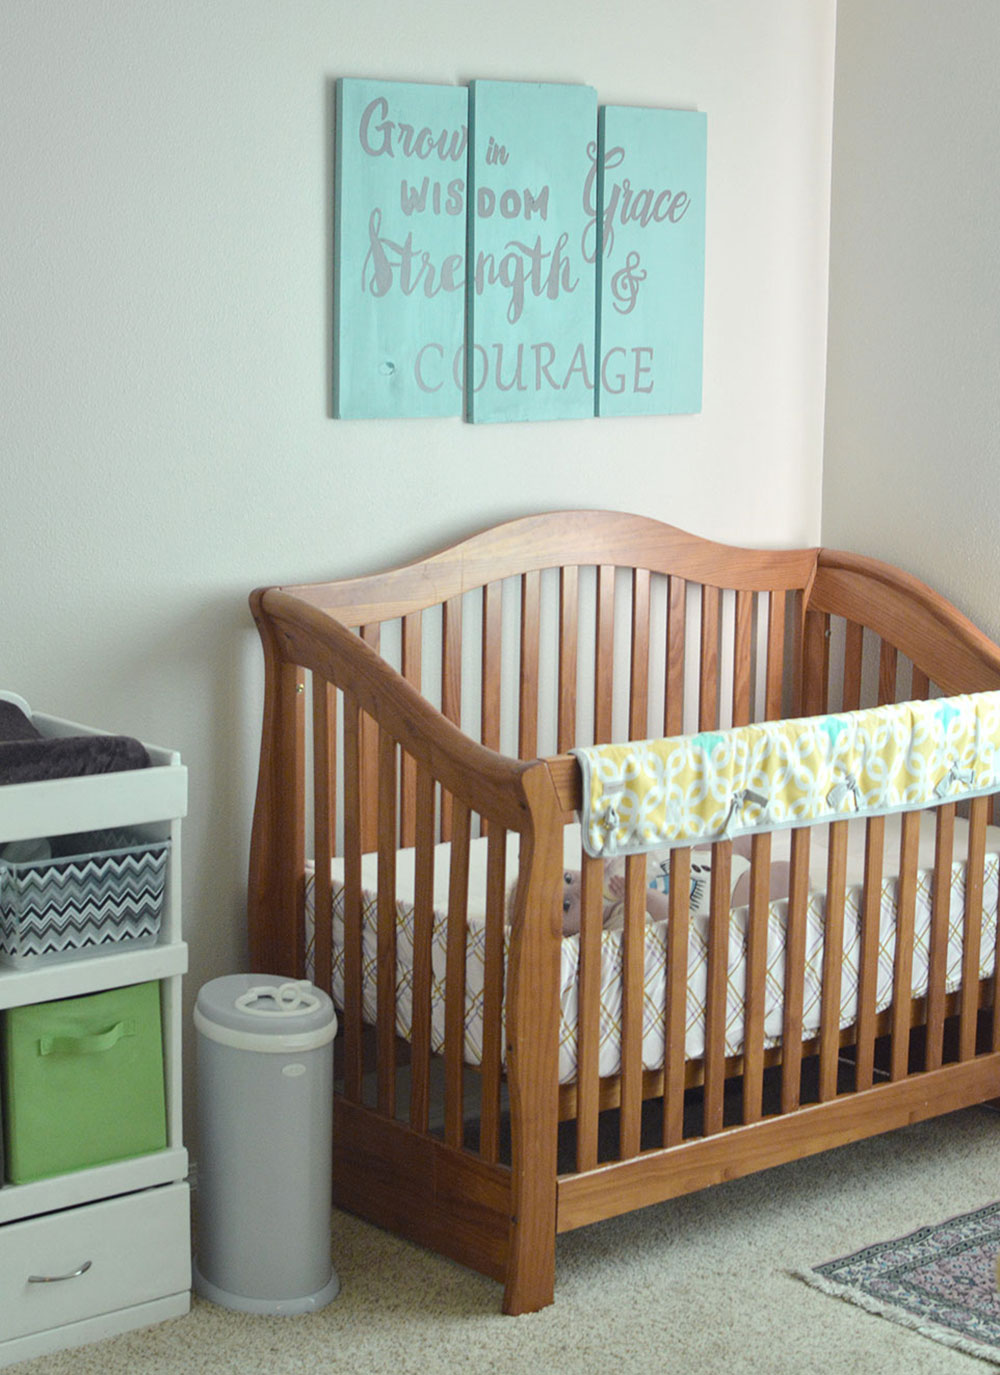
One of my favorite things about decorating is personalizing rooms for my family. I designed this custom wall art for my son’s nursery, using homemade lettering stencils. I took words from Proverbs and painted three slabs of wood with the words “Grow in wisdom, grace, strength and courage.” I’m happy to share how I made this DIY boys wall art!

I discovered that DIY wood wall art is fairly easy to make and customize. To begin my project, I collected the necessary materials. These included boards, a sanding block, paint, and picture hanging hardware. Conveniently, I had everything I needed in my garage.
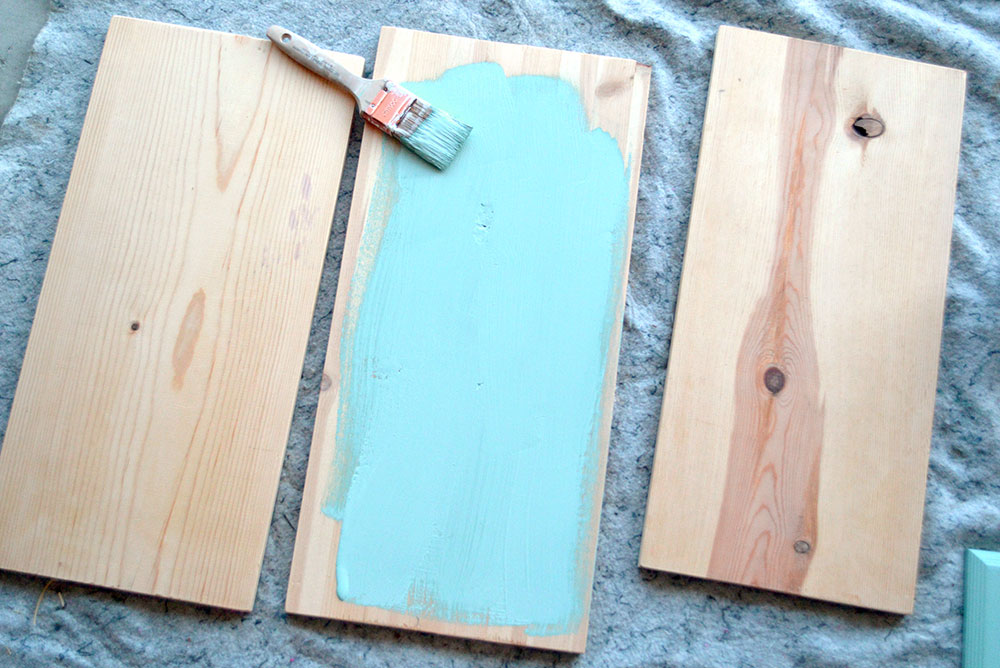
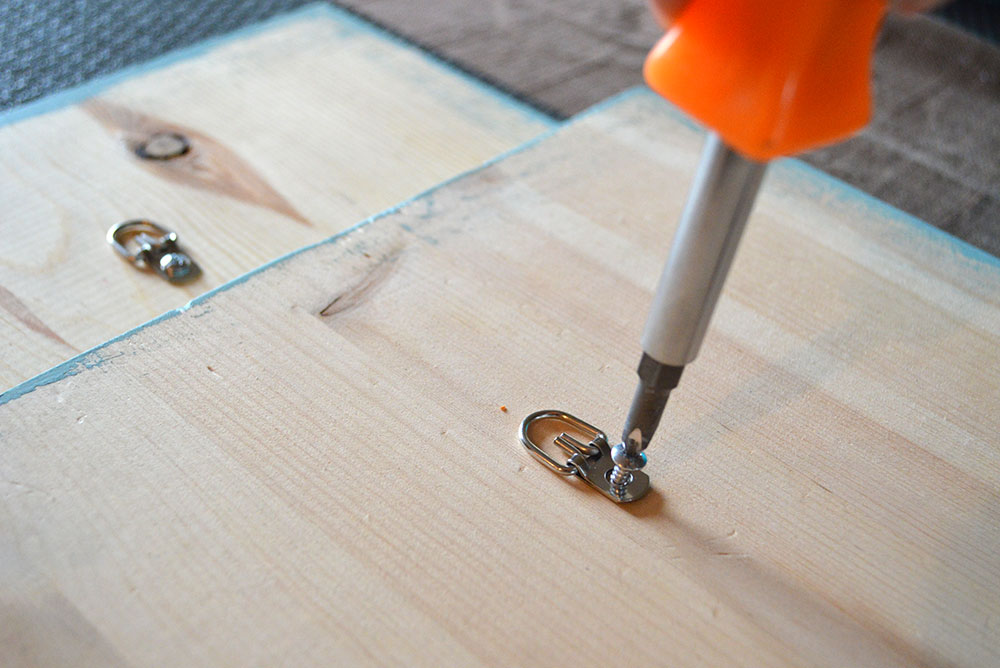
I painted these boards with a few coats of dusty blue water-based paint. Then I attached a picture hanger to the back of each board with screws.
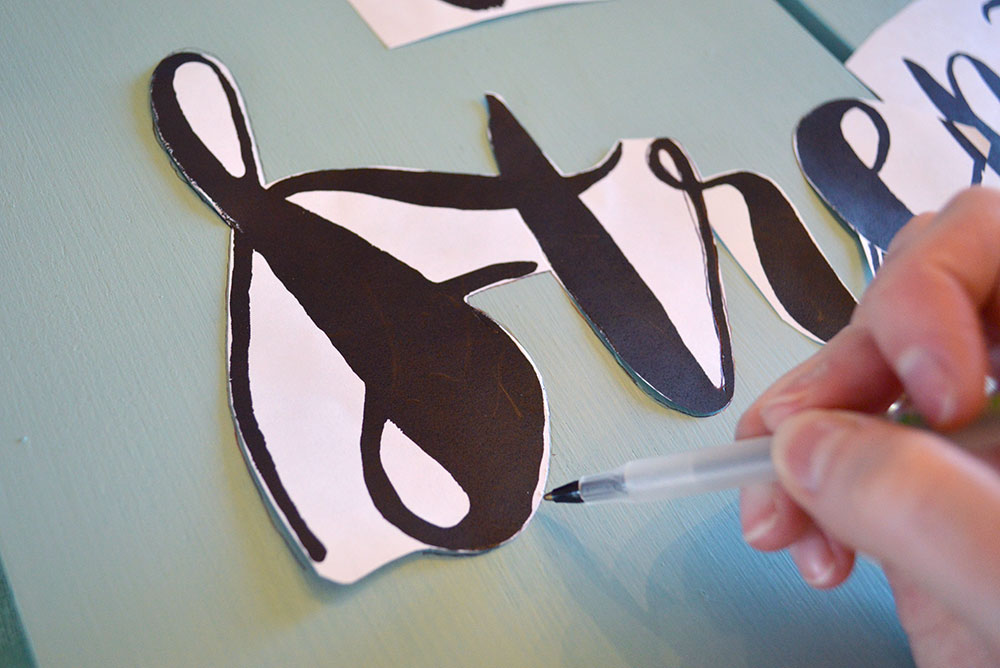
Because I don’t own a Cricut, I created custom lettering stencils using paper. I accomplished this by printing the words onto printer paper and cutting them out. Cutting around the lettering was a bit labor intensive, but the finished project was worth it. Plus, creating my own stencils didn’t cost me anything.
Initially, I arranged the fonts in Photoshop. After this, I printed off the words on standard 8.5″ x 11″ sheets of paper. I also made a digital design proof, which allowed me to preview how my wood wall art would look, once completed.

How to Make Custom Stencils
You can easily make your own stencils for painting projects, even if you don’t have a Cricut or Photoshop. All you need is a text editor that allows you to print off different fonts. Additionally, you can conveniently download more fonts to your computer.
Begin by choosing your fonts. On your computer, arrange the words you will use as stencils, to print on 8.5″ x 11″ paper. Print the words at 100%, changing the font size as needed. It may take a few rounds of printing to finalize your design.
After this, cut out the printed words with small scissors and trace around each letter onto your wood. Once you have transferred the word outlines to the wood, you’re ready to fill them in with paint. Understandably, painting custom letters requires careful attention to detail but isn’t very hard. The key is to patiently and carefully fill in the stencil lines with paint.
On the other hand, if you paint a little out of the lines, you can always touch up the lettering with the background color paint.
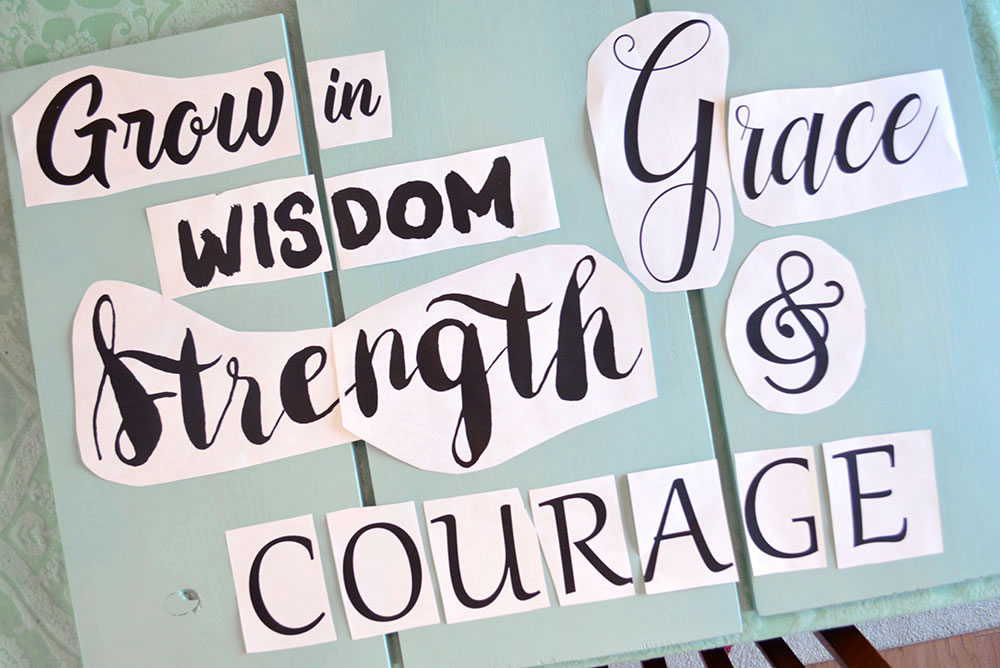
Before cutting, I arranged these custom letter stencils on the wood panels to get an idea of how I wanted my DIY boys wall art to look.
Custom Wall Art Made With Love
Once you get the hang of making your own painted letter stencils, you can make all kinds of custom wall art! When I’m inspired, I really enjoy creative painting projects and designing my wall art with love.
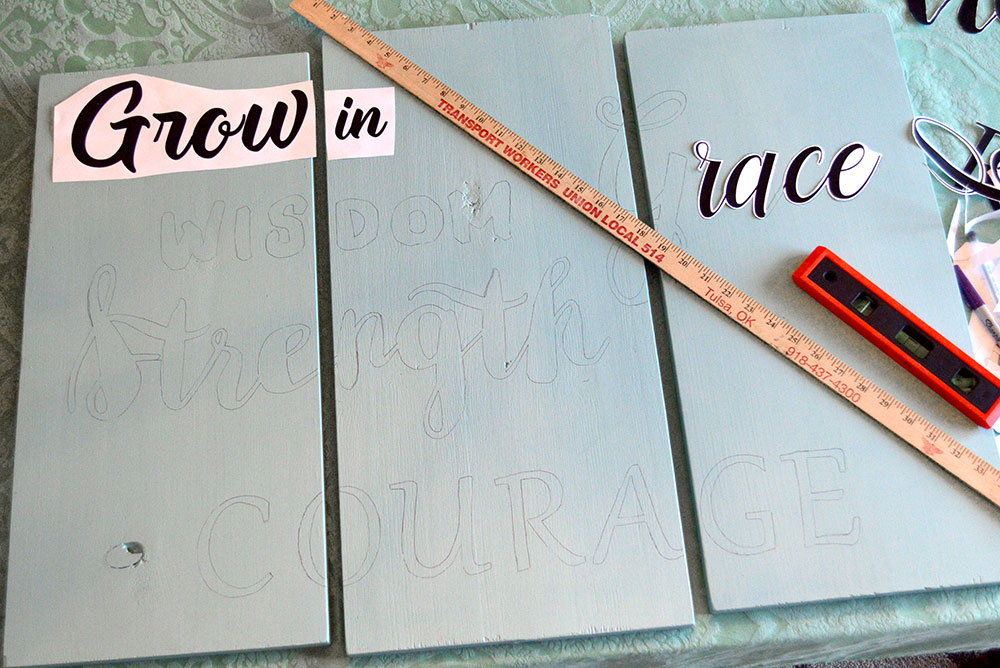
Once my DIY lettering was in place, I just had to fill it in with paint. I chose a beautiful charcoal gray craft paint to contrast with the dusty blue background color. When choosing my stencil fonts, I selected a variety of fonts that contrasted each other without clashing.
Finished DIY Nursery Wall Art
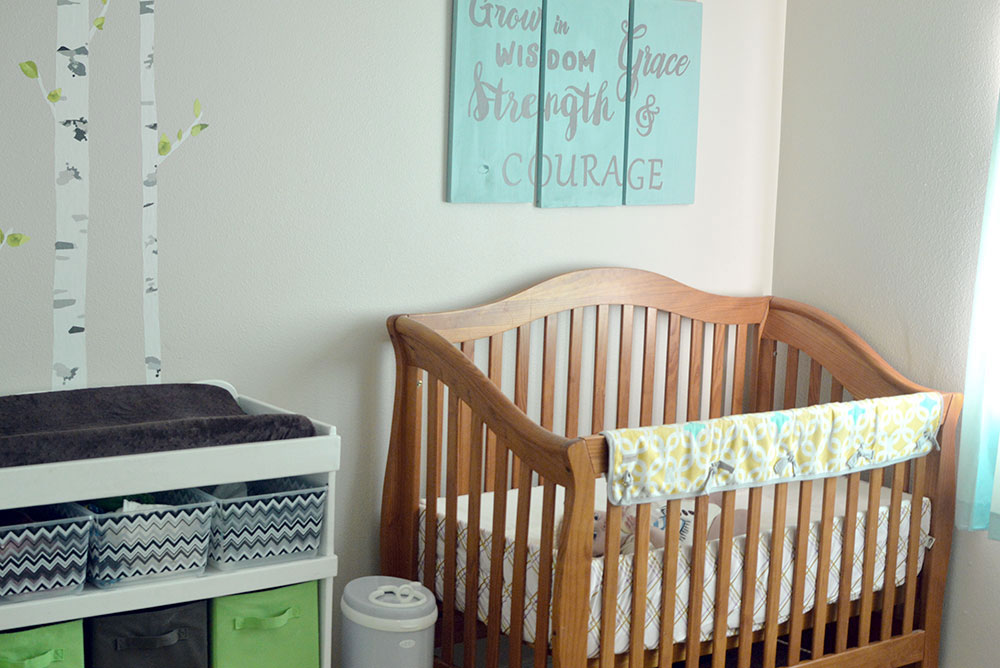
I love how my homemade wall art sign turned out. It’s a beautiful reminder of God’s grace in my life, and how much He sustains our family as we raise our little ones. My prayer for my son is that he would grow in wisdom, grace, strength and courage. This is because these are strong character qualities. My husband is also a wonderful example of these values!
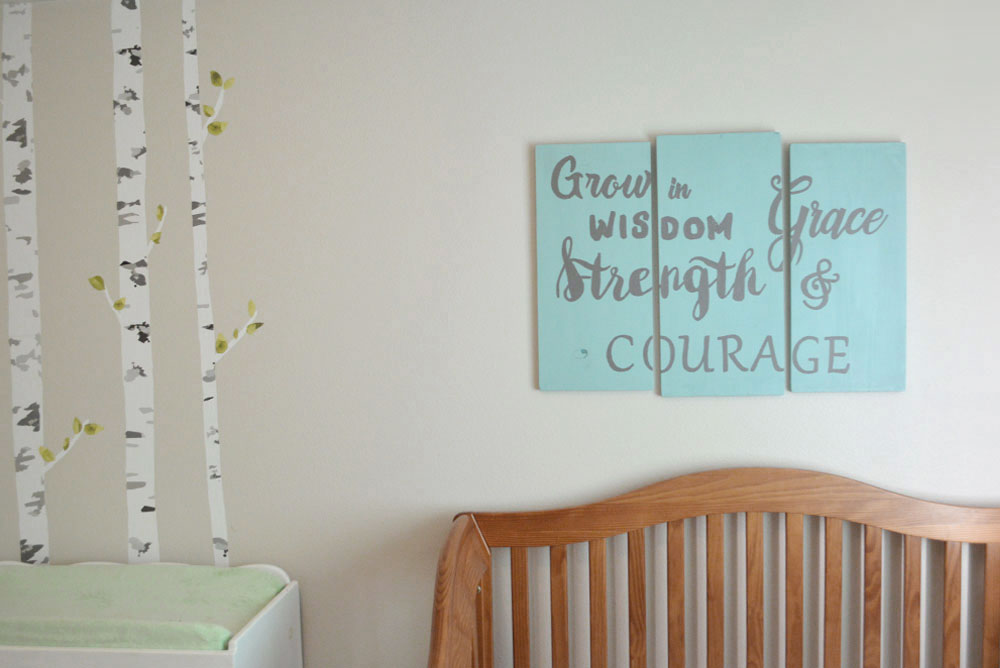
If you decide to make your own wall art, I hope you enjoy the creating process as much as I do!
Hi, I’m Katie! I live with my husband and 3 kids in Coeur d’Alene, Idaho. I love Jesus, coffee, creative projects, taking photos and traveling. I’ve previously worked as a web designer, journalist and barista. I hope you enjoy our creative projects and family adventures!


 See our creative projects, kids activities, & party ideas »
  Homeschool Tips & Ideas »
  Europe with Kids Video Episodes »

Great idea! I needed this
This is absolutely beautiful. I love the quote, and the fact that you made it yourself makes it that much more special. I definitely need to do something like this for my son. 🙂 Thank you so much for sharing!
I love this idea! This looks so neat!
I thought about my daughter when I saw this. She is always doing neat diy projects. I will share this with her.