It can be a challenge to choose healthy snacks that kids like. Fruit is a go-to snack for our family. My kids like fruit and I often buy a variety of berries, bananas, apples and citrus for snack time. I’ve dried slices of fruit in the oven, with pretty good results. We made dried strawberry slices and homemade banana chips. Follow these steps to learn how to dry your own fruit.

How to Dry Strawberry Slices
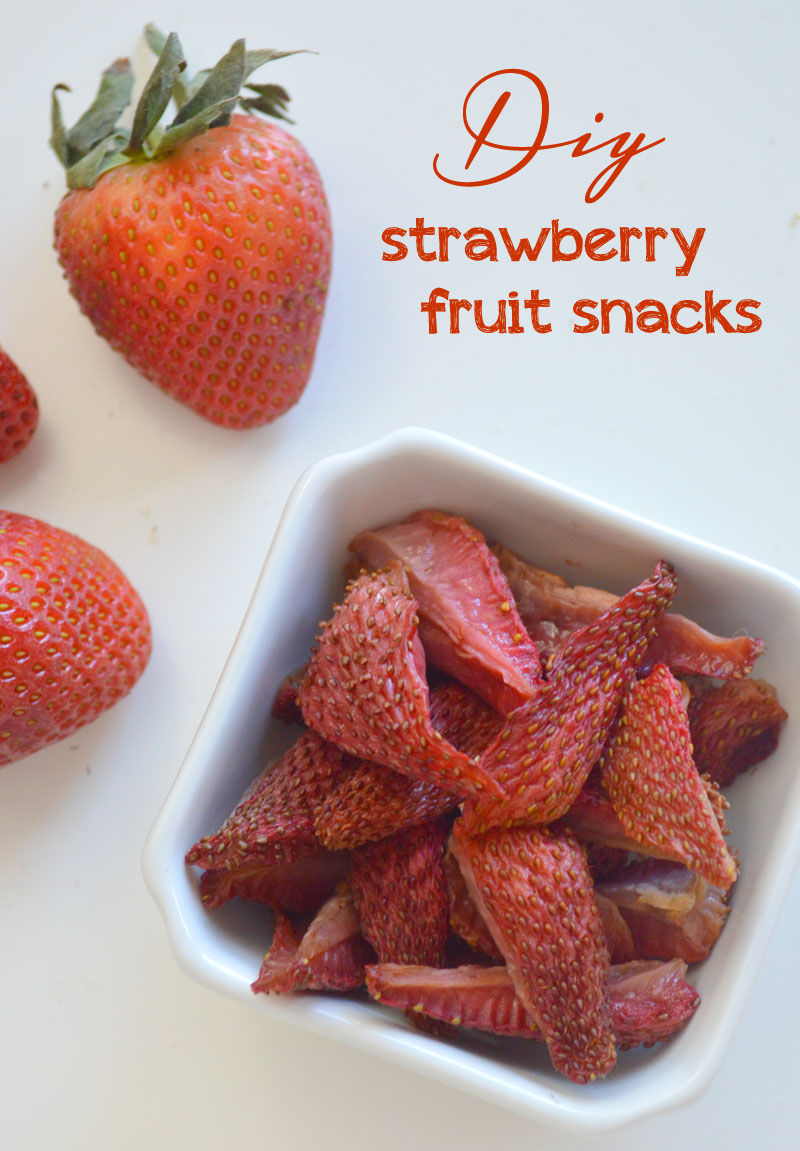
Make homemade dried strawberry slices by popping sliced strawberries in the oven at 200 degrees for 3 hours. Don’t slice the strawberries too thinly or they may get crispy or burn. My homemade strawberry snacks turned out dry on the outside and gummy on the inside. I recommend placing fruit slices on a parchment paper lined baking sheet so they don’t stick. See my full dried strawberries tutorial here.

Dried strawberry slices are tasty and my kids think they are fun to eat. You can experiment by cutting strawberries into slices or quarters to create the ideal chewy texture. These homemade dried strawberry snacks are naturally sweet!
Pin this to Pinterest
How to Dry Banana Slices
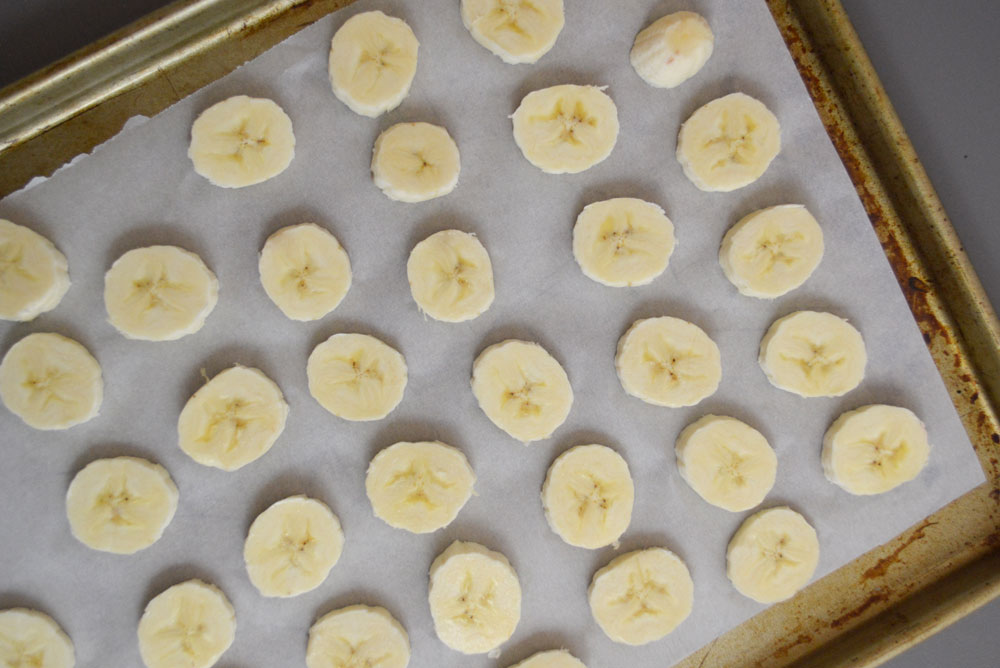
To make homemade banana chips, slice up a banana. Arrange the slices on a baking sheet that’s lined with parchment paper. Bake the bananas at 200 degrees for 3 hours.
Homemade banana chips are softer and more chewy than store bought banana chips. I think the banana chips you can buy are dehydrated using a preservative. Homemade banana chips are best if eaten right away and they taste like roasted bananas. I think they are delicious!
Pin this to Pinterest

Homemade Dried Fruit
You can experiment with drying all sorts of fruits in the oven at 200 degrees for 3 hours. I think the best fruits for drying are those which have a skin and are naturally juicy. Bananas work well for drying because they are starchy. I’d like to try drying apple slices, peach slices, nectarines, plums and grapes.
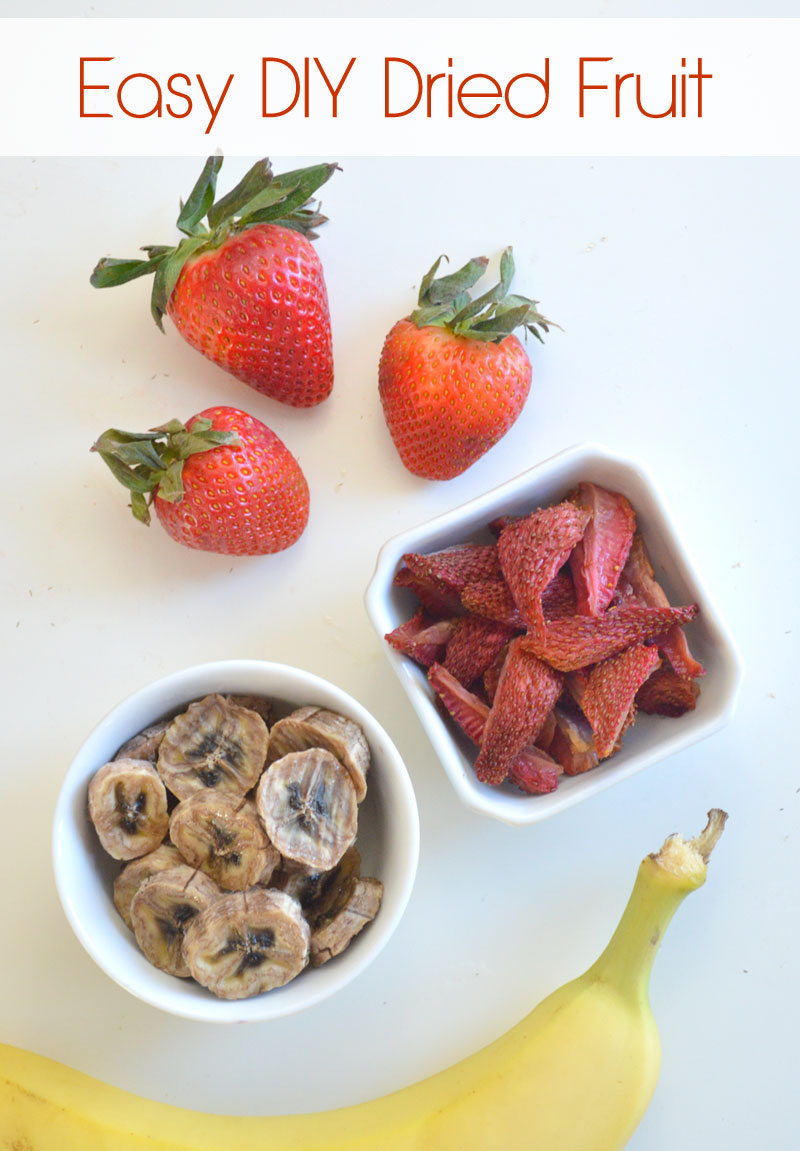
Overall, homemade dried fruit is easy to make and delicious to snack on. You can store these DIY dried snacks in an air tight container and enjoy for several days. You could also probably add a natural preservative to the drying process to extend the shelf life of your homemade dried fruit. I hope you enjoy experimenting with making your own homemade dried fruit!
Hi, I’m Katie! I live with my husband and 4 kids in Coeur d’Alene, Idaho. I love Jesus, coffee, creative projects, photography, and traveling. I’ve previously worked as a web designer, journalist, and barista. I hope you enjoy our creative projects and family adventures!


 See our creative projects, kids activities, & party ideas »
 Homeschool Tips & Ideas »
 @createplaytravel on YouTube »
 Europe with Kids Video Episodes »
