Did you know you can make your own crystals using water and borax? One week for science, my kids learned how to do this awesome homeschool science activity! All you need is a few simple materials and 20 mule team borax.
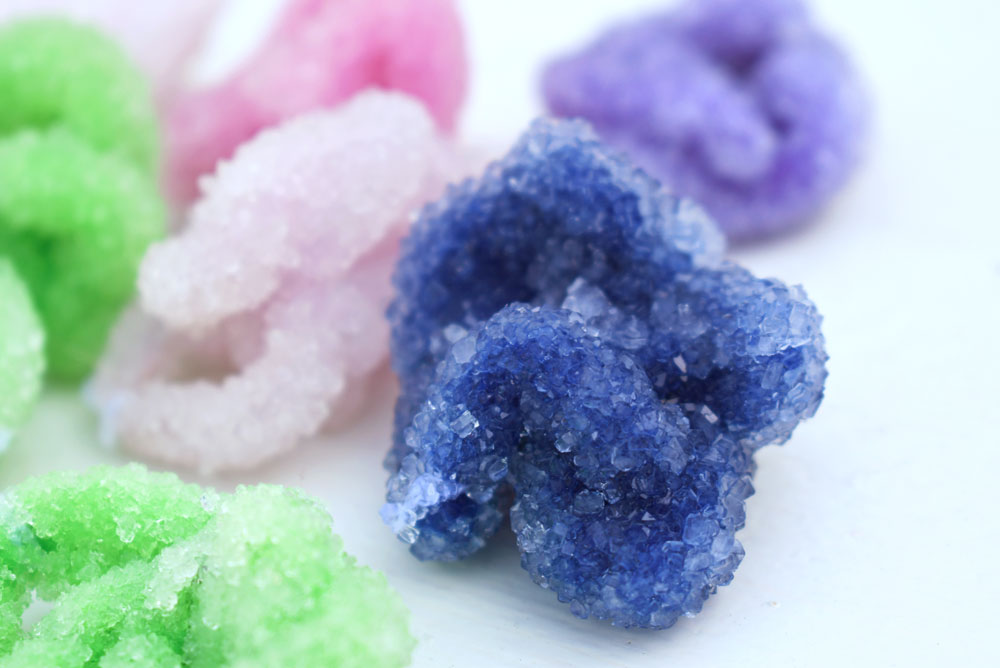
You can make your own shimmery, colorful crystals overnight by creating a chemical reaction between water and borax. In just 24 hours, you can create an assortment of hard, light-reflecting crystals.
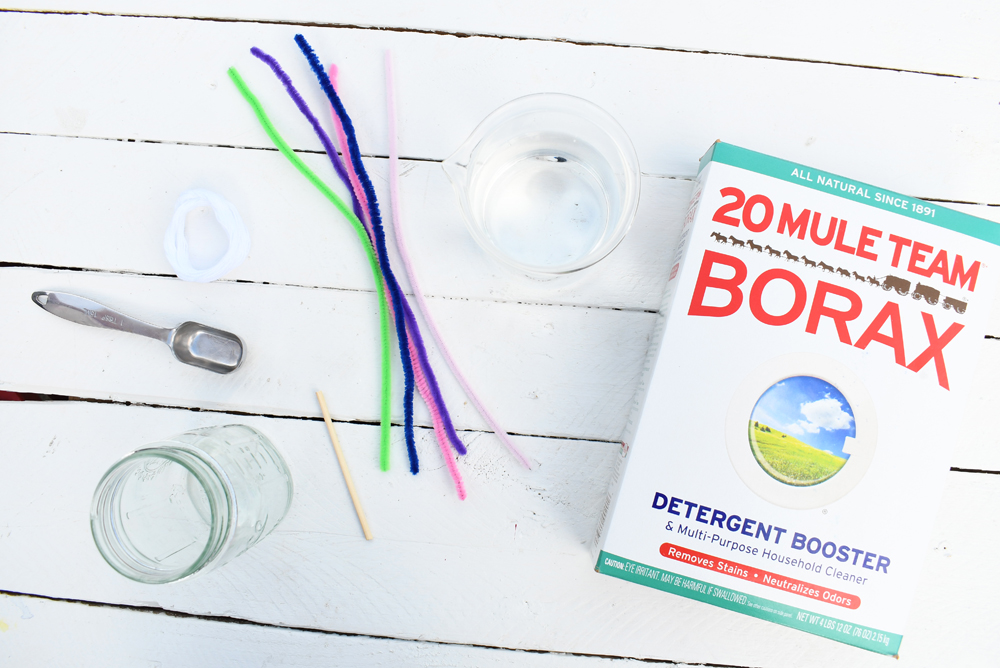
To make your own crystals using borax, you will need an assortment of materials you may already have at home.
Borax Crystals Materials
- mason jars
- colored pipe cleaners
- string
- wooden sticks or popsicle sticks
- boiling water
- 20 mule team borax (4 tbsp. per 8 oz. of water.)
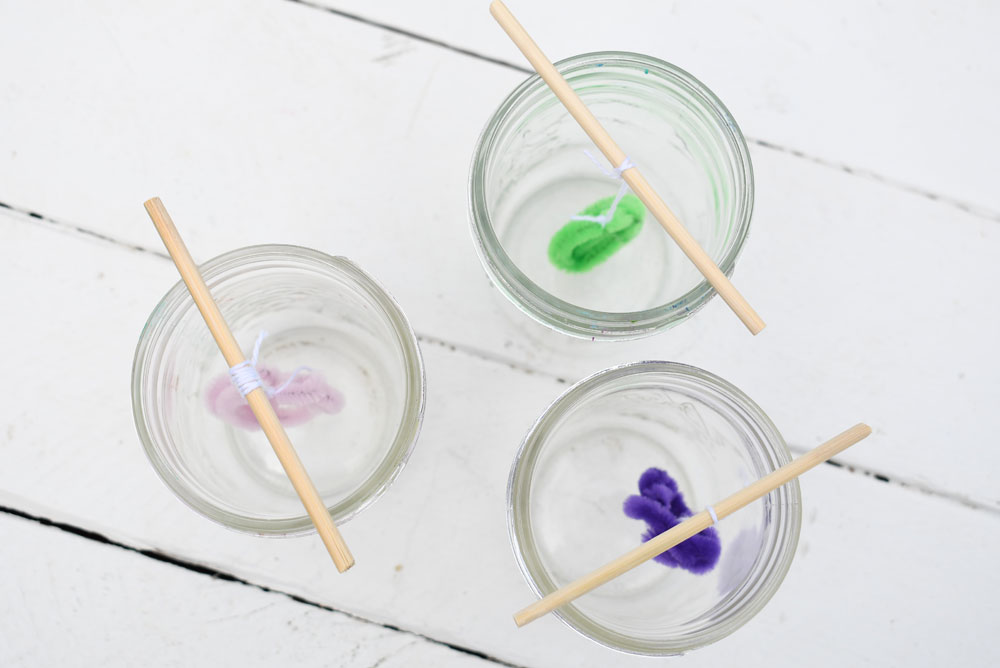
The first step to make your own borax crystals is to create a pipe cleaner knot for the crystals to grow on. Suspend this knot in a mason jar filled with borax dissolved in water, and watch the crystals grow!
My kids rolled up a pipe cleaner to create the base for their “gems”. We learned we could either loop the pipe cleaner around itself to make a knot, or create a curved dish shape to resemble a geode.
Next, tie the pipe cleaners into wooden sticks using the string. The sticks will suspend each pipe cleaner knot in the borax and water liquid. Make sure the pipe cleaners don’t touch the bottom of the jar.
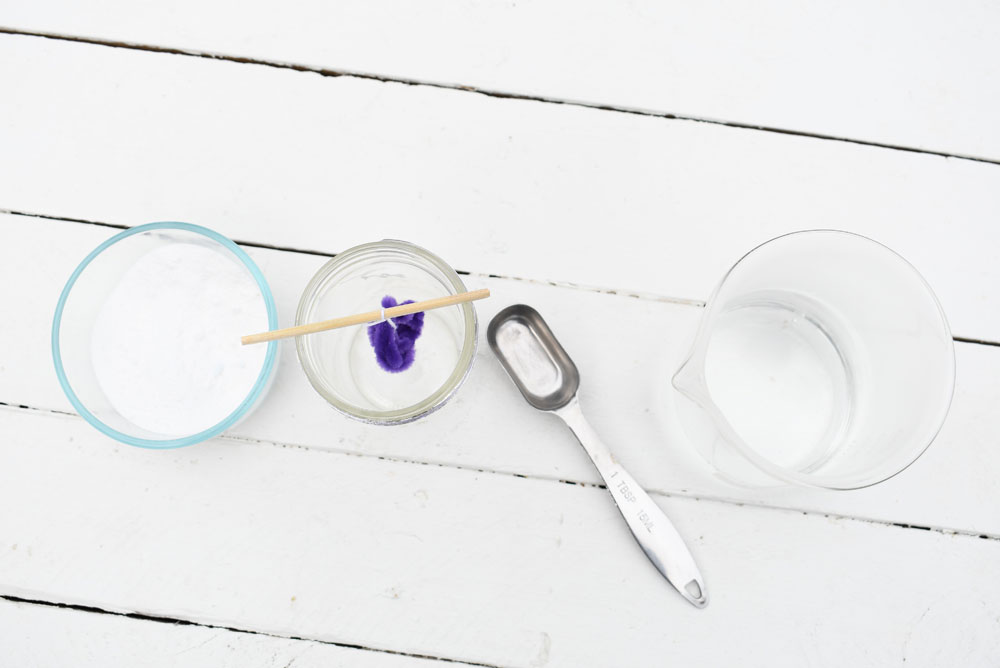
Once the pipe cleaners are suspended in the mason jars and ready to go, next it’s time to make the liquid borax mixture.
Bring a pot of water to a boil. For every 1 cup of water, mix in 4 tbsp. of 20 mule team borax. Stir the mixture until the borax is fully dissolved.
Carefully pour the liquid borax mixture into each mason jar, fully covering the pipe cleaner knot.
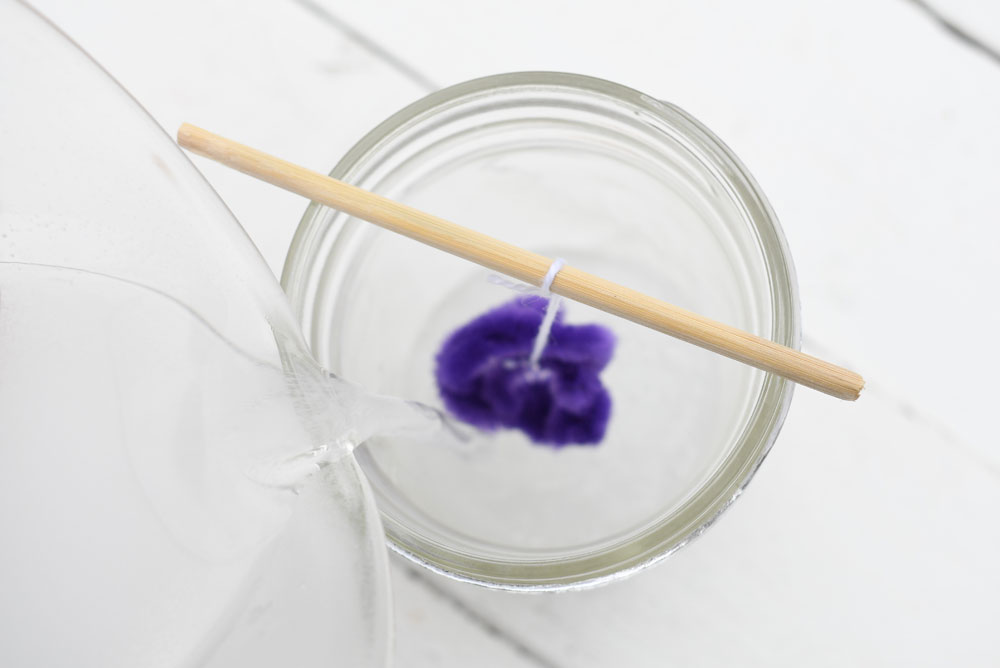
Finally, it’s time to sit back and wait for the borax crystals to form! We let our borax crystal experiment sit overnight. The next day, the borax had formed shimmery crystals on each of the pipe cleaner knots. The color of the pipe cleaner shows through the clear crystals.
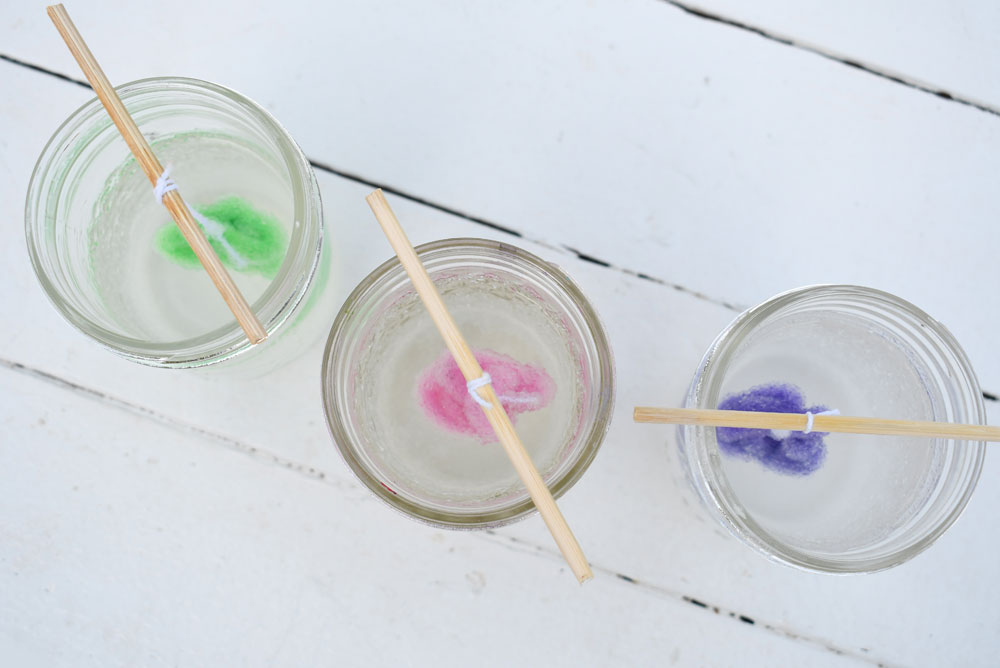
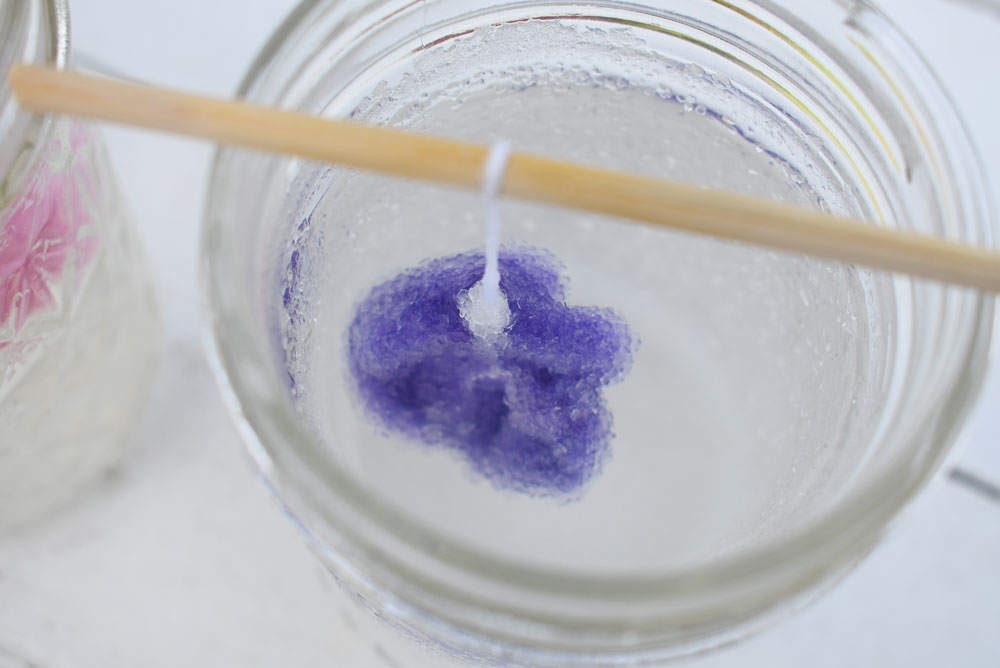
After about 24 hours, you can remove the homemade borax crystals from the liquid and allow them to dry. The crystals feel hard to the touch and they sparkle in the light.
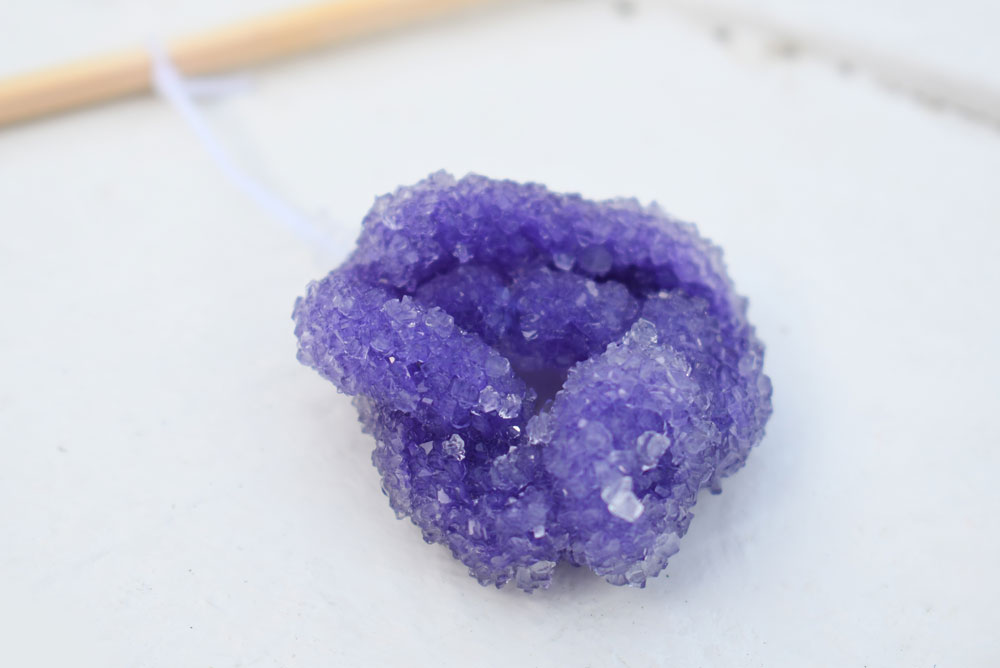
Borax Crystals Chemical Transformation
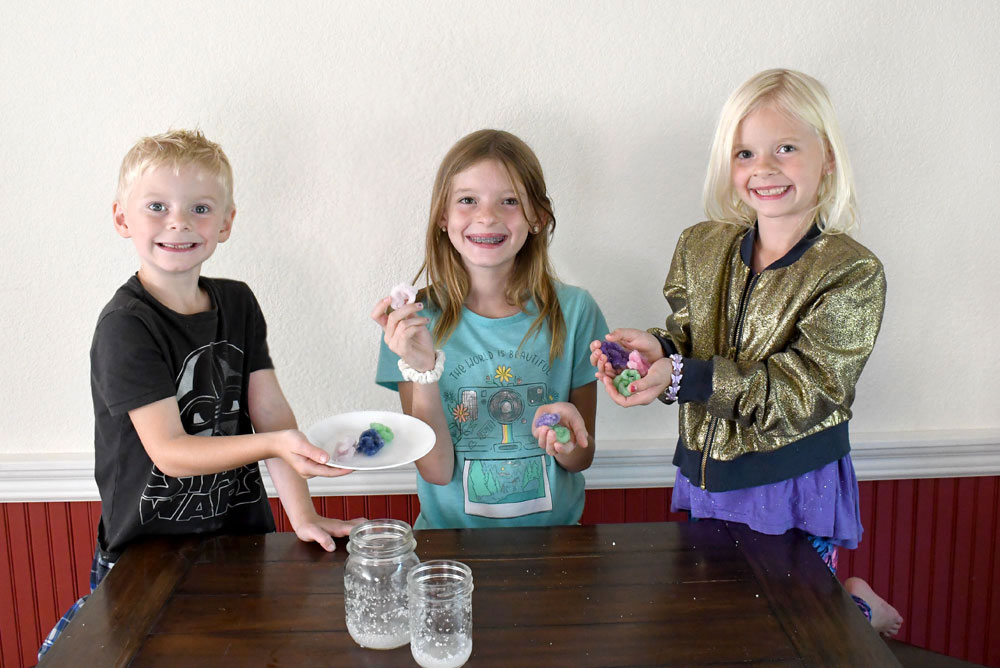
My kids had a blast making these DIY borax crystals! We learned that the shape of the pipe cleaner influences how each finished chunk of crystal looks. My kids could have made shapes resembling geodes, or hearts, or stars using the pipe cleaners.
We also talked about the chemical reaction that took place and reinforced some scientific terms. For example, the borax and water mixture transformed liquid matter into solid matter in the form of crystals overnight.
Furthermore, my kids learned that matter makes up all things, and while it doesn’t disappear, it can change form. This crystal experiment was a fun activity to see this transformation of matter occur.
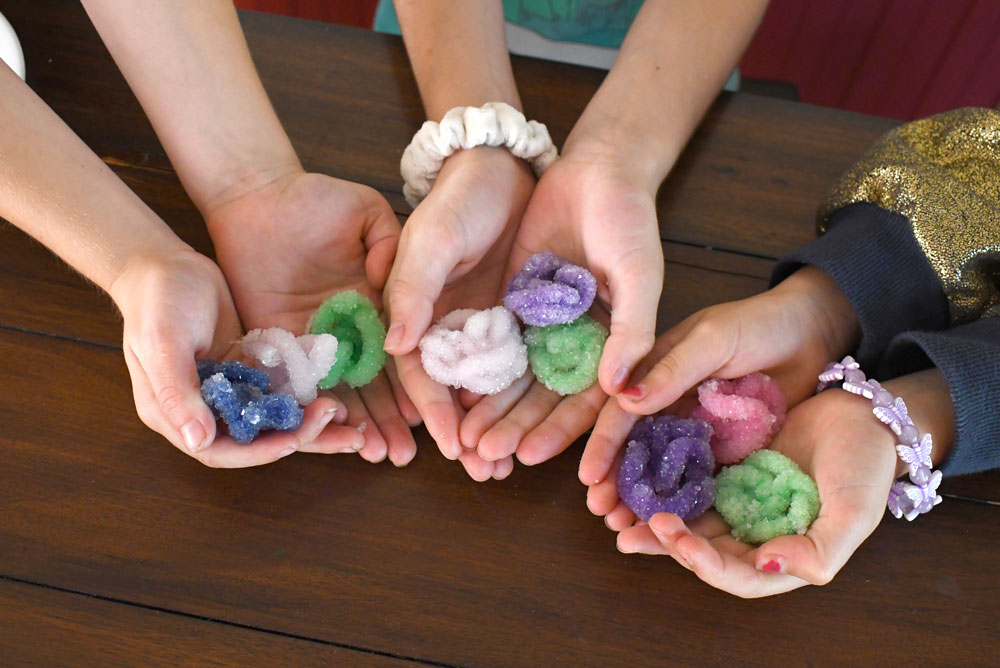
For our family, homeschooling is a wonderful way to learn, create interesting things, and explore the amazing world we live in. I love spending time with my kids because I can encourage them to develop a love for learning!
If you try this DIY borax crystal activity, which colors and shapes would you want to create?
Hi, I’m Katie! I live with my husband and 3 kids in Coeur d’Alene, Idaho. I love Jesus, coffee, creative projects, taking photos and traveling. I’ve previously worked as a web designer, journalist and barista. I hope you enjoy our creative projects and family adventures!


 Creative Projects, Kids Activities, & Party Ideas »
  Homeschool Tips & Ideas »
  Europe with Kids Video Episodes »
