Baby shark doo doo doo doo doo doo. Sound familiar? The Baby Shark song has been danced to many times in our home, coming in second on our playlist only to Space Unicorn. It’s not surprising really, the simple lyrics and catchy tune is sure to make any toddler giggle.
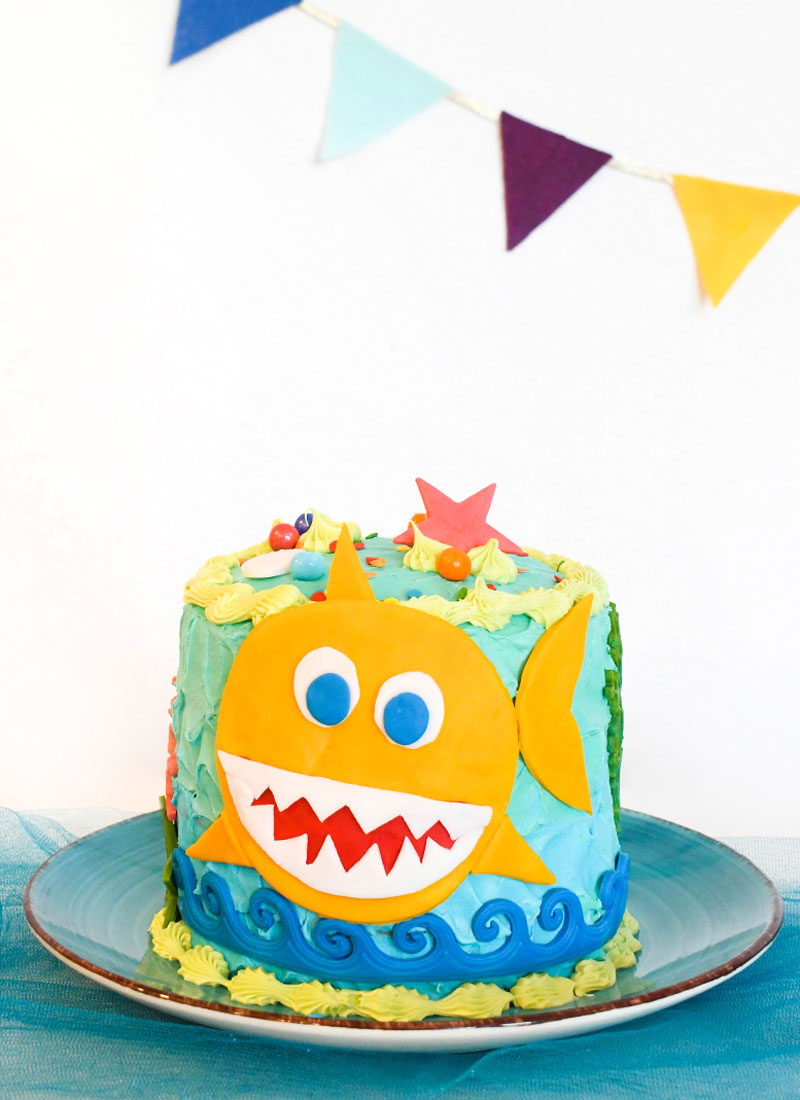
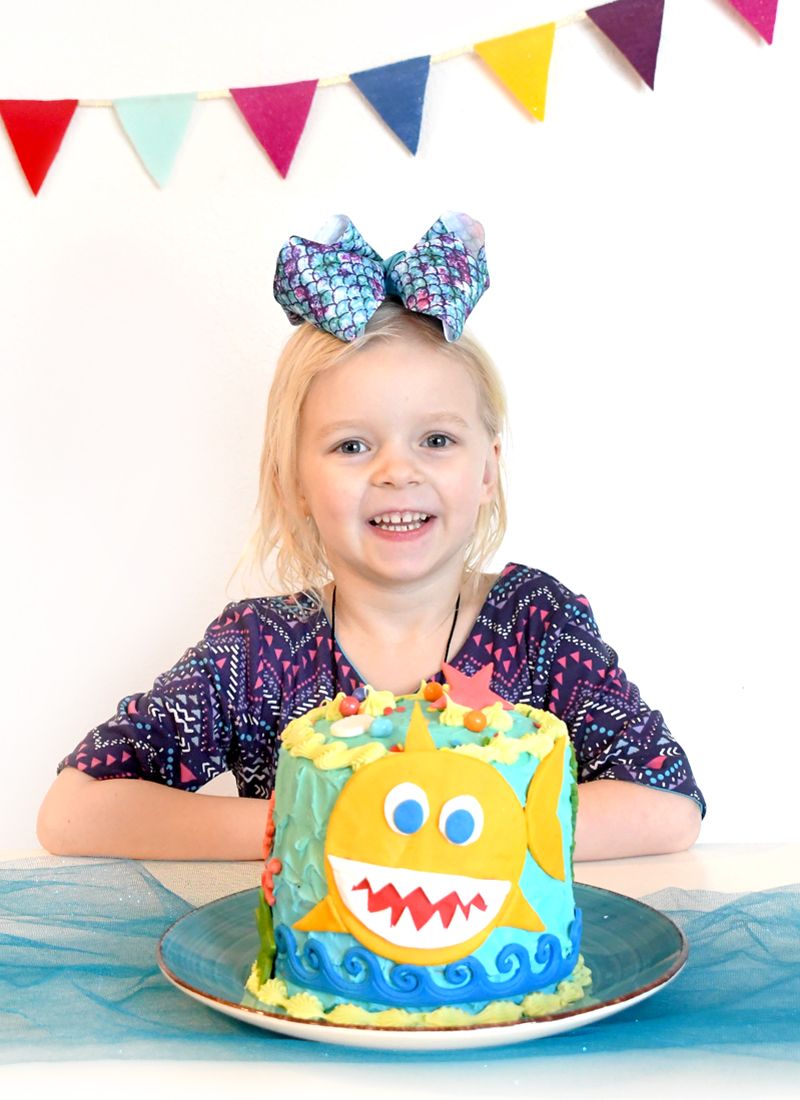
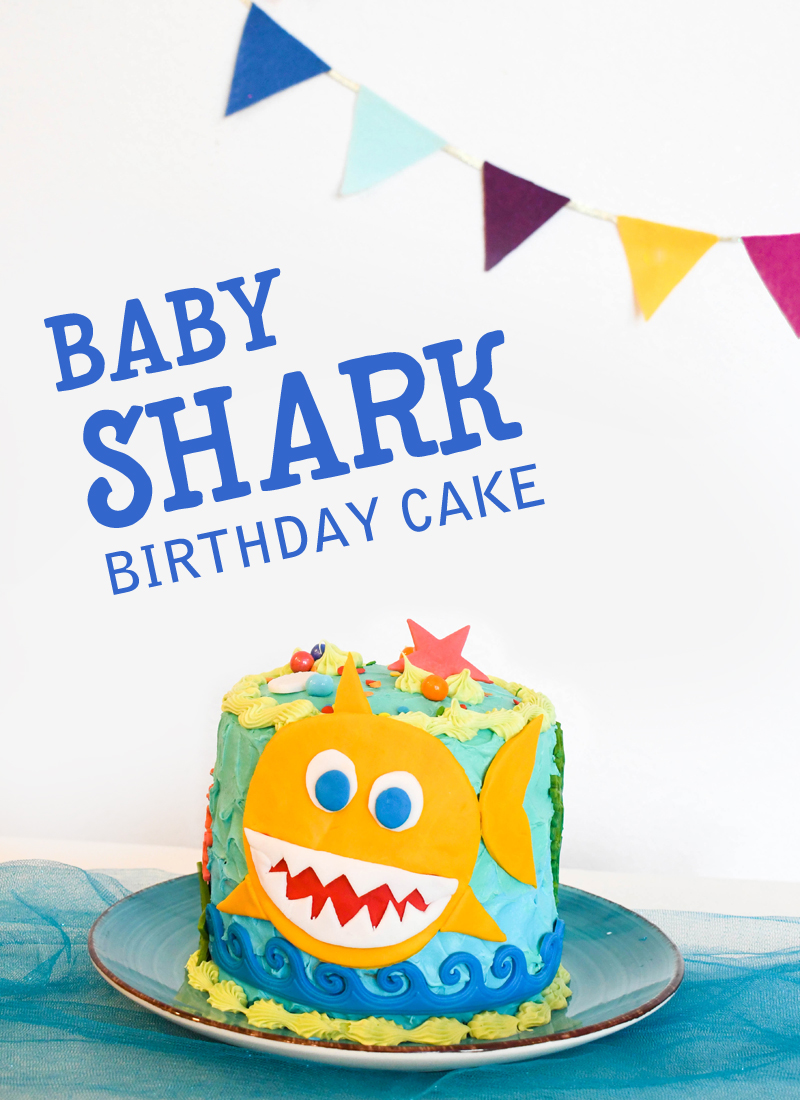
This DIY baby shark birthday cake is a fun way to incorporate your child’s favorite song into their birthday celebration! You don’t have to be a cake master to create a Baby Shark birthday cake (believe me, I’m not). All you need is some small cake pans, a boxed cake mix, 1-2 tubs of icing, white fondant and food coloring.
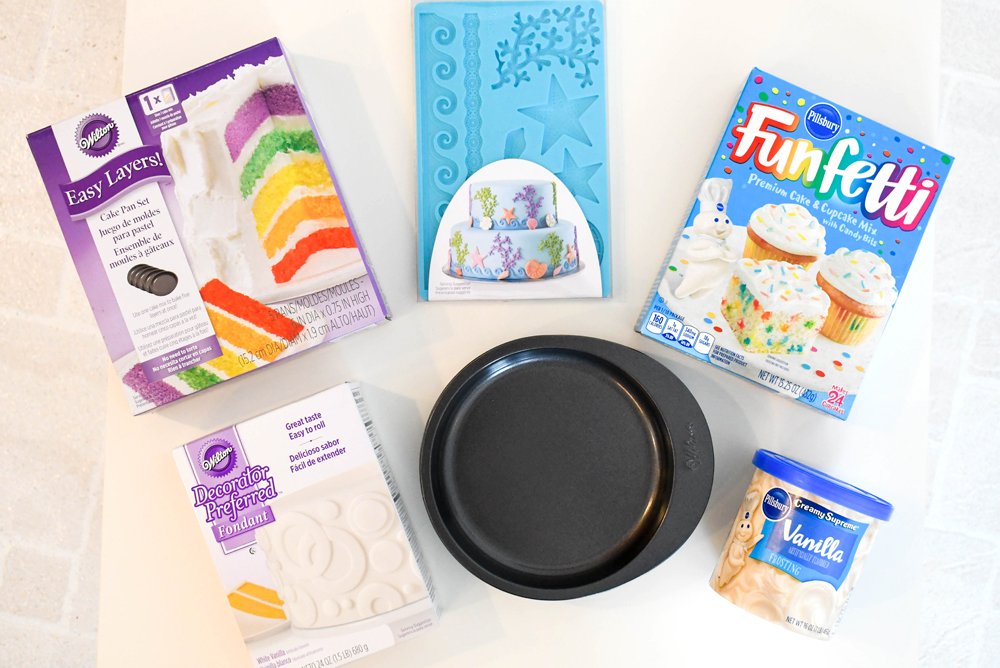
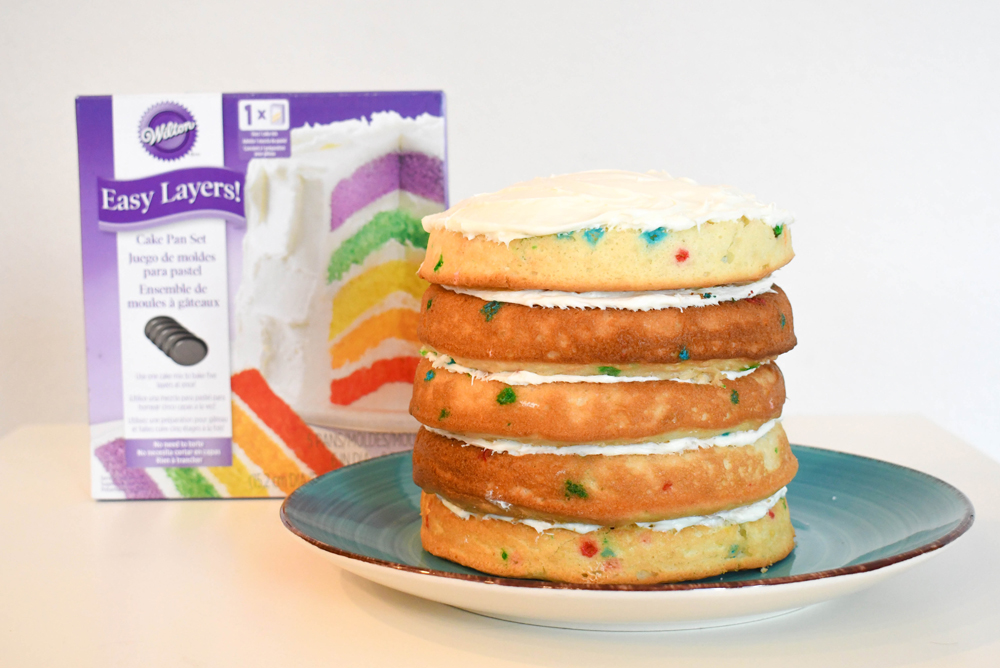
I love this Easy Layers cake pan set from Wilton. I purchased it and quickly realized how much this set would help me make cute cakes for my kids! This set of 5 shallow cake pans is great because half the battle of designing custom cakes is making a tall enough cake, without making tons of cake. Also, thinner layers bake more quickly and allow for lots of icing inside the cake.
Bake a 5-Layer Cake
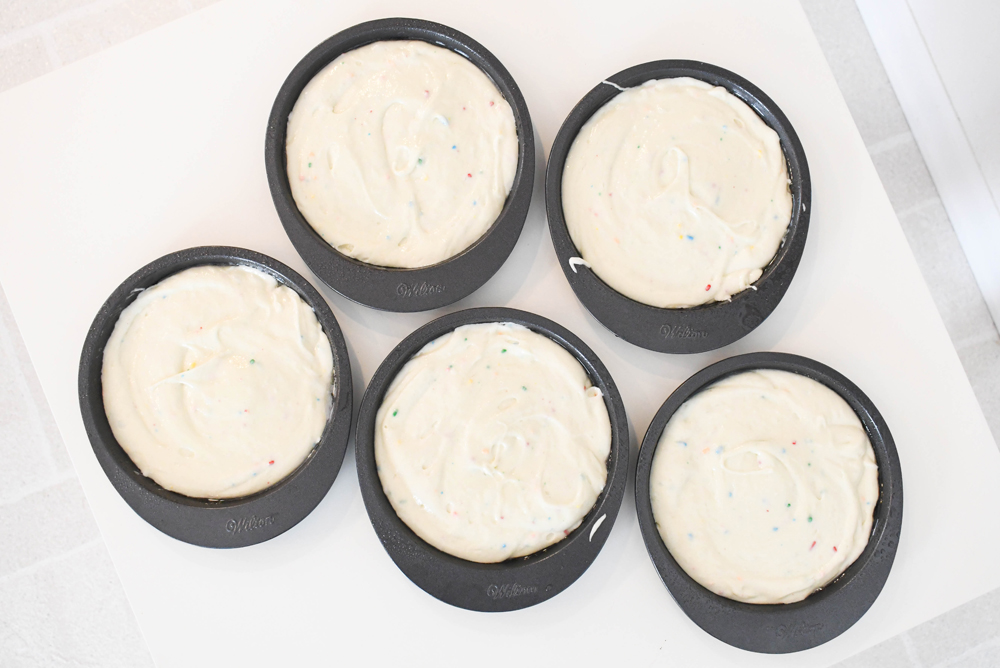
I’m excited to share how you can make this colorful 5-layer birthday cake in a few easy steps! We used the shallow cake pans included in Wilton’s Easy Layers cake pan set. You can fill up all 5 cake pans using 1 box of cake mix!
First, mix together the box of cake mix. Add the water, oil and eggs according to the directions on the back of the box.
Next, lightly spray the cake pans with non-stick vegetable oil spray. Evenly divide the cake mix between each cake pan and bake according to the directions on the back of the box. We used a Funfetti white cake and sprinkles cake mix.
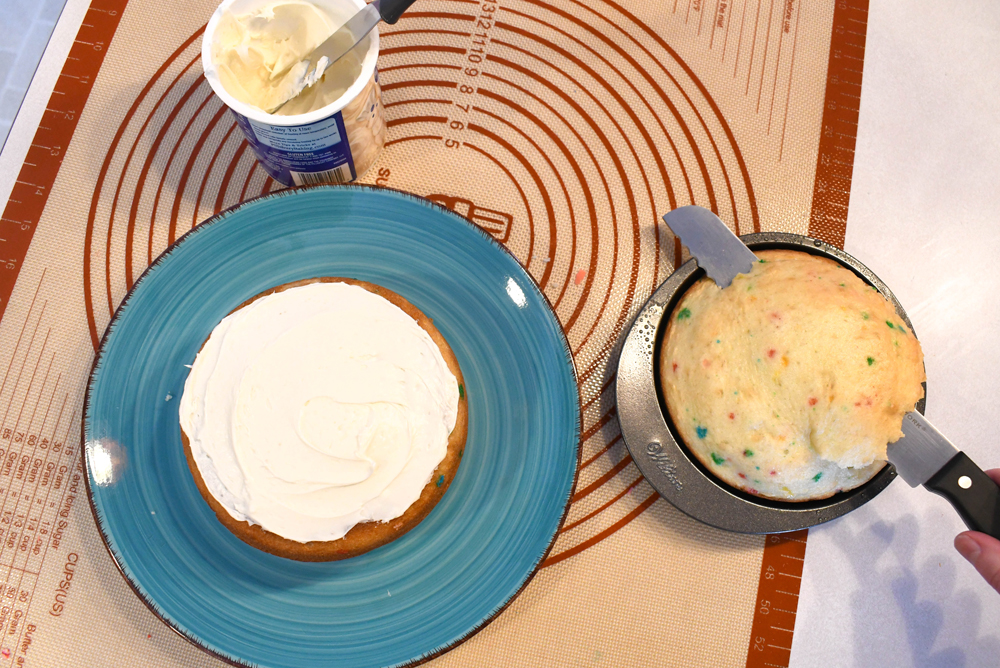
Once baked, allow the cakes to fully cool. Slice off the dome top on each cake layer to help the layers stack evenly. I learned this trick from watching competitive baking shows. This allows the cake layers to sit evenly and gives the cake stability.
Assemble your Baby Shark Birthday Cake
Next, assemble the cake! Stack each cake layer with a generous quantity of icing in between. Divide your icing evenly; use half of the icing in between the cake layers and the other half to cover the exterior of the cake.
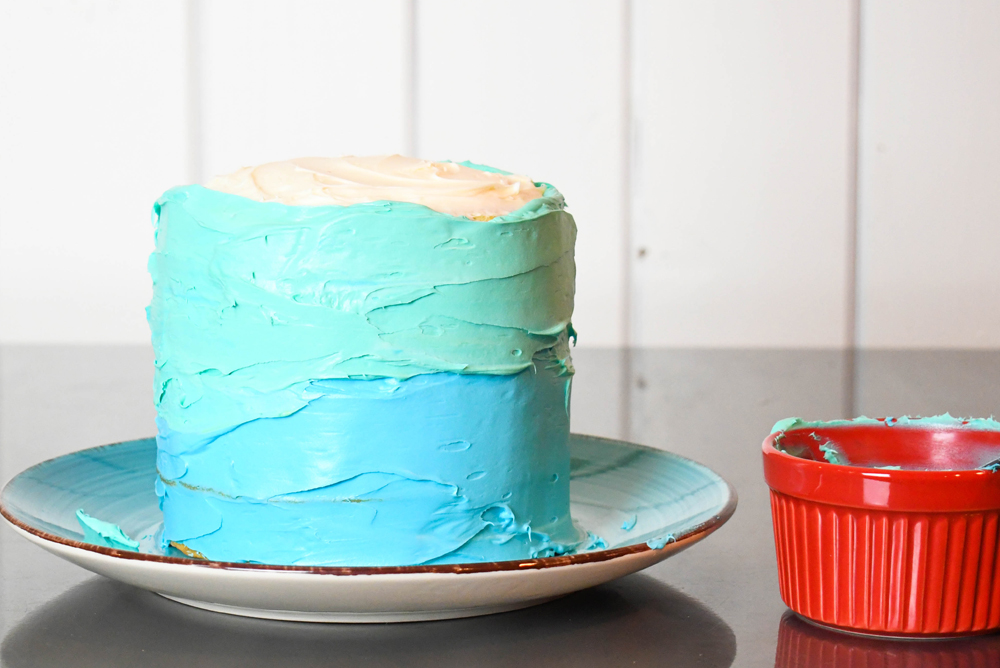
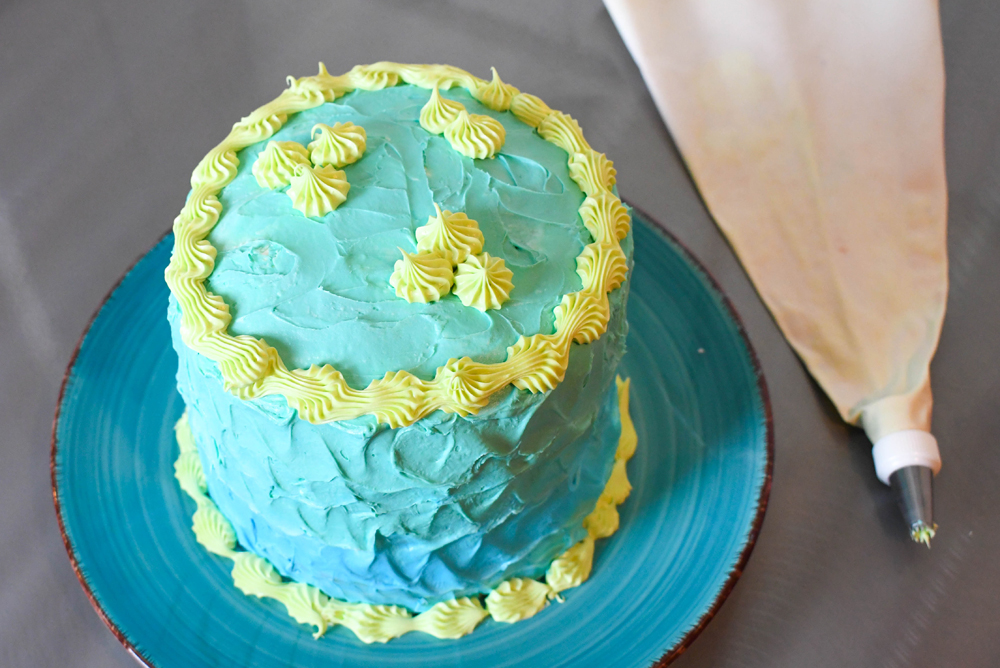
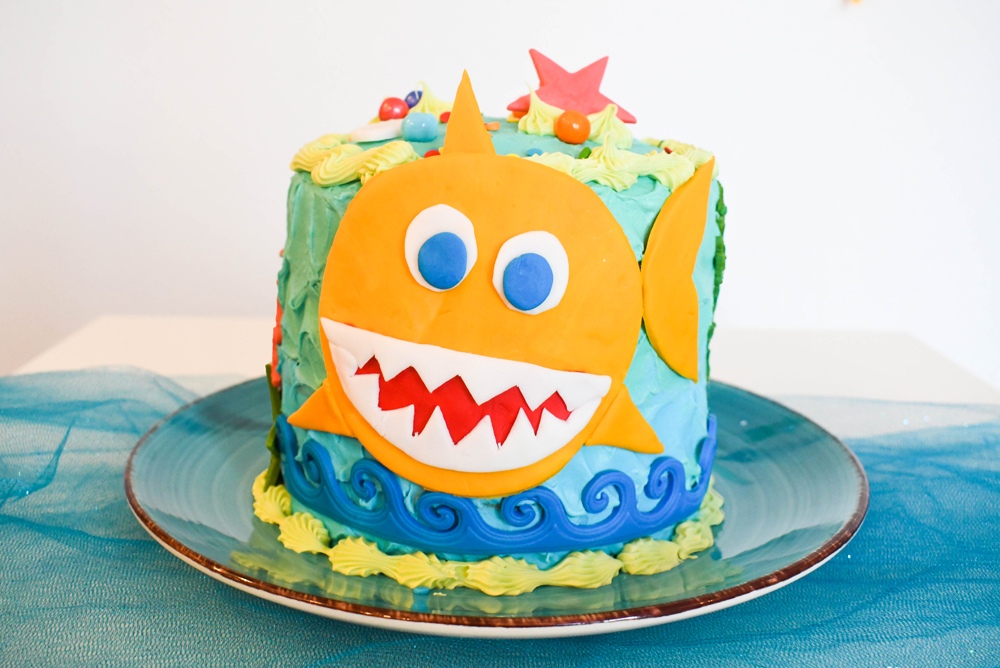
Easily make colored icing by mixing a few drops of food coloring into plain white icing. Coat the outside of the cake with a generous layer of blue icing. You can use an icing spatula to make wavy lines that resemble movement in the ocean. Finally, add the additional details to your cake such as green icing “seaweed” and colorful fondant accents.
Mix Colored Fondant
Next comes the fun part, decorating!
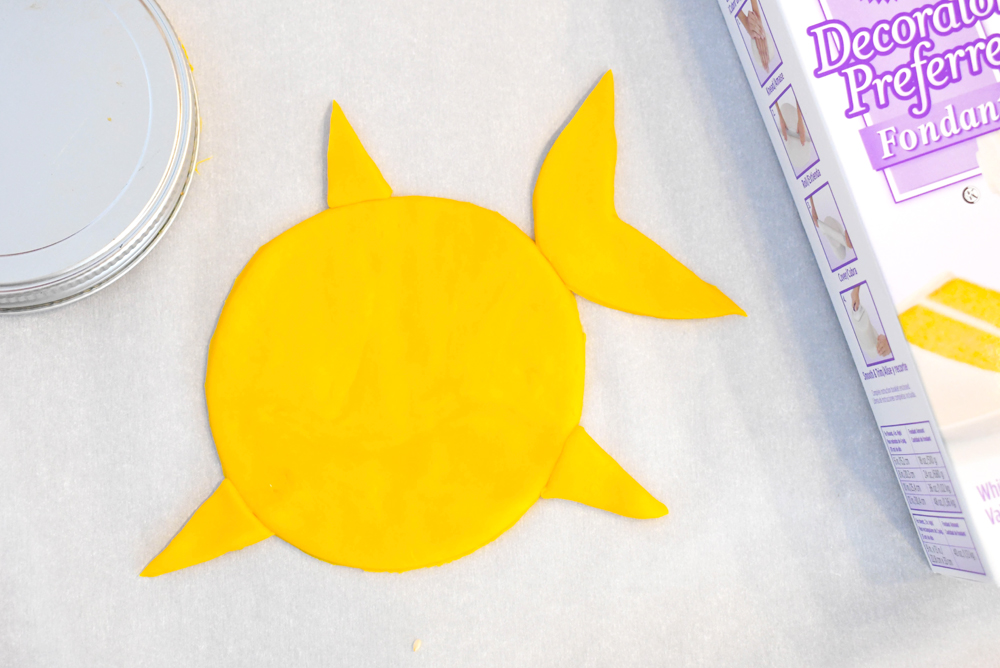
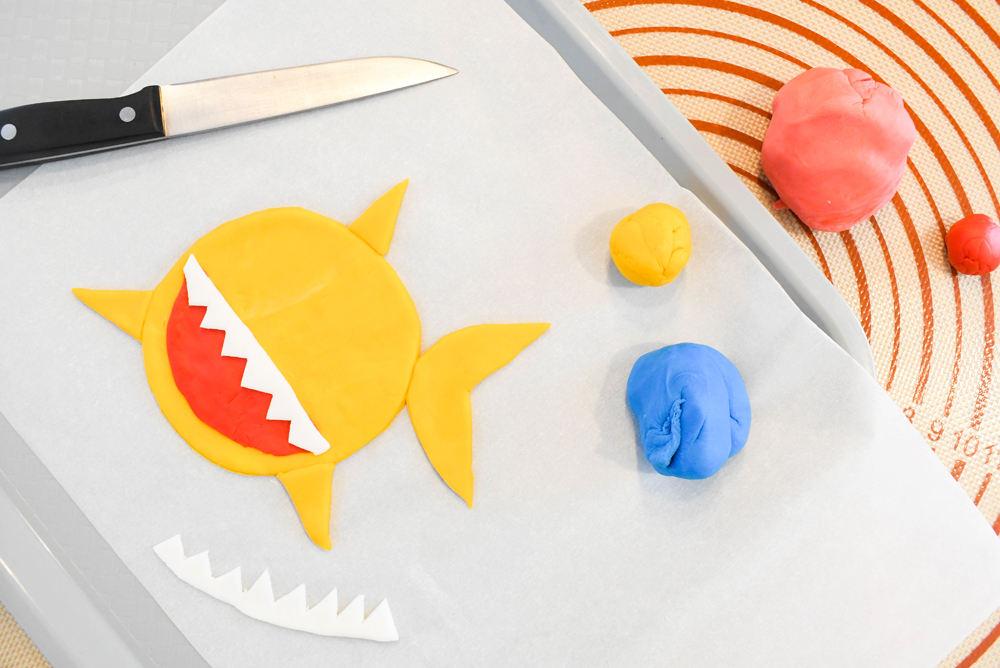
Use fondant to create a custom Baby Shark character; the star of your cake! Roll out yellow fondant for the shark’s body, white fondant for the shark’s teeth and red fondant for inside its mouth.
You can make different colors of fondant by mixing food coloring into balls of white fondant. Roll out a quantity of white fondant on a piece of parchment paper. Add a few drops of food coloring and use a kneading motion to mix the food coloring in. The more you knead, the smoother your colored fondant will be.
Fondant cake decorations are fun because you can make all sorts of shapes and styles. You can use cookie cutters, free-hand cutting with a knife, and fondant molds to create colorful edible cake decorations.
Design a Fondant Baby Shark
Design your own fondant Baby Shark character using some basic shapes. Cut out a circle for the body using a cookie cutter or a jar lid. Cut out small triangles for the fins. Get creative and cut out the shark tail, mouth, teeth and eyes using a small knife. Fondant is forgiving and if you mess up, you can roll it back out and start again!
- Shark body – circle
- Fins – triangles
- Mouth – half circle
- Shark tail & teeth – custom shapes, jagged edge thin rectangle
- Eyes – small circles
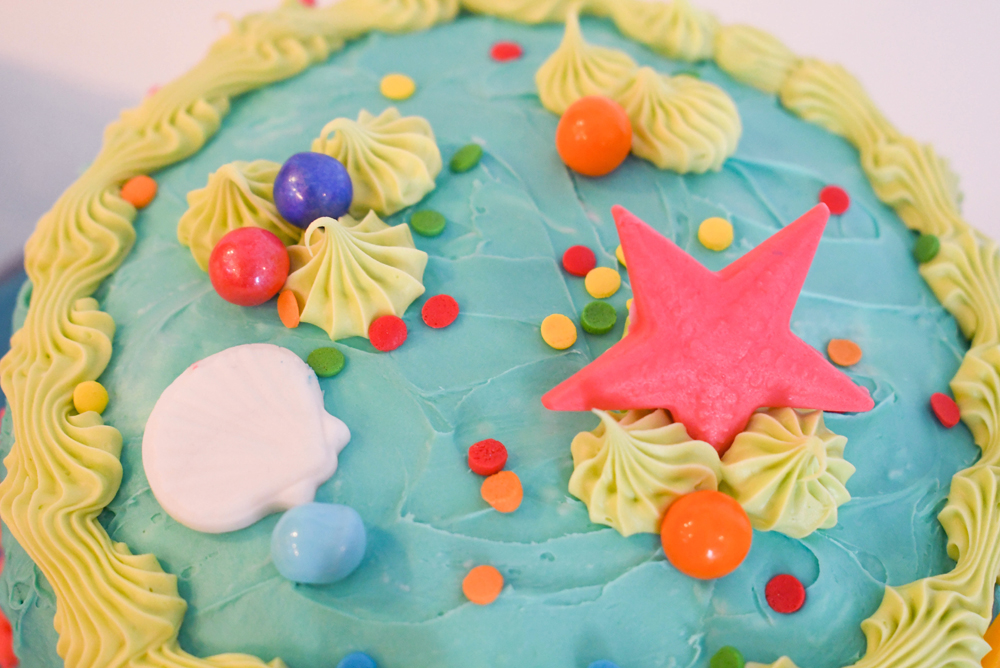
Once you’ve created all your fondant decorations, carefully place them onto the cake, pressing down lightly. You can make this DIY Baby Shark birthday cake as simple or as creative as you’d like! Personally, I went for lots of cheerful color and festive ocean details. I made the fondant sea stars, shells and pink coral using an ocean themed fondant mold.
Cut out Fondant Accents
Fondant isn’t super tasty but it sure adds a pop of color to a birthday cake! Working with fondant requires some practice and careful skill.
To make the fondant coral, waves, starfish and shells, firmly press colored fondant into an ocean themed fondant mold. Next, put the mold into the freezer for a few minutes. Once stiff, scrape the excess fondant off the mold using a small knife and then return the mold to the freezer. Finally, peel the fondant shapes out of the mold using slow, careful tugs.
Using your other hand, you can gently push on the underside of the silicone mold to help release the fondant. Delicate accents such as the coral are the trickiest to remove from the mold and require the most care. Practice makes perfect and it helps to not be pressured by a time schedule.
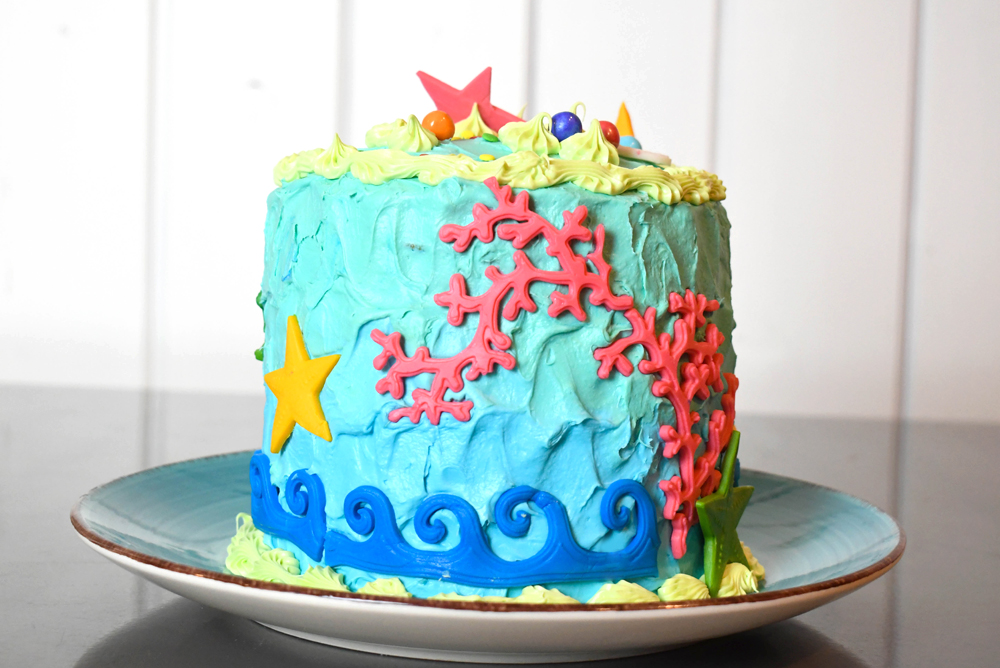
Overall, I really enjoyed making this creative DIY Baby Shark birthday cake. A cute cake is usually the best part of any kids birthday party! The steps to make this cake were easy enough for anyone to be able to follow, with a little time and attention to detail. Once you learn how to work with fondant, your creative options really open up and the possibilities are endless.
Pin this to Pinterest
Hi, I’m Katie! I live with my husband and 3 kids in Coeur d’Alene, Idaho. I love Jesus, coffee, creative projects, taking photos and traveling. I’ve previously worked as a web designer, journalist and barista. I hope you enjoy our creative projects and family adventures!

 See our creative projects, kids activities, & party ideas »
  Homeschool Tips & Ideas »
  Europe with Kids Video Episodes »

I love this DIY Baby Shark birthday cake!
What an absolutely adorable cake! The use of fondant really allows you to be creative when decorating a cake. Thanks for sharing.
This cake is cute! Thanks for sharing this fabulous recipe. I plan to make these this week for my kid’s first birthday.
A baby shark cake is a great first birthday cake idea! Have fun!