Flavored lip gloss is fun to make and even more fun to use! You can make this shimmery lip gloss using a variety of colors, fragrances and flavors. The basic ingredients for making your own lip gloss are beeswax, shea butter and coconut oil. Learning how much beeswax to use in your DIY lip gloss can take some trial and error to achieve the perfect consistency. Once you’ve mastered the basic lip gloss recipe, you can make all kinds of colors and flavors!
This lip gloss recipe uses simple beeswax mixed with moisturizing ingredients such as shea butter and coconut oil. You can find my recipe for making DIY natural peppermint lip balm here. (coming soon)
DIY Lip Gloss Supplies
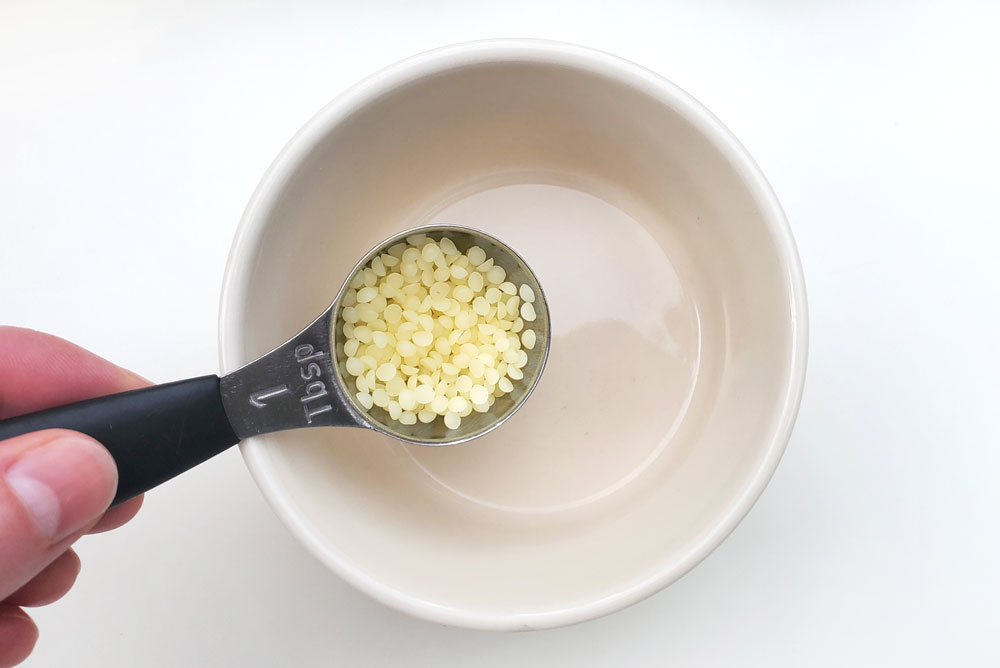
- 1/2 tbsp. beeswax
- 1 tbsp. shea butter
- 1 tbsp. coconut oil
- powdered pigment coloring
- cosmetic glitter
- fragrance / flavoring oil (optional)
- microwave safe bowl or ramekin
- small cosmetic containers with lids
Heat for 1 minute at a time
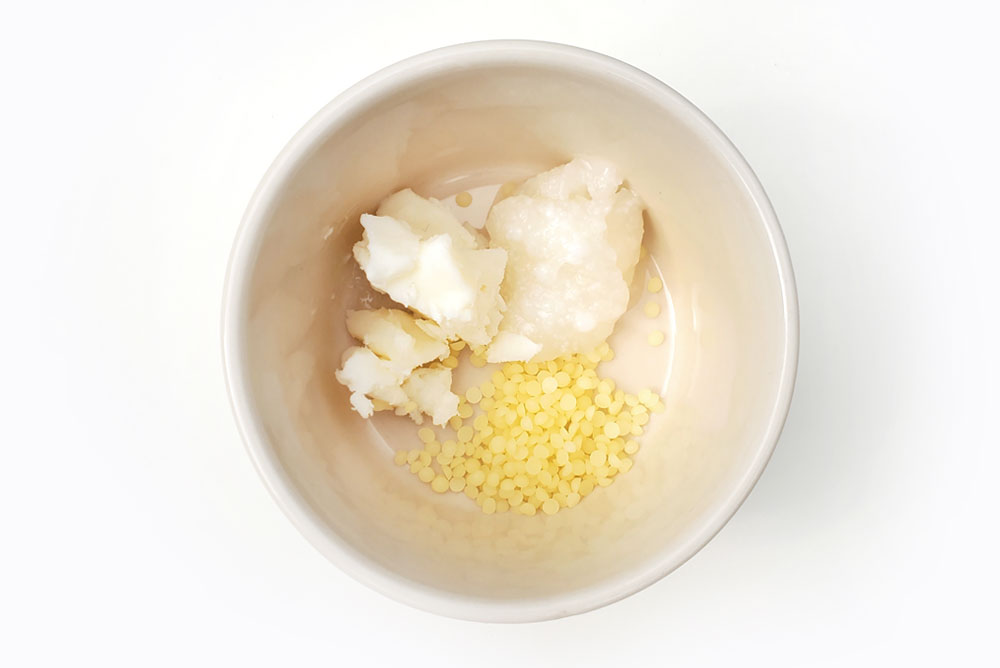
Mix up your own homemade lip gloss to give as gifts or to use yourself! To start, gather your supplies. Measure out the 1/2 tbsp. beeswax, 1 tbsp. shea butter and 1 tbsp. coconut oil into a small microwave safe bowl or ramekin. Heat these ingredients in the microwave for 1 minute. Give the ingredients a stir and heat for another minute. Repeat with heating the beeswax, shea butter and coconut oil for a minute at a time until the ingredients are fully melted into a pale yellow liquid.
Add color with powdered pigment
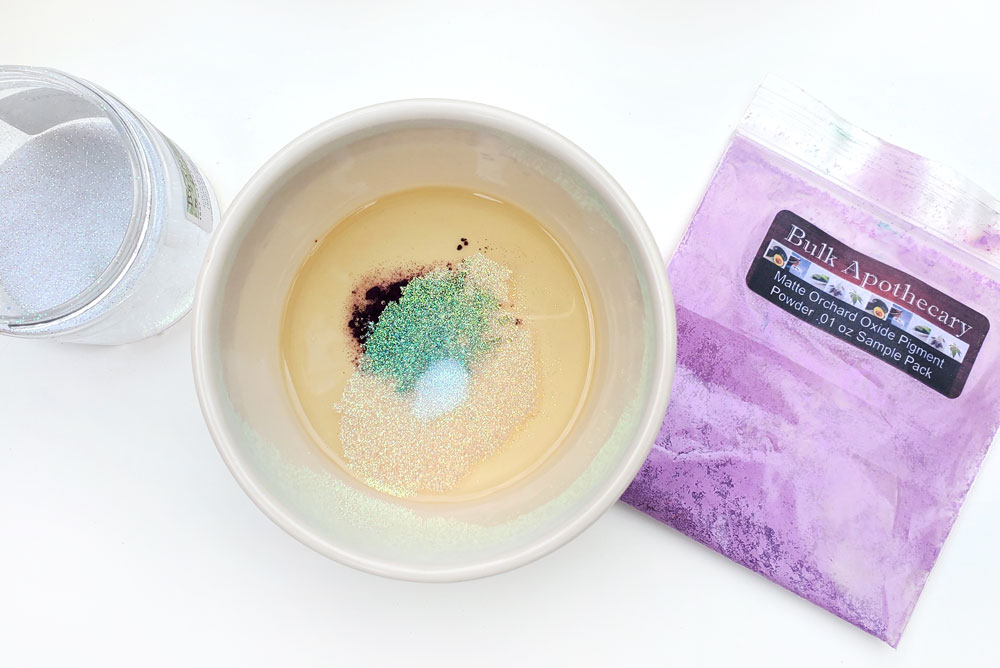
Once the basic lip gloss ingredients are fully melted into a liquid, you will want to work quickly before the lip gloss sets. Add a dash of powdered pigment coloring to make colored lip gloss. Powered coloring easily mixes into the wax and oil-based liquid lip gloss. Food coloring is water based and won’t easily mix in. The water will separate from the oil.
Experiment with flavoring oil or essential oil
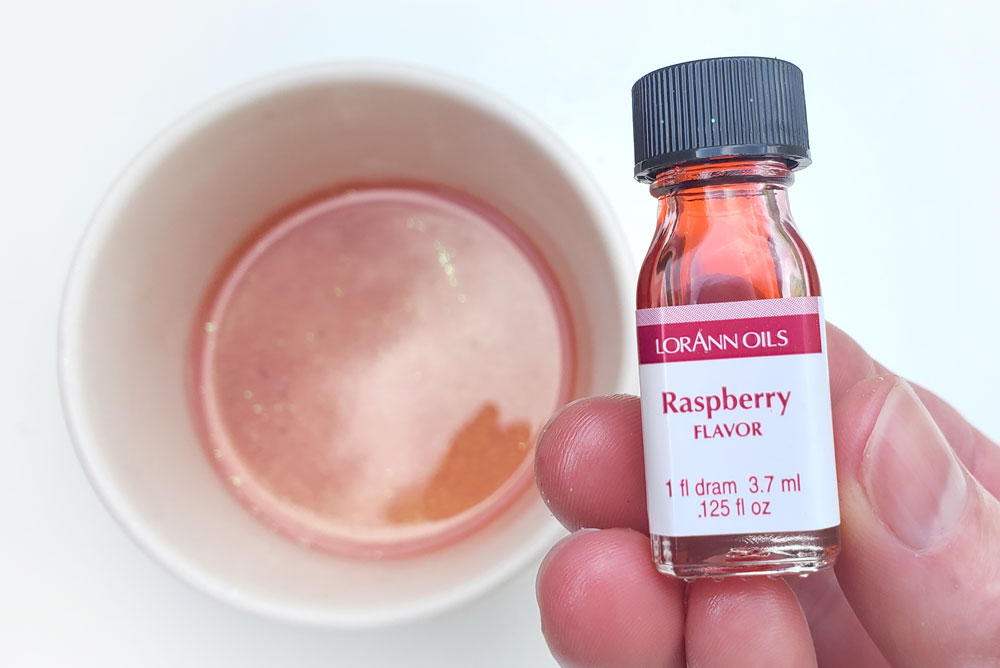
If you want to add a flavor or fragrance to your homemade lip gloss, you can add 1 to 2 drops of food-safe flavoring or essential oil. If the lip gloss mixture starts to set, you can easily reheat it in the microwave for 20 to 30 seconds at a time.
Mix in a sprinkle of cosmetic glitter
Finally, you can mix in a dash of cosmetic glitter to add some sparkle!
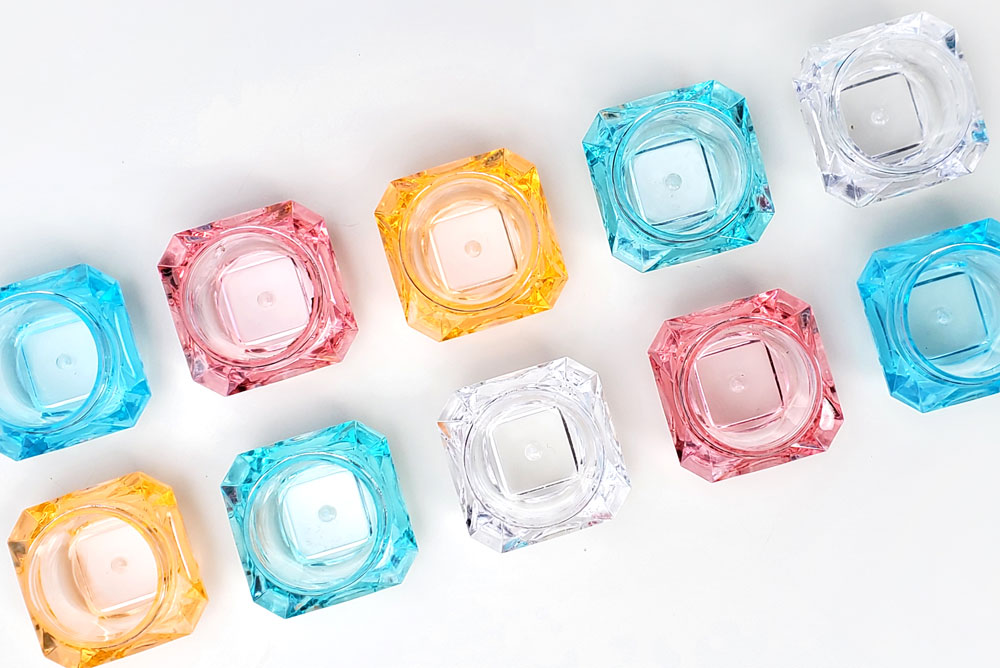
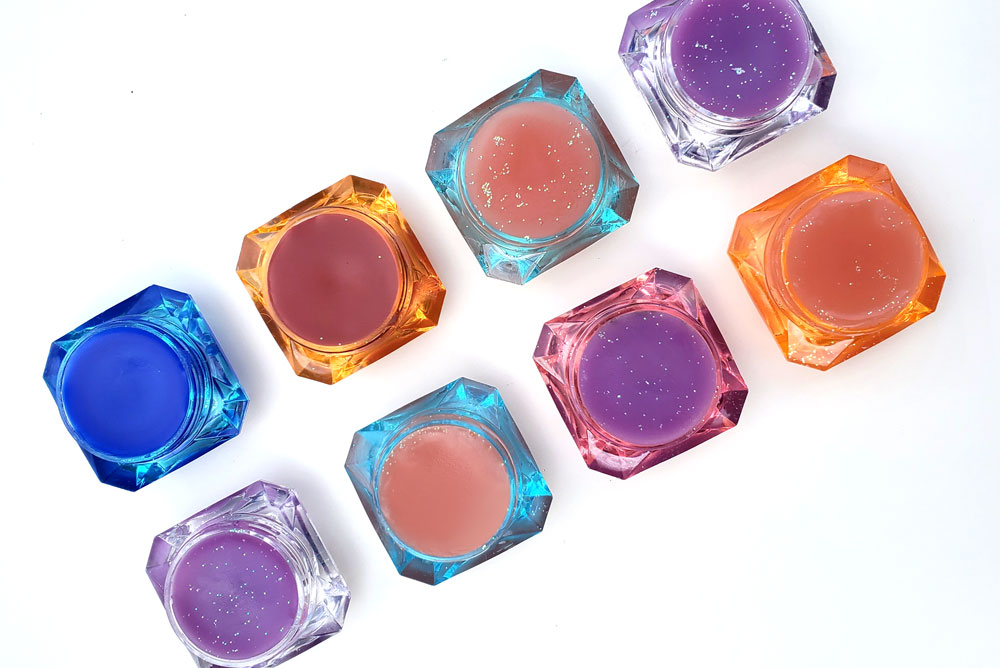
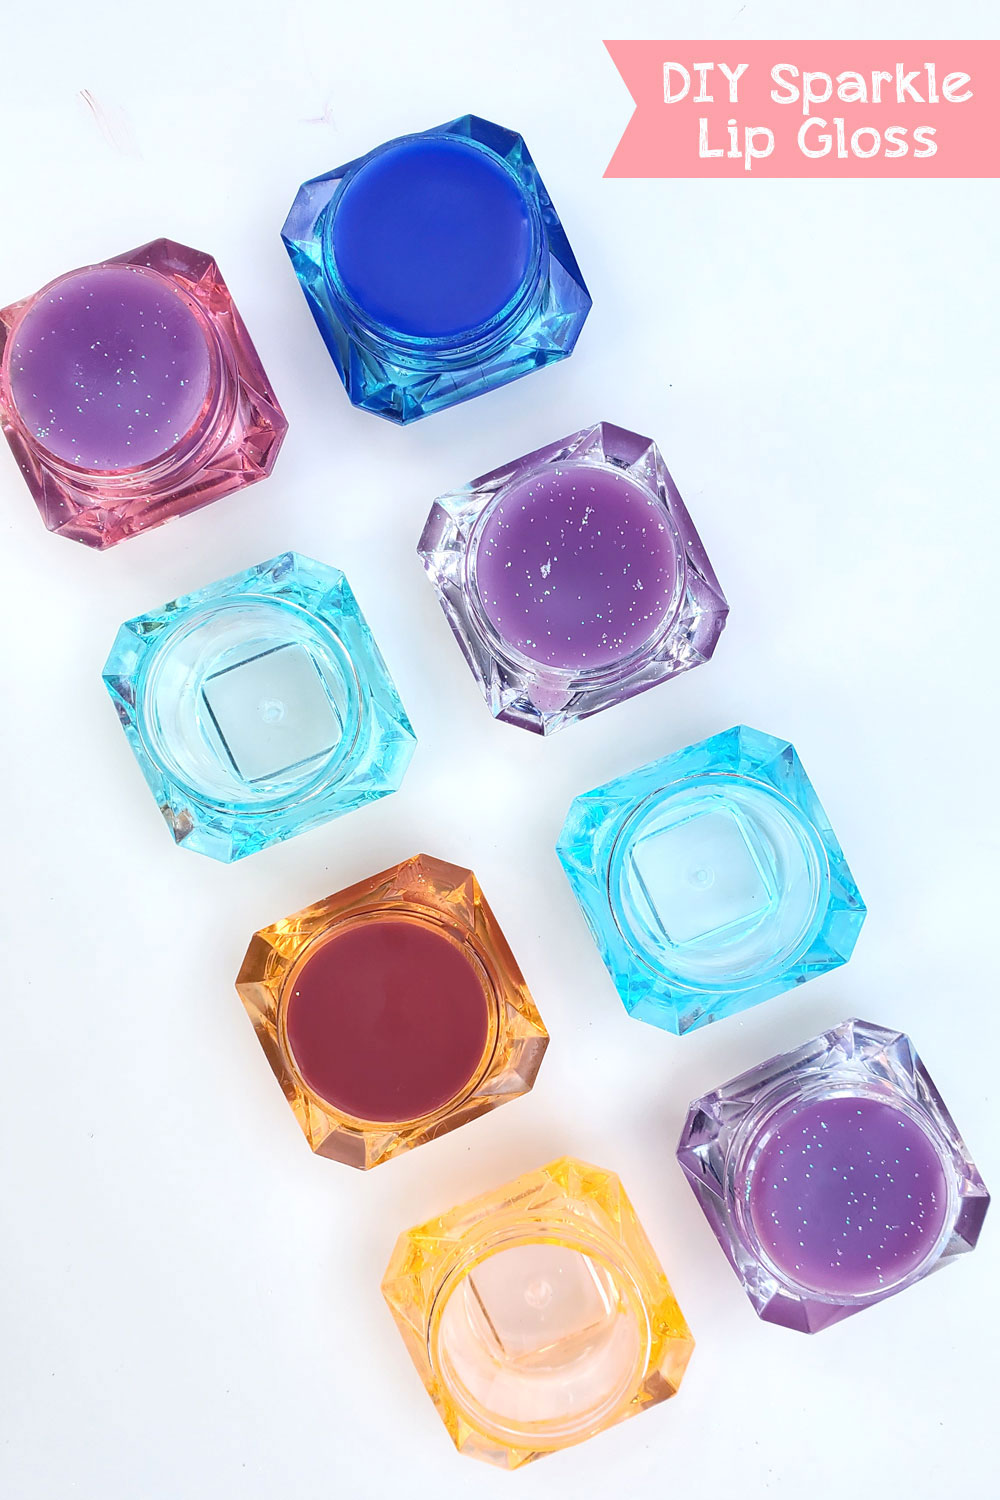
Once you’ve added the powered coloring, food-safe flavoring, essential oil or cosmetic glitter, it’s time to divide the lip gloss into small cosmetic containers. I purchased a set of super cute diamond shape cosmetic containers on Amazon. You could also use empty lip gloss tubes or any small container with a lid to store your homemade lip gloss.
Divide into small containers
Spoon the liquid lip gloss into each small container with a lid. Again, if the lip gloss has started to set, reheat it in the microwave for 20 to 30 seconds at a time. Leave a bit of space at the top of each lip gloss container, so the lid easily fits on. Allow your homemade lip gloss to fully set before closing the lids.
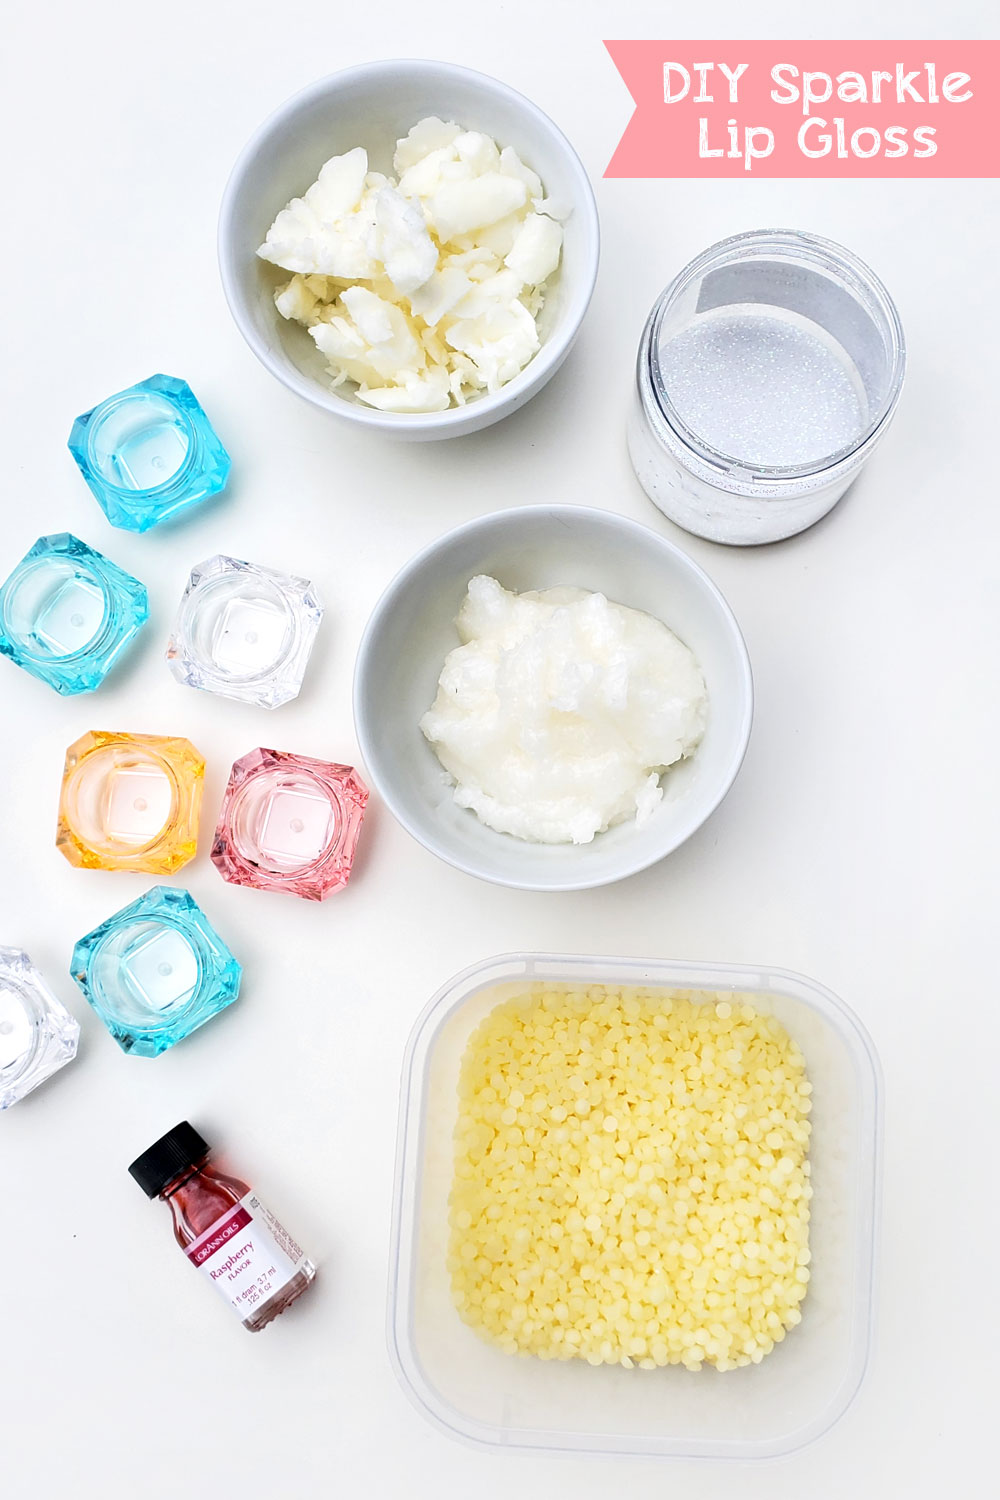
Homemade lip gloss is pretty easy to make with a few basic ingredients. The beeswax provides the structure of the lip gloss. Too much beeswax will make homemade lip gloss too hard. Too little beeswax will cause the lip gloss to be runny. Beeswax comes in pellet form as well as large pieces, which you can melt into liquid.
Naturally Moisturizing
The coconut oil gives homemade lip gloss a smooth moisturizing feel. Coconut oil for cooking also has a nice fragrance. I love using coconut oil in my homemade lip gloss, as well as homemade face masks, sugar scrubs and homemade soap.
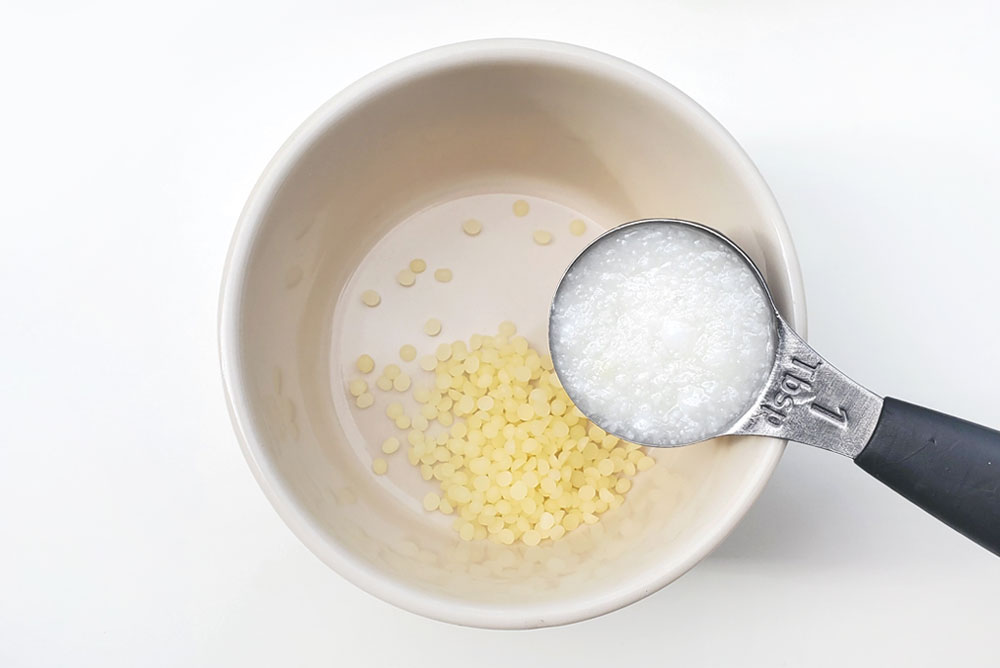
Shea butter gives homemade lip gloss a soothing and luxurious finish. It combines with the beeswax to create a smooth texture that’s perfect for great homemade lip gloss!
Add Color, Sparkle & Flavoring
Finally, adding some color, sparkle and flavoring to your homemade lip gloss can be fun, although totally optional. Powdered coloring pigment smoothly mixes into the wax and oil lip gloss ingredients. Powered coloring is concentrated and little goes a long way!
You can experiment with different flavoring too. Oil based flavors incorporate the best into homemade lip gloss. You can try peppermint essential oil, lavender essential oil, or raspberry flavoring oil. Both essential oils and flavoring oils may give homemade lip gloss a slight flavor and a fragrance.
I’ve used flavoring oils for a variety of baking projects and DIY beauty products. These oils often smell sweet, but can taste a bit bitter if you use too much. Artificial flavoring is never going to be as good as the real thing. But artificial flavoring oils can be fun to experiment with, and they come in flavors such as birthday cake, cotton candy and orange cream.
I mixed up several small batches of homemade lip gloss. To create a variety of colors, I used pink, purple, blue and red powdered coloring pigments. I also used cosmetic glitter and experimented with several types of flavoring oil. My blue and red lip gloss produced a noticeable hue, while the pink and purple lip gloss smelled sweet but looked more transparent. I’m a big fan of sparkle lip gloss, so I thought the cosmetic glitter added a glamourous touch!
I love making my own beauty products because I can control exactly which ingredients go in them. Also, natural ingredients often produce better results than artificial fillers and chemicals. Straight up beeswax, shea butter and coconut oil make wonderfully moisturizing lip gloss!
Have you tried making your own lip gloss? Which colors or fragrances would you pick?
Pin this to Pinterest
Hi, I’m Katie! I live with my husband and 3 kids in Coeur d’Alene, Idaho. I love Jesus, coffee, creative projects, taking photos and traveling. I’ve previously worked as a web designer, journalist and barista. I hope you enjoy our creative projects and family adventures!


 See our creative projects, kids activities, & party ideas »
  Homeschool Tips & Ideas »
  Europe with Kids Video Episodes »
