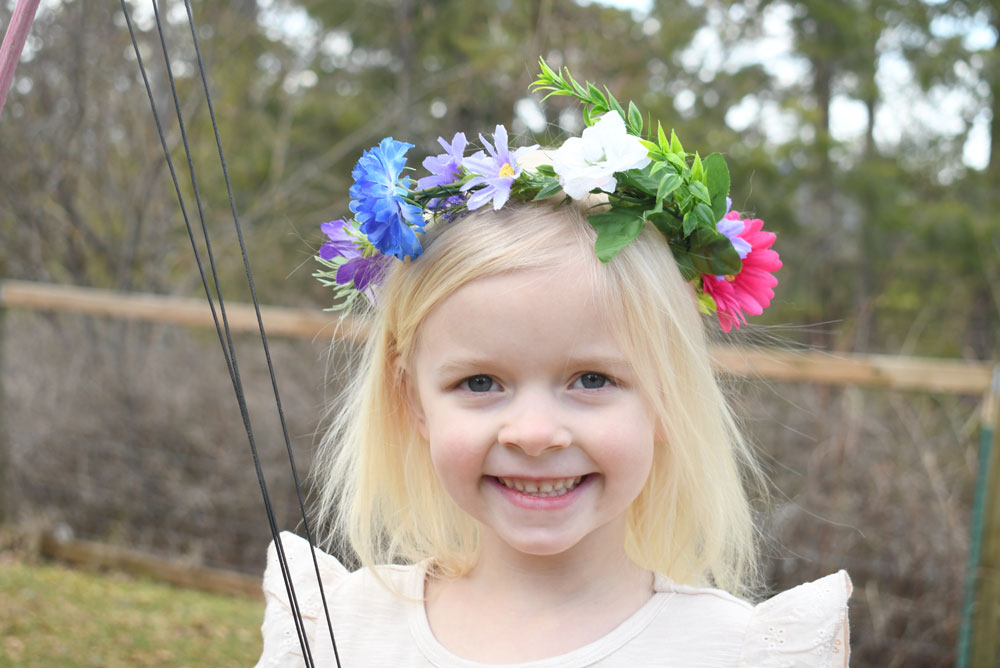
Flower crowns are just plain adorable, and they can be anything but plain. I made these colorful silk flower crowns for my girls for a Spring photoshoot. They turned out just how I wanted them, and these flower hair accessories were easy to make in about 20 minutes each or so. I used a collection of small and medium sized silk flowers, medium gauge floral wire and a hot glue gun. Learn how you can make a DIY flower crown using any color flowers and floral accents!
Pin this to Pinterest
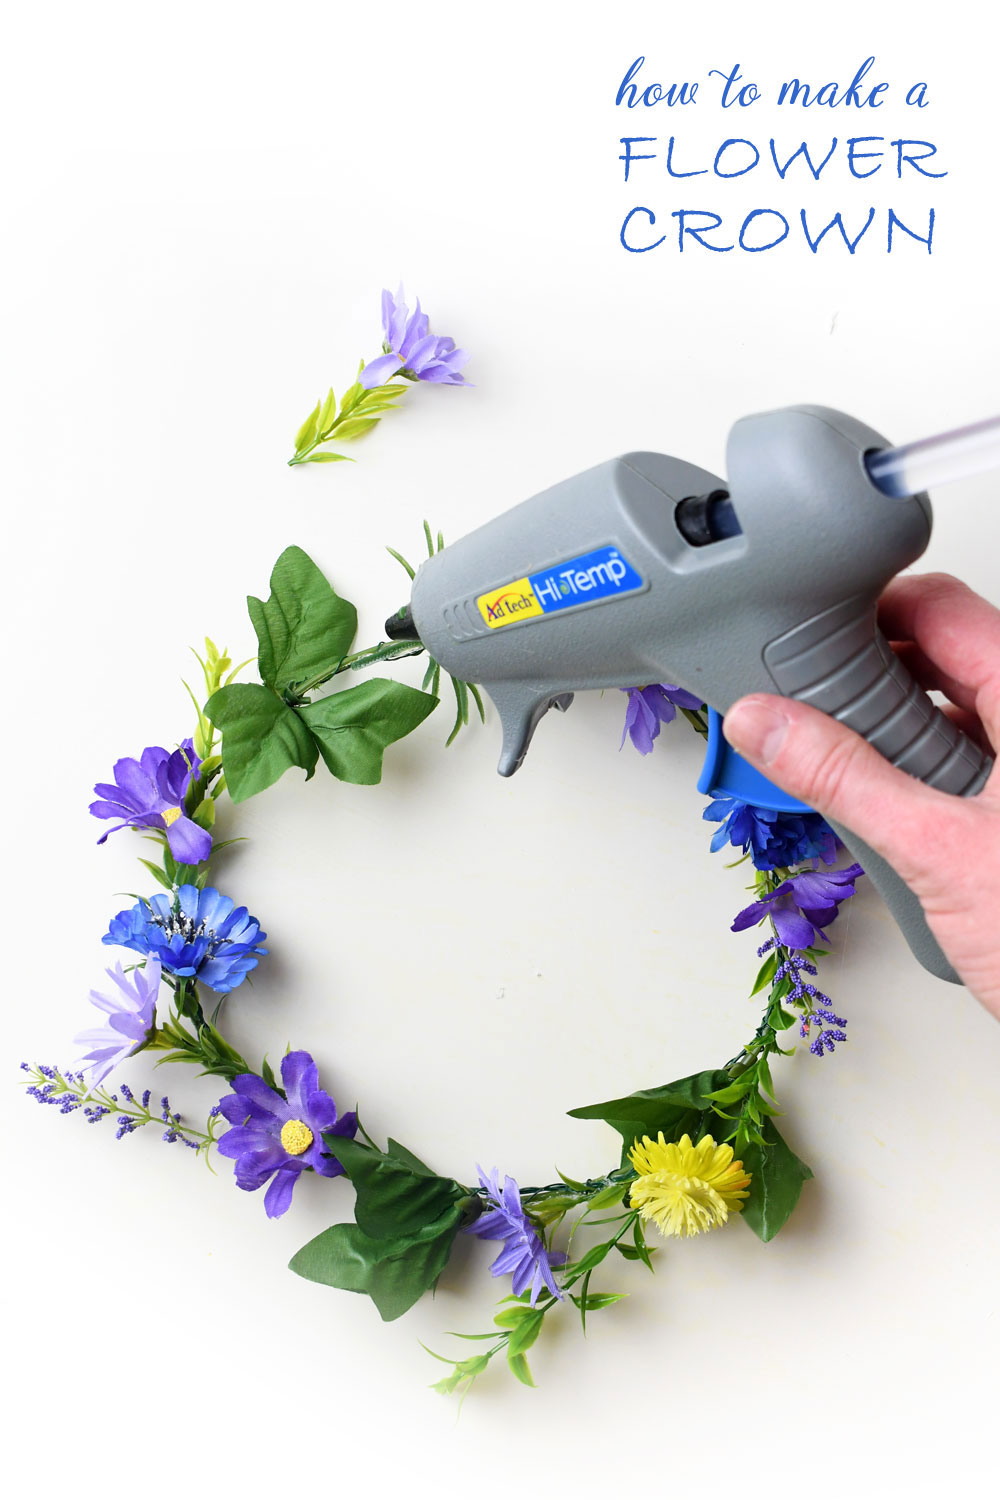
Flower Crown Supplies
- Silk flowers and leaves
- Medium gauge floral wire
- Hot glue gun
To design a flower crown, first plan out an arrangement of leaves, silk flowers and floral sprigs and buds. It’s helpful to have an idea of how you will arrange the flowers onto the crown, before you start gluing. Alternate larger blooms with smaller floral accents, and nestle them among green leaves and foliage to give the crown a natural style.
Make the Crown Base
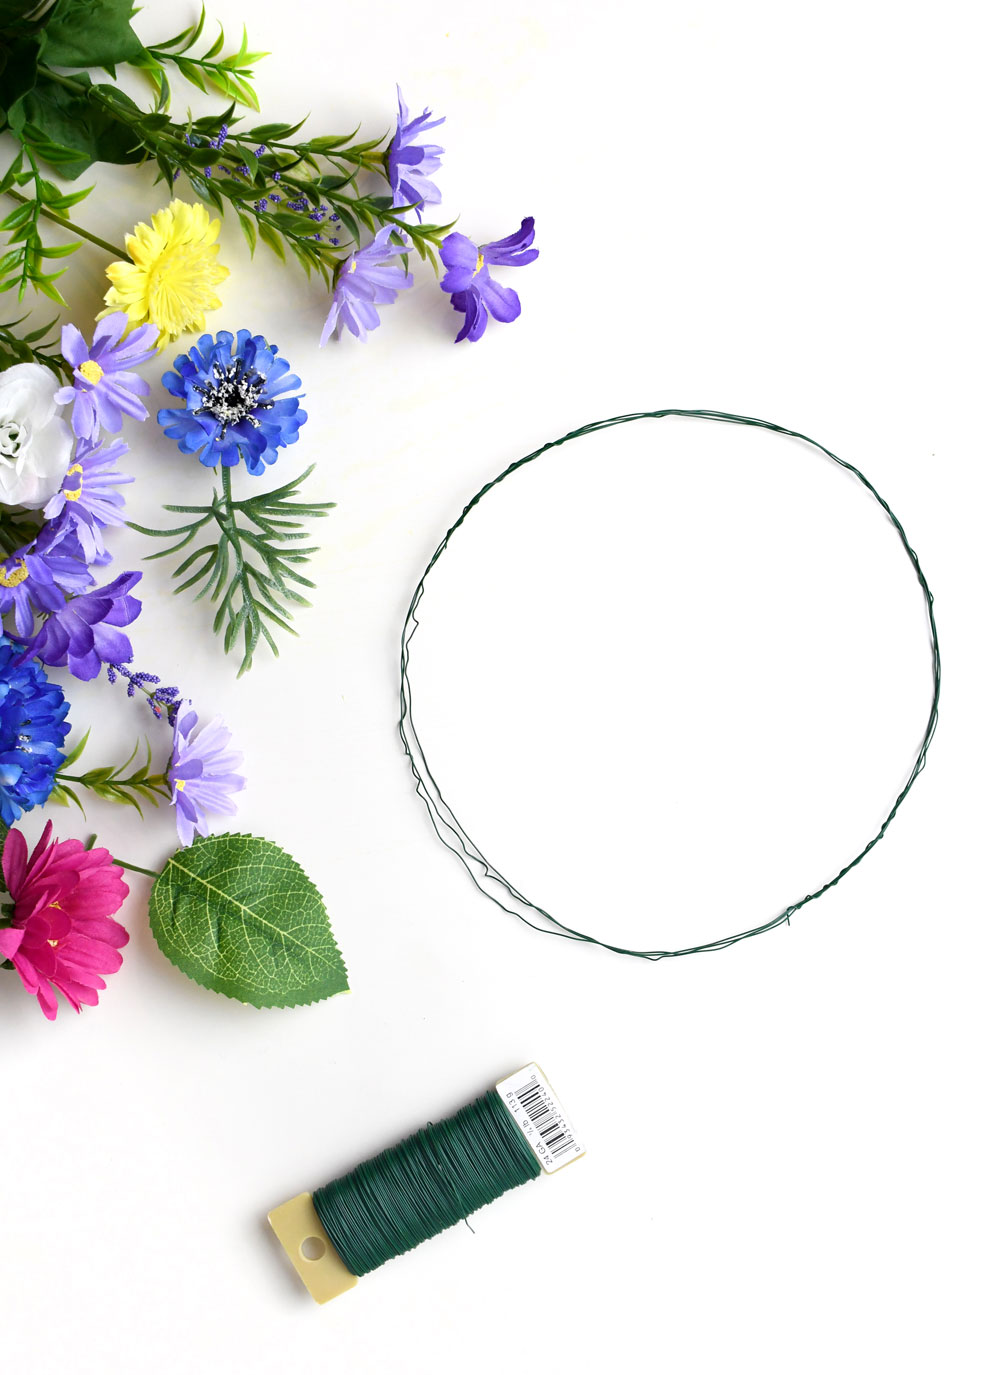
Next, create the wire circle for the floral crown. Measure the circumference of your child’s head (or the person who will be wearing the crown) to get an idea of how large the flower crown should be. The crown should rest lightly around the head without sitting on top or slipping down. The average 2 to 7-year-old child’s head circumference is 16-18 inches. The average woman’s head circumference is 21 3/4 inches.
Coil the wire around 3 to 4 times to create a circle that’s big enough to go around the head. You will use this wire circle to attach the leaves and flowers to create your DIY flower crown design.
Attach Leaves and Floral Sprigs
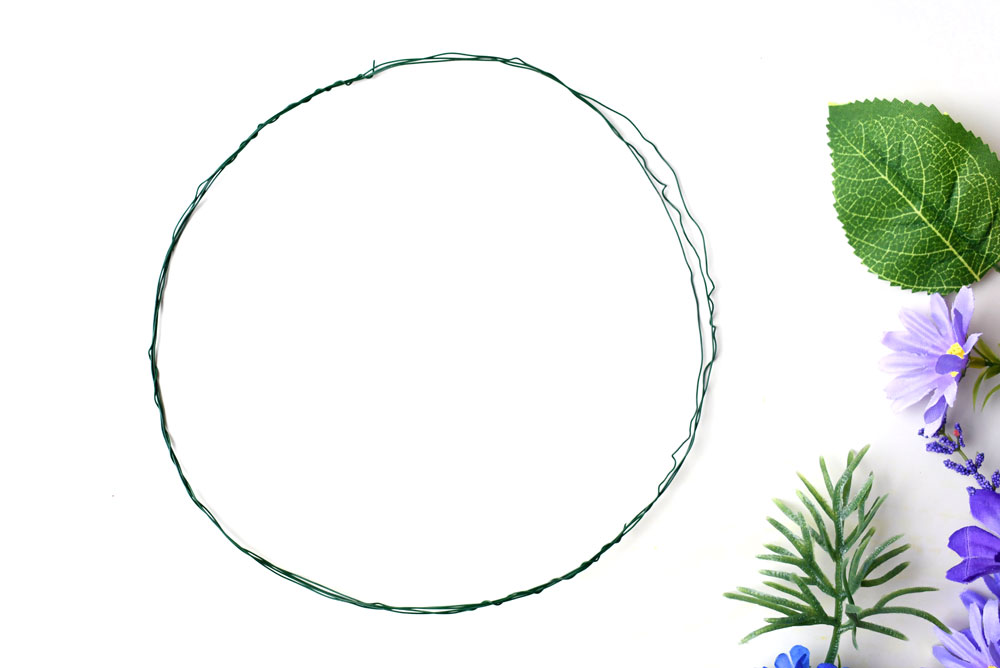
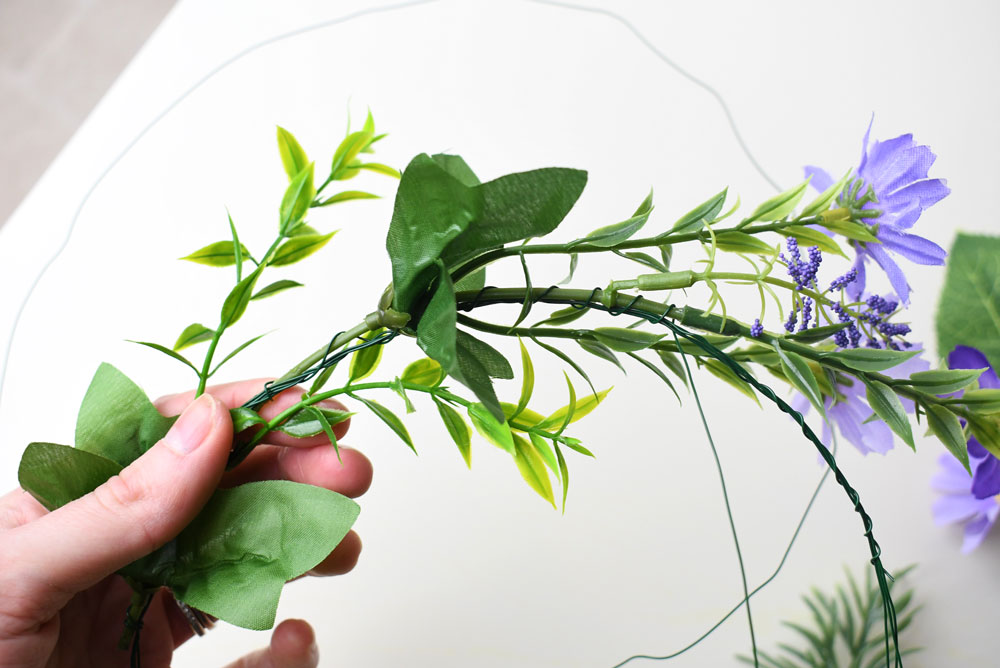
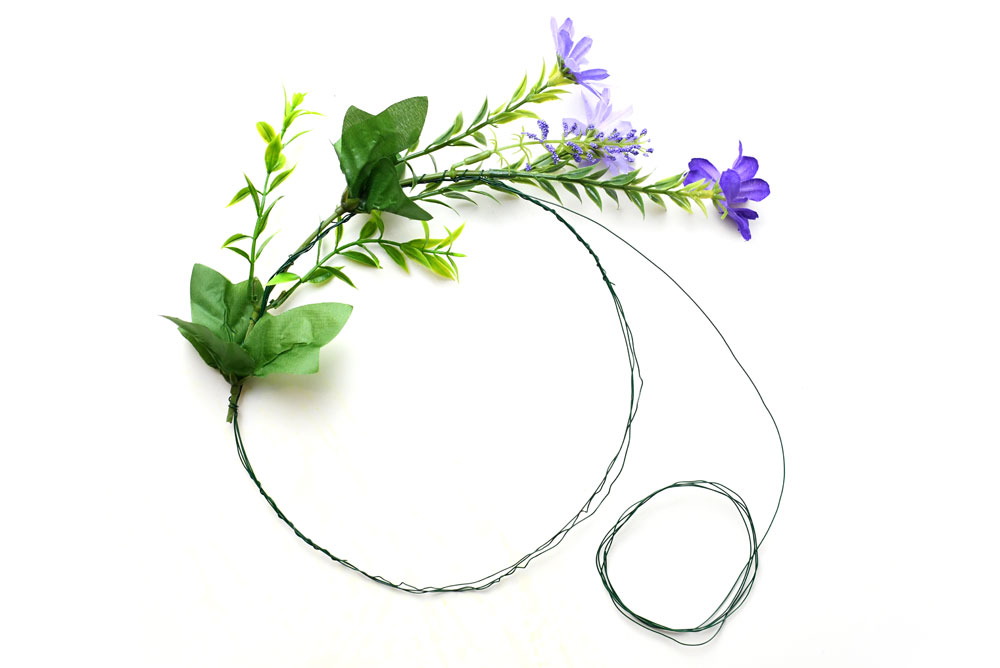
Create the leafy base of the crown by using wire to attach leaves and green floral sprigs to the crown.
- Cut a length of wire several feet long and attach it to the wire circle.
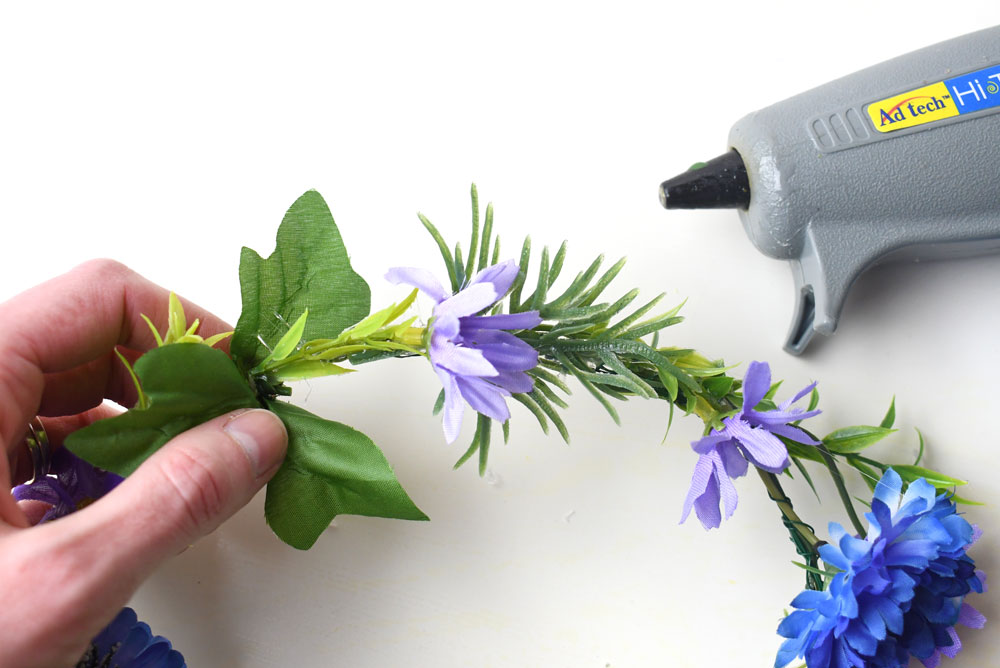
- Select a leafy stem and use the wire length to tightly wrap the stem onto the wire circle.
- Insert more stems as you go and continue wrapping, until the whole crown is filled with green leaves and sprigs.
Add Some Accent Flowers
This step is the fun part! You can decorate your flower crown using a bunch of colorful blooms and buds. I intertwined medium sized flowers with smaller blossoms and vibrant floral sprigs.
You may want to attach some of the larger flowers with wire, wrapping them alongside the green leaves. Use hot glue to attach smaller blossoms among the leaves. Be careful not to get extra hot glue residue onto the pretty foliage! The hot glue may leave behind some strings which you can easily pull off.
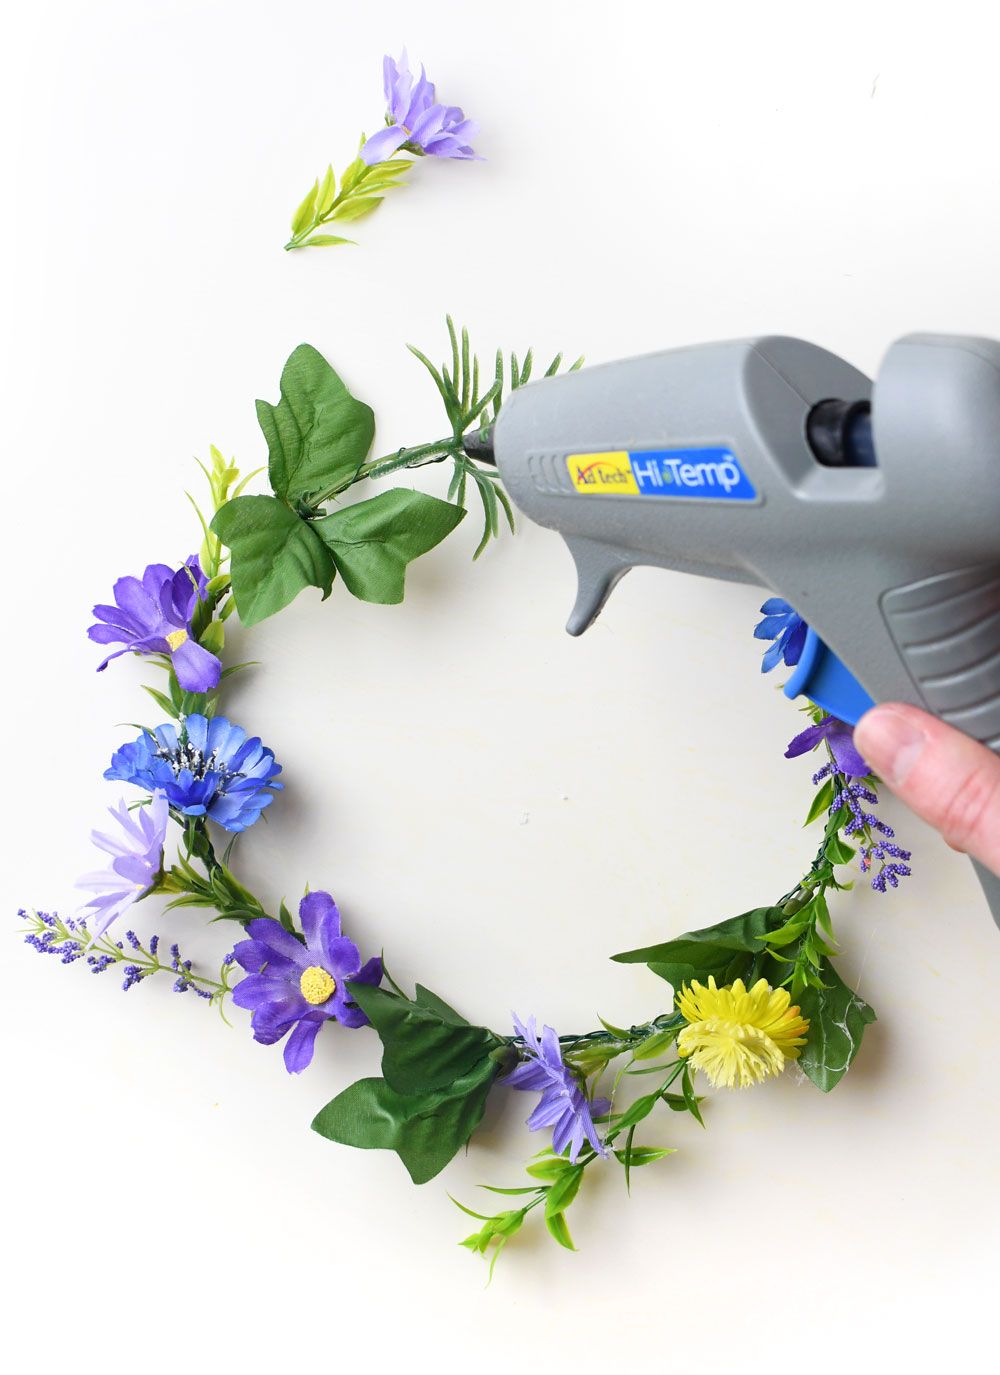
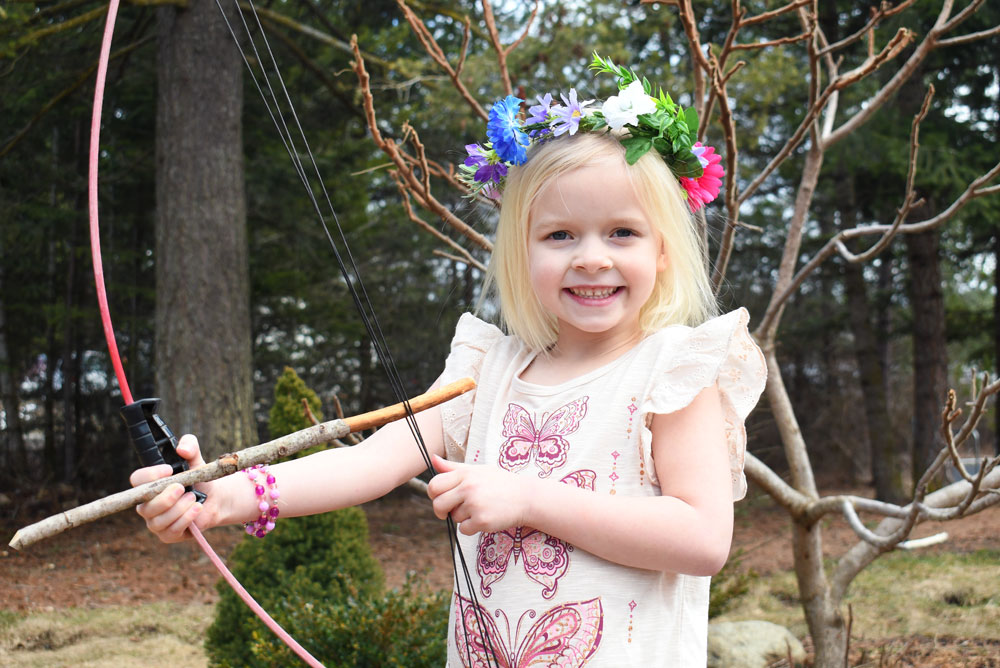
I used a combination of purple, blue, pink and yellow flowers to make flower crowns for my girls. I intertwined the flowers among larger green leaves and lime green leafy stems. These crowns are the perfect accent for a Spring photoshoot! My girls have also enjoyed wearing their flower crowns as a fashion accessory.
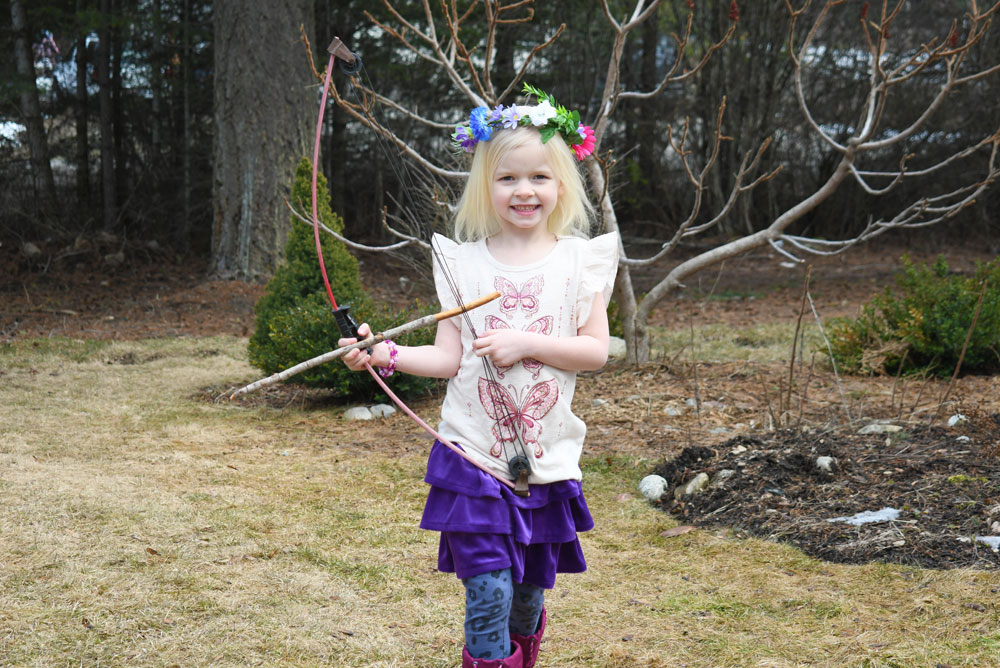
I think Spring is a great time to take family photos or individual portraits. Outdoor photos often turn out beautifully because Spring weather is often mild and natural backdrops can be so pretty with new growth. I love using floral photo props like these DIY flower crowns or a simple wreath to customize family photos. A pop of natural color provides the perfect finishing touch!
Pin this to Pinterest
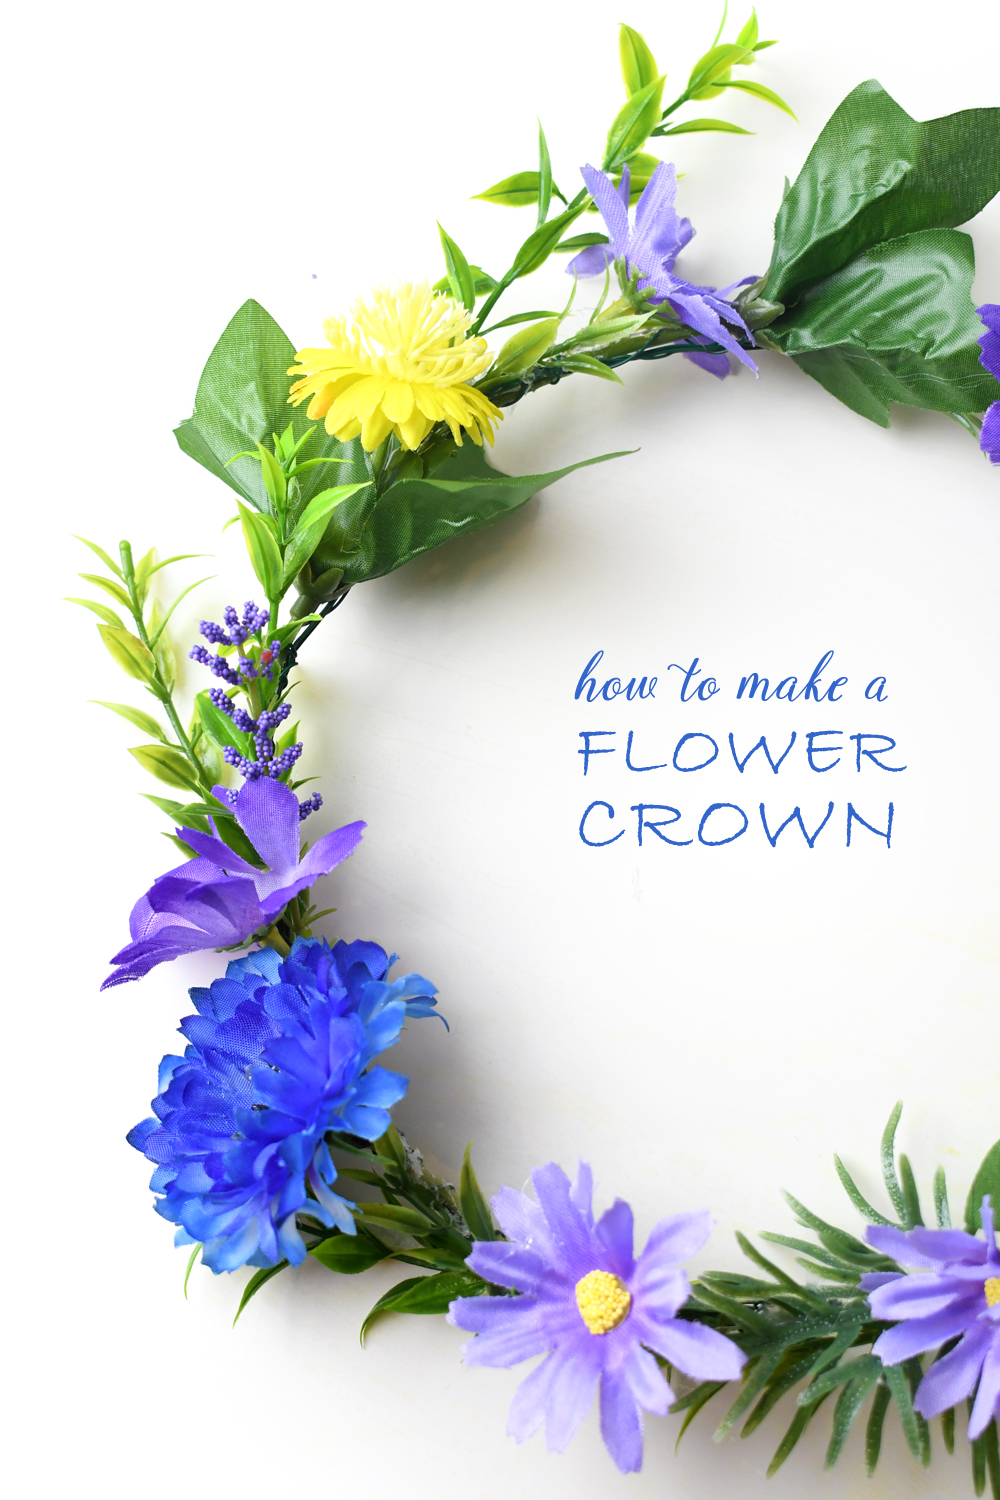
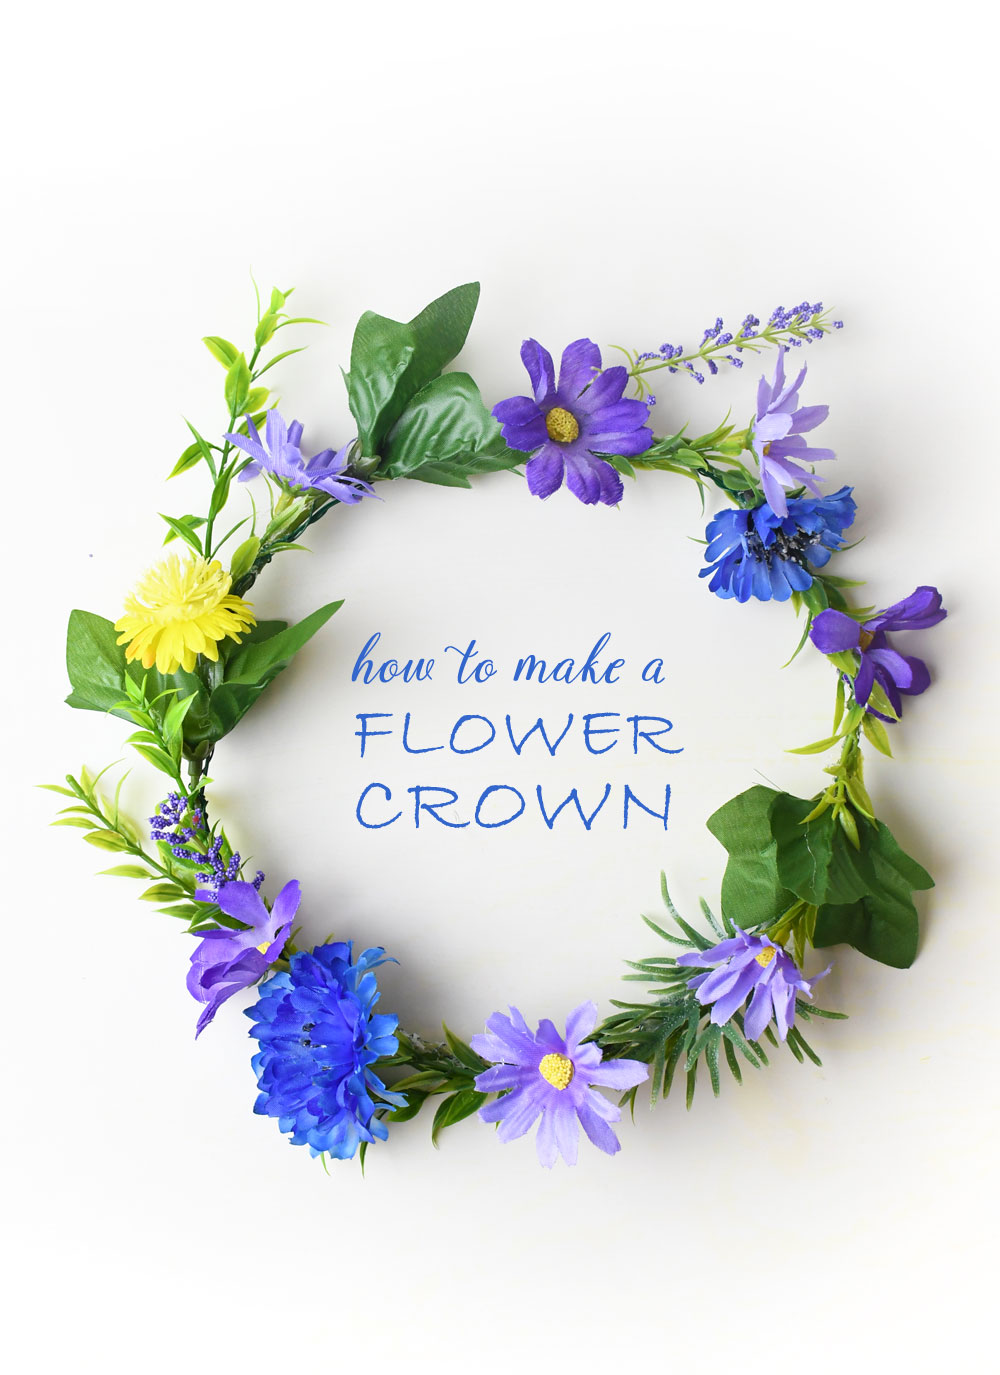
And there you have it! Anyone can make a pretty flower crown with a few simple steps. These custom flower crowns are perfect for wedding flower girls or brides, birthday celebrations, spring parties, photoshoots and just for fun! You can customize a DIY flower crown using any combination of flower colors and natural accents. You could also make these crowns extra bedazzled with rhinestone sprigs and feathers. Use these simple tips to wrap any decorative accent onto a wire crown.
Pin this to Pinterest
Hi, I’m Katie! I live with my husband and 3 kids in Coeur d’Alene, Idaho. I love Jesus, coffee, creative projects, taking photos and traveling. I’ve previously worked as a web designer, journalist and barista. I hope you enjoy our creative projects and family adventures!


 Creative Projects, Kids Activities, & Party Ideas »
  Homeschool Tips & Ideas »
  Europe with Kids Video Episodes »
